If the Logitech Unifying Receiver is not detected, working, or pairing in Windows 11/10, then this post may be able to help you. Logitech Unifying Receiver is a hardware device that syncs all the Logitech products making it easier for you to organize your ports. However, on some systems, the device is not working properly. According to them, Logitech Unifying Receiver says Not Detected on their Windows computer. In this article, we are going to talk about this issue in detail and see what should be done to fix it.
Why is Logitech Unifying Receiver not working?
There are various reasons why Logitech Unifying Receiver is not working on your computer. One of the most talked-about reasons is Windows Update KB4074588, which has a bug that causes this issue. However, it is not the only one. Some other reasons include temporary glitches, unavailability of some app, or the existence of a corrupted driver. Whatever the reason is, you go to the troubleshooting guide and resolve the issue.
Logitech Unifying Receiver is not detected, working, or pairing in Windows 11/10
If the Logitech Unifying Receiver is not detected, working, or pairing in Windows 11/10, try these simple solutions to get rid of the issue:
- Try plugging it into a different port
- Install Logitech Unifying Software
- Try SetPoint
- Restart your computer and try again
- Turn off your Logitech mouse and turn it back on
- Disable Power Saving Mode for USB
- Uninstall the Pre-installed driver and re-add
- Plug the Logitech Unifying Receiver into your computer’s USB port instead of your monitor’s USB port
- Remove Problematic Windows Update
- Temporarily disable your security software
- Check your hardware
Let us talk about them in detail.
1] Try plugging it into a different port
We need to confirm that your port is not faulty. Try plugging your device into a different port and see if that helps. If the issue is with the USB port, the moment you plug the dongle it get recognized.
2] Install Logitech Unifying Software
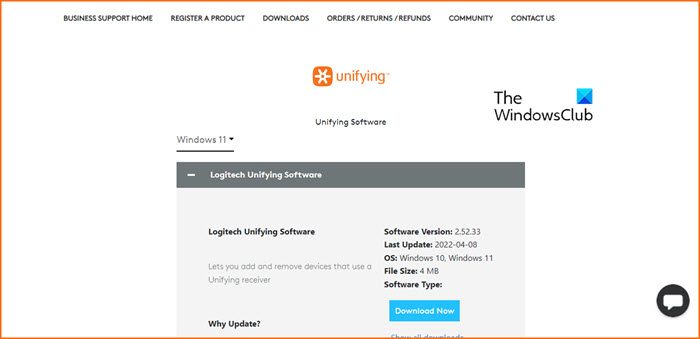
First up, we are going to download Logitech Unifying Software from support.logi.com. It will download the required drivers and make sure that they are updated. So, go to the mentioned website, select the Operating System and download the freeware. Then, install it with administrative privileges and see if the issue persists.
3] Try SetPoint
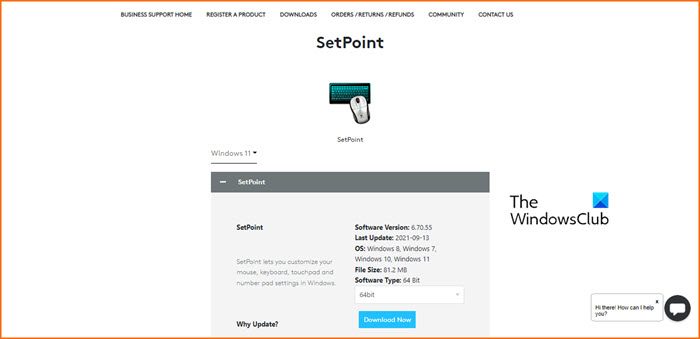
Using SetPoint is not a solution, but a workaround with no consequences. It is software from Logitech that users install on their system for customizing their Logitech mouse and keyboard. All you have to do is visit support.logi.com and get SetPoint. Now, install it with administrative privileges and run the app. It should detect the connected hardware.
4] Restart your computer and try again
If installing those tools didn’t work for you, your next step should be to just restart your system and then retry. This will resolve any glitches that you may have and present you with a clean slate to install your USB driver. If this doesn’t work, move to the next solution.
5] Turn off your Logitech mouse and turn it back on
When you experience issues while connecting your Logitech mouse to Logitech Unifying Receiver on Windows 11/10, turn off your Logitech mouse and turn it back on. Check if your Logitech mouse has an on/off switch or not. if yes, use that switch for this purpose.
If this does not work, first, switch your Logitech mouse to Bluetooth mode and then turn it back to Unifying mode. This trick has worked for some users. Maybe it will work for you too.
6] Disable Power Saving Mode for USB
Sometimes, Power Saving Mode stops the system from installing drivers properly. They do this to preserve your battery, but if you are facing a related issue, disabling the feature isn’t such a bad option. We are going to do the same to resolve the issue. Follow the prescribed steps to do the same.
- Open Device Manager.
- Expand Universal Serial Bus Controllers.
- Look for the Logitech driver, right-click on it and select Properties.
- Go to the Power Management tab and click Allow the computer to turn off this device to save power.
- Click Ok.
Now, restart your computer and check if the issue persists.
7] Uninstall the Pre-installed driver and re-add it
Your dongle may fail to get recognized by your system if you are using a corrupted driver. We are going to uninstall the driver and then detach and attach your hardware as it will automatically install the appropriate driver. This action will make your mouse unavailable. Therefore, before you try to follow the steps written below, we suggest you enable the numeric keypad of your keyboard to move the arrow keys. Windows has a feature to make a keyboard to use as a mouse.
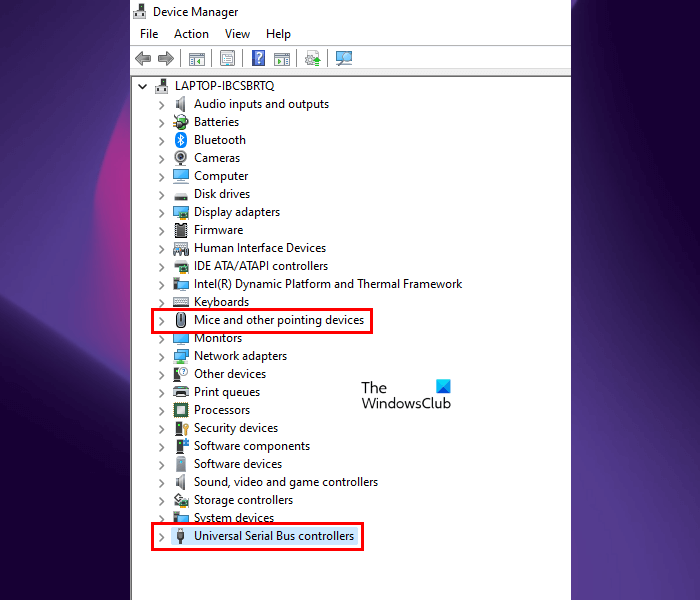
To uninstall the Logitech driver, follow the prescribed steps.
- Open Device Manager.
- Go to “View > Show Hidden Devices.”
- Expand the Mice and Other Pointing Devices node and uninstall all the Logitech mouse drivers. After this step, your mouse will stop working. Now, you have to complete the remaining steps with the help of your keyboard.
- Now, expand the Universal Serial Bus Controllers node.
- Look for the Logitech driver, right-click on it and select Uninstall device.
- Click Uninstall.
Turn off your mouse, disconnect Logitech Unifying Receiver from your computer, and restart your computer. Now, when you plug in the dongle, this driver will get automatically installed. Turn on your mouse. Hopefully, this will do the job for you.
8] Plug the Logitech Unifying Receiver into your computer’s USB port instead of your monitor’s USB port
Some monitors have a USB port. You can use these USB ports to connect your USB devices, such as Pen Drives. If you have connected the Logitech Unifying Receiver to your monitor’s USB port, it may not work. Therefore, connect it to your computer’s USB port instead of connecting it to your monitor’s USB port.
If all your computer’s USB ports are busy, you can do nothing instead of connecting the Logitech Unifying Receiver to your monitor’s USB port. In this case, replace the HDMI cable with the Upstream cable to connect your monitor to your computer. Sometimes, the USB signal from the monitor is not sent to the computer via the HDMI cable. In this case, replacing the HDMI cable with the Upstream cable works.
9] Remove Problematic Windows Update
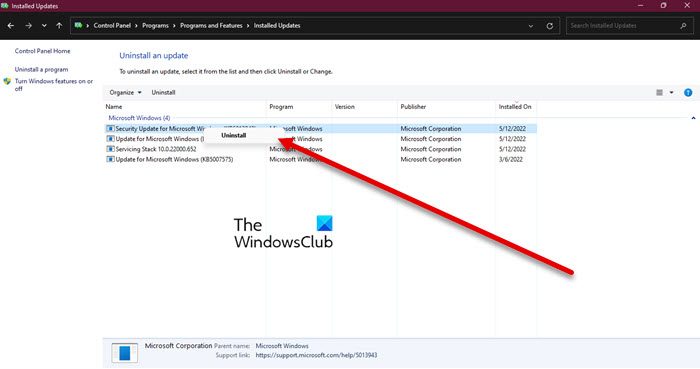
If nothing seems to work, then your last resort is to remove Windows Update KB4074588 from your computer and don’t update until a new one is available. This Windows Update has a bug that’s been blocking some devices from installing their drivers. To do the same, follow the given steps.
- Open Control Panel.
- Set View by to Large icons.
- Click on Programs and Features > View installed updates.
- Right-click on Windows Update KB4074588 (it can have a different name, but look for the keyword KB4074588) and select Uninstall.
After uninstalling the update in question, restart your computer and see if the issue persists. Hopefully, downgrading will do the trick for you.
10] Temporarily disable your security software
Disable your antivirus software and see if it helps.
Remember to re-enable it again.
11] Check your hardware
Maybe the problem is with your hardware, it may have malfunctioned and you need to get a new one. To confirm this, try plugging your dongle into a different system and see if that works.
That’s it!
How do I get my Logitech Unifying Receiver to work?
If you want to get your Logitech Unifying Receiver to work, try executing the solutions mentioned in this article. It would be better if you start executing from the first solution and move down, as solutions are mentioned here such that if you go in that order, it saves time. Hopefully, it will do the job for you.
Leave a Reply