Learning how to make an interactive slideshow presentation in InDesign will make your presentation stand out. Adding buttons that take the user to different pages and content and animating buttons can make the slideshow presentation more interesting.
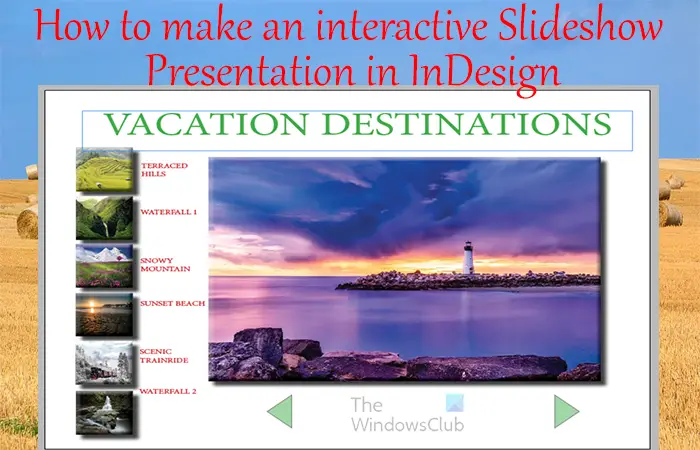
How to make an interactive Slideshow Presentation in InDesign
Interactive slideshows can be made for different devices. This presentation will be made for a regular PC screen. If you want to make it for mobile, you can change the page size and other information in the document options. Keep reading to learn how to make an interactive slideshow presentation in InDesign.
- Open and prepare InDesign
- Place images in InDesign
- Design slides
- Add text to slides
- Add transition to buttons
- Add animation to buttons and slides
1] Open and prepare InDesign
The first step to creating the Interactive slideshow in InDesign is to open and prepare InDesign. Click on the InDesign icon to open it. you then Open a new document and choose the options that you want. By this, you should know how many pages you want for your presentation plus the home page. This article will show you how to make the presentation interactive, but not how to put the full presentation together. You will see how to move from slide to slide and the linked table of content structure on the home slide.
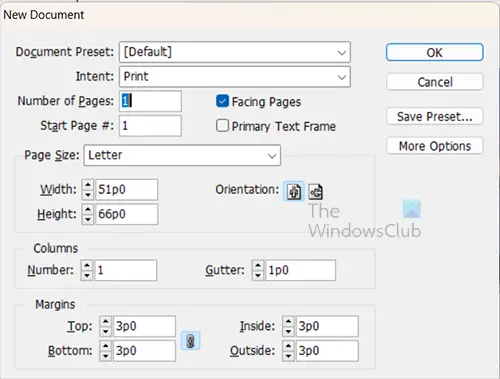
When the New document options window opens, enter the number of pages you want, remember to include one for the cover page. You should uncheck the Facing Pages option. Change the Orientation to Landscape. You can choose other options that you want for your presentation and then press Ok to confirm and keep the options.
2] Place images in InDesign
Depending on what your presentation is about, images will be added to it. To place the images in InDesign, you can select them and drag them onto the InDesign document page. When you select multiple images and drag them into InDesign you can click to release one at a time. If you want to make all the images the same size, you can drop them all on one page then stack them on each other, making sure they are the same size then move them to their respective page.
3] Design slides
This step is where you want to design what you want the slides to look like. You would design the cover slide and the other information slides. As stated before, the article will look at making the presentation interactive and not how to make the slides and add information step by step.
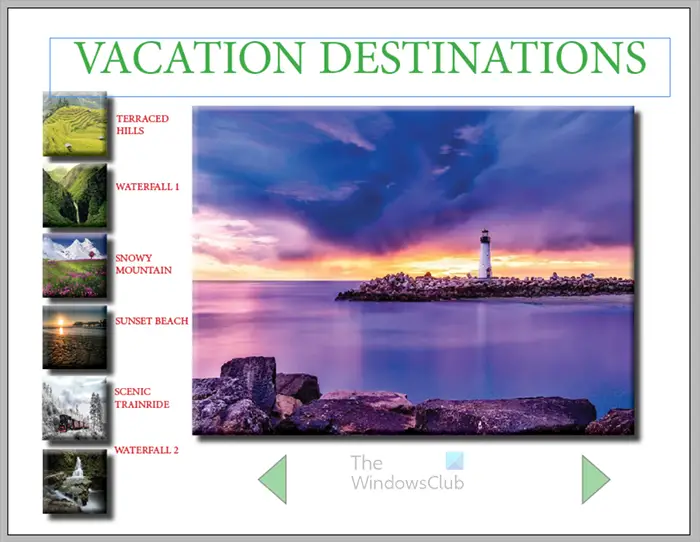
This is the cover slide page with an image and some buttons to the side that will be made interactive and linked. The Drop shadow, Inner Shadow, and Bevel and emboss effects were added to the image and buttons to make the page more attractive. There are also buttons below that will navigate to other pages as well. This cover page will also work like a table of content, the buttons on the sides will take you to the exact page when clicked.
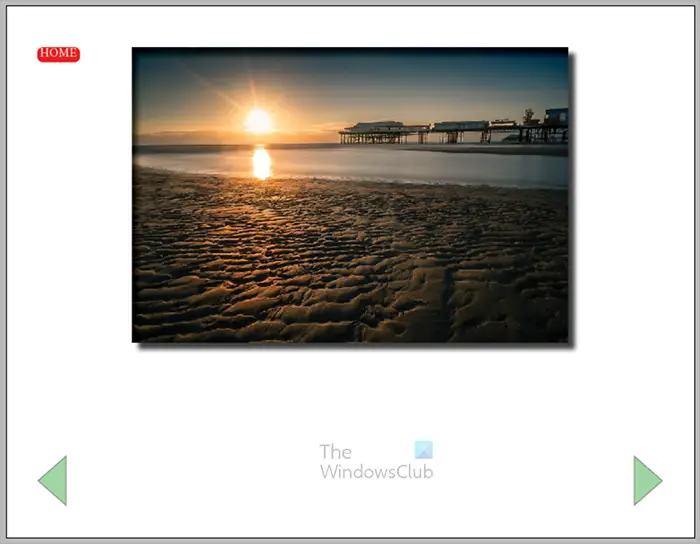
This is one of the information slides with buttons, but no information added yet. The Home button will automatically take you back to the home/cover page. The Inner Shadow and Drop shadow effects were added to the image on the slide.
4] Add text to slides
You can add your informational text to the slides. You can add the text bow so that you see what the slides will look like before you make the buttons and the images interactive and animated.
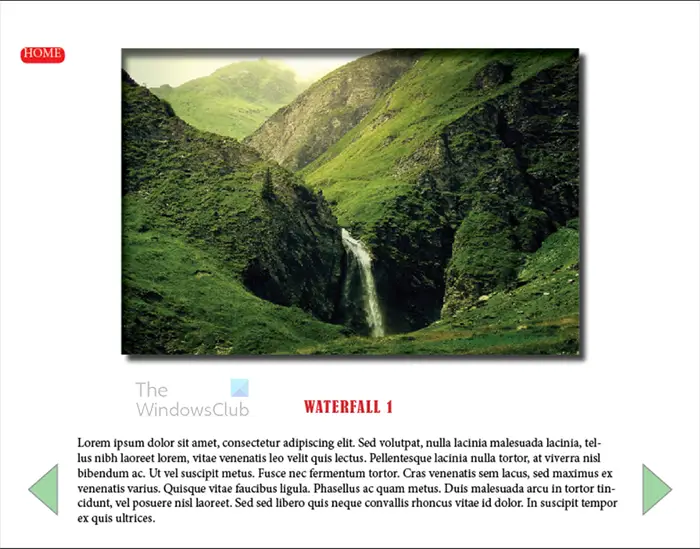
This is one of the slides in the presentation with some text added.
5] Add transition to buttons
This step is where the transition will be added to all the buttons. The transition is where when you press a button it will take you to another page. The thumbnail images will take you to the corresponding pages. The arrow buttons will take you to a page either back or forward.
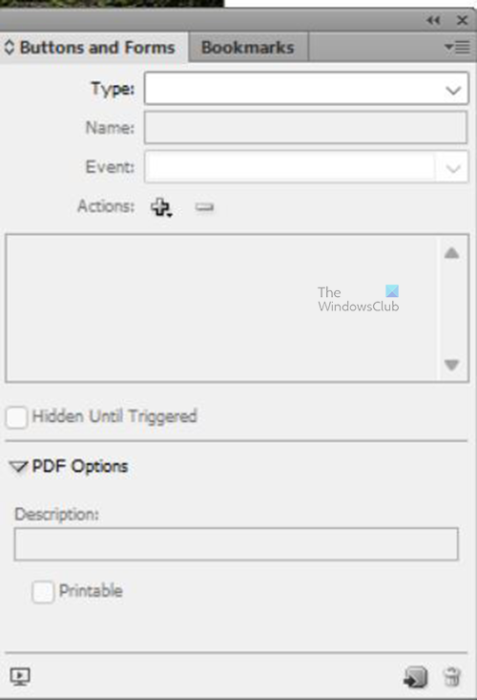
To add the transition function to the button you will need the Buttons and forms panel. If the Buttons and forms panel is not available, go to Window then Interactive then Buttons and forms. This button function will go to a page instead of another state.
With the Buttons and forms panel on the screen, click on the buttons on the slides then go to the Buttons and forms panel and click the drop-down button at Type then choose Button.
Name
You will then give the button a descriptive name.
Event
You will let the Even stay at On release or tap. You can choose whatever you want the Event to be, but the default On Release or tap works well.
Action
Under action, you will click the Plus (+) button to add what you want the click to do. In this case, when the button is clicked, it will go to another page so choose Go to page. You will then type in the page number that you want that button to go to.
Appearance
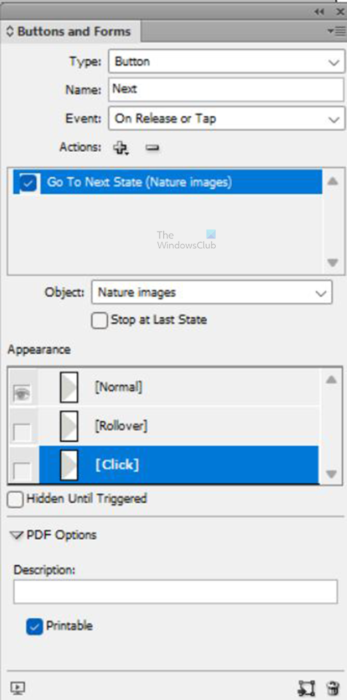
Under appearance, you can choose what you want the button to look like when these actions are performed: Normal, Rollover, and Click.
You will follow the above instructions for all the buttons in your slideshow. You will need to go to all the pages and do the action on all the buttons. You can choose to make the last forward button on the last page take you back to the first page or just end. You can make the first back button on the first-page loop to the last page of just do nothing.
Tip
You can make your button fade to about 40%. When you go into the Buttons and forms appearance you can then make Rollover 50% and Click 65%. This gives the button an animated look.
6] Add animation to buttons and slides
This step is where you would add animation to your buttons and slides. This article will show you just how to add animation to the buttons and slides.
Preview
To go into presentation mode to see how your slideshow would look press Shift + W. Note that in presentation mode, the buttons will not work to skip to another slide. To test the buttons, you would have to upload your presentation online or preview it in your browser. You can also preview the document in the E-Pub mode to test the transition to other pages. Whenever you upload your InDesign Presentation online, it will be interactive and more interesting.
Read: How to place Image in Frame in InDesign
How do you use interactive in InDesign?
You can add interactivity to your InDesign documents to make them more interesting. Books, flyers, maps, magazines, and other InDesign documents can be made interactive. When these documents are uploaded, users can interact with them through the interactive content that you add. These interactive contents can be buttons, forms, links, etc. To preview these interactive items, you can preview them in InDesign through the SWF viewer or E-Pub.
Can you add animation in InDesign?
You can animate your content in InDesign to add some interest to it. To animate anything in InDesign, select it first, then go to Window > Interactive > Animation. The animation panel will appear. You can then choose the animation options that you want for your object.
Leave a Reply