This screenshot tutorial will show you how to draw or create a Cupcake logo, image or icon using Adobe illustrator on your Windows PC. Being able to create unique items using graphic software can come in handy. Creating a logo or other art for a business requires it to be unique to avoid copyright infringement. This cupcake that will be created can be a major part of a logo or an addition to a logo.
How to make a Cupcake in Adobe Illustrator
Creating unique graphic items for logos, cards, bookmarkers, magazines or book covers can be important because creating unique items can help avoid copyright infringement. These unique creations can also be cost-effective because you can create your own art for a project. We will discuss the following steps:
- Plan the look of the Cupcake
- Create the Cupcake
- Complete Cupcake
- Save it for Use
Logos are supposed to be like a summary of a business. Logos are to tell persons who view it a bit about a business. Depending on how well a logo is done and how well a company advertises and the image they maintain, the logo can become a brand. Many companies start with a logo and the name of the business, eventually, the logo will be just a symbol or art but everyone knows the company by the art or symbol.
Businesses will spend millions of dollars on design, color scheme, and layout for their logo because they understand the importance of a logo. A logo will speak volumes about an organization every day, it is one of the things that people will see every day, and the design, color choices, and layout will tell a good or bad story.
1] Plan the look of the Cupcake
Before attempting to create any art it is good to do a few drawings/illustrations. Consider the colors, designs, and layout that would be suitable for you or a client. Draw by hand on paper if possible, to get an idea of the look and feel. You can create a few ideas on the computer and get an idea of how they will look on screen.
Read: Adobe Illustrator Tips and Tricks for Beginners
2] Creating the Cupcake in Adobe Illustrator
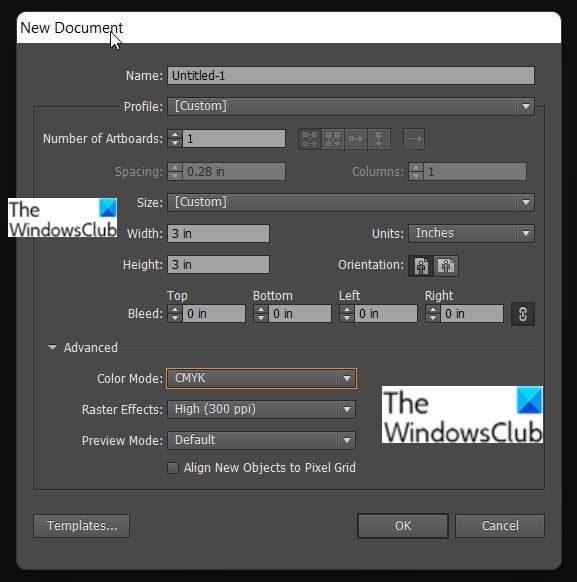
Open Adobe Illustrator go to file and click New and choose the size of the document. Choose the color preference (RGB or CMYK). Choose the resolution, the unit of measurement, and other options that you want for the document. The size will be the size of the drawing area and the shape and size depend on the shape and size of the image you want.
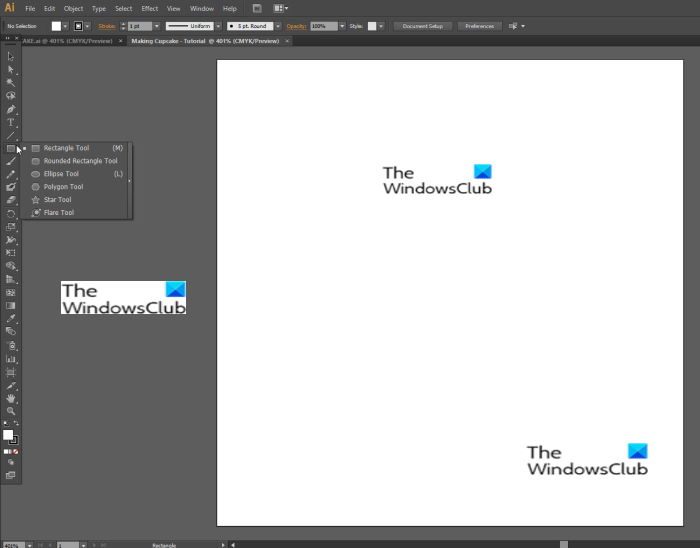
Click and hold the rectangle tool to reveal the other tools and select the polygon tool.
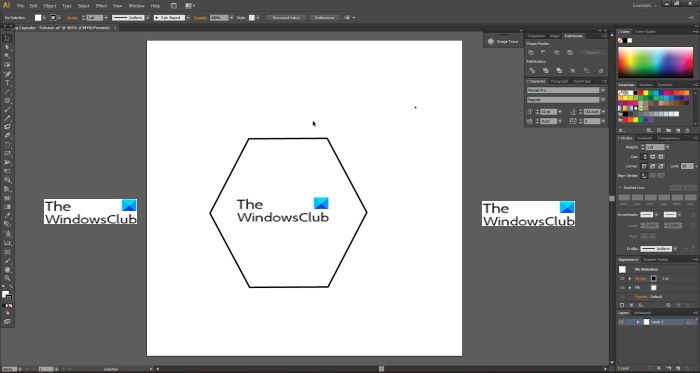
Click on the polygon tool then go to the work area and hold the left mouse button and drag to the desired size. The polygon shape will want to be slightly tilted to one side so just rotate the mouse while dragging until it is sitting on one of its flat sides.
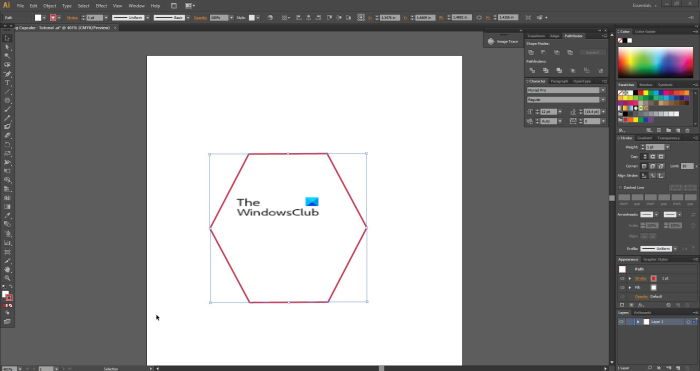
If your shape does not have a border (stroke), you can just select the shape and go to the left panel and click stroke or press “X” on the keyboard then choose a stroke color from the color picker on the right. This is what the polygon should look like on the work area. You may make it to the size that will be suitable for the sheet size but keep in mind that other things will be added, and adjustments can be made later.
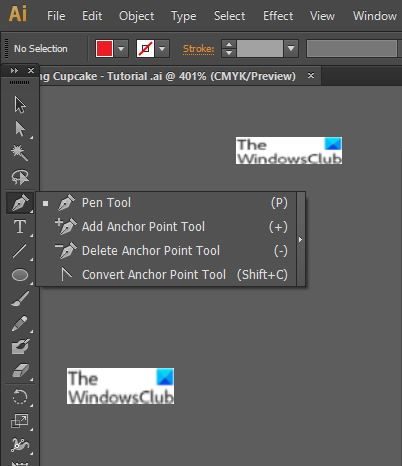
Go to the Tools Panel on the left, click and hold the pen tool and choose Delete anchor point tool.
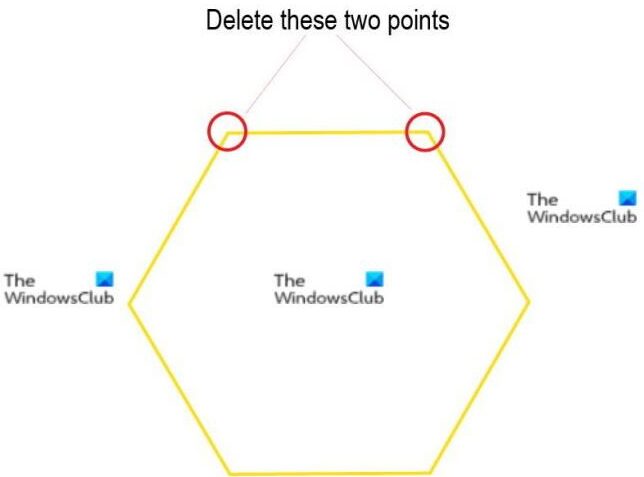
Go to the polygon tool and delete the top anchor points using the Delete anchor point tool.
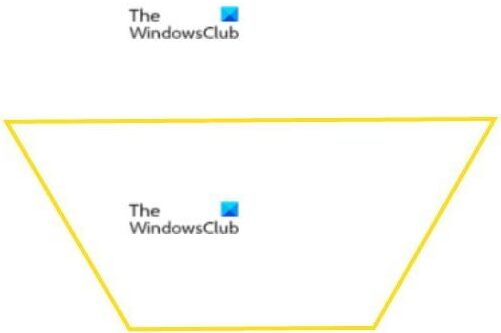
When the anchor points are deleted, the polygon tool will look like the picture above.
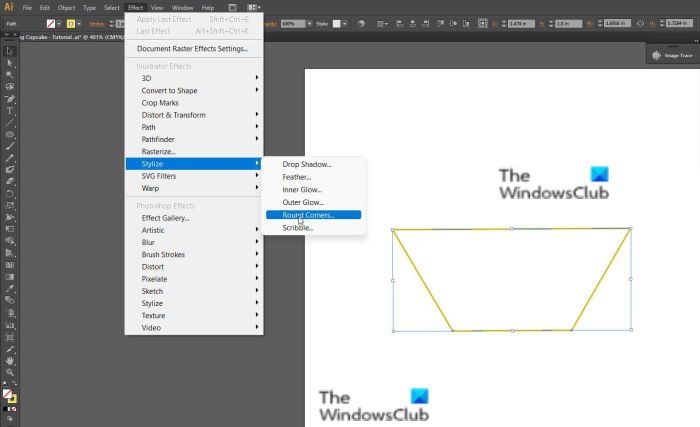
Click on the polygon tool to select it, go to Effect, then Stylize, then click Round corners.
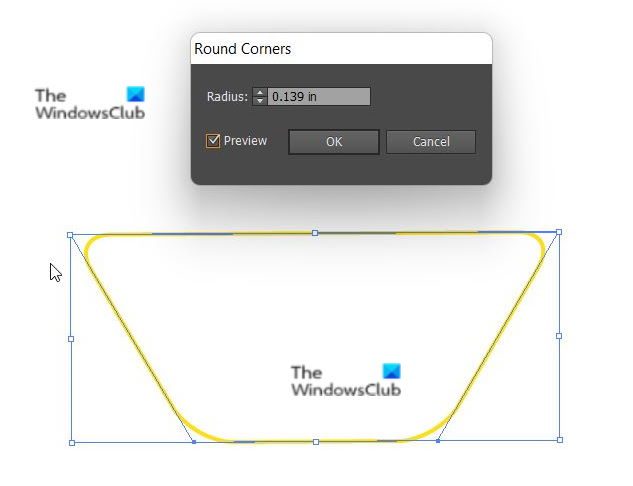 The rounded corner dialogue box allows you to choose to what radius you want to round the corners. Click preview to get a preview of the corners being rounded as you increase or decrease the numbers in the rounded corner box. Click ok when you reach the desired roundness of the edges. Choose the rounded look that best fits your design.

Click and hold the polygon tool until there is displayed a list of the other tools then select the ellipse. The keyboard shortcut for the ellipse tool is “L.” Hold Shift + Alt + Left mouse button while dragging to create a small circle. Holding shift + alt while dragging will cause the circle or any other thing you are dragging or resizing to be increased or decreased at the same rate all around. In this case, the circle will be perfectly round.
Another option to create the ellipse is to click the ellipse tool then click a spot on the screen then a dialogue box will appear, and you enter the desired size, and it will create the shape based on the dimensions entered.
 Move the circle to the top of the shape that was created from the polygon tool and make the line of the shape pass through the circle. Be sure that the circle and the other shape have a stroke but no fill. This will make it easier to see the crossing of the lines. Hold alt and click on the first circle and drag it to the right to create a second circle. The second circle must touch the first circle closely without overlapping. When the second circle is created, hold Ctrl and press D to duplicate the action. Do this until the circles fill out the top of the shape.
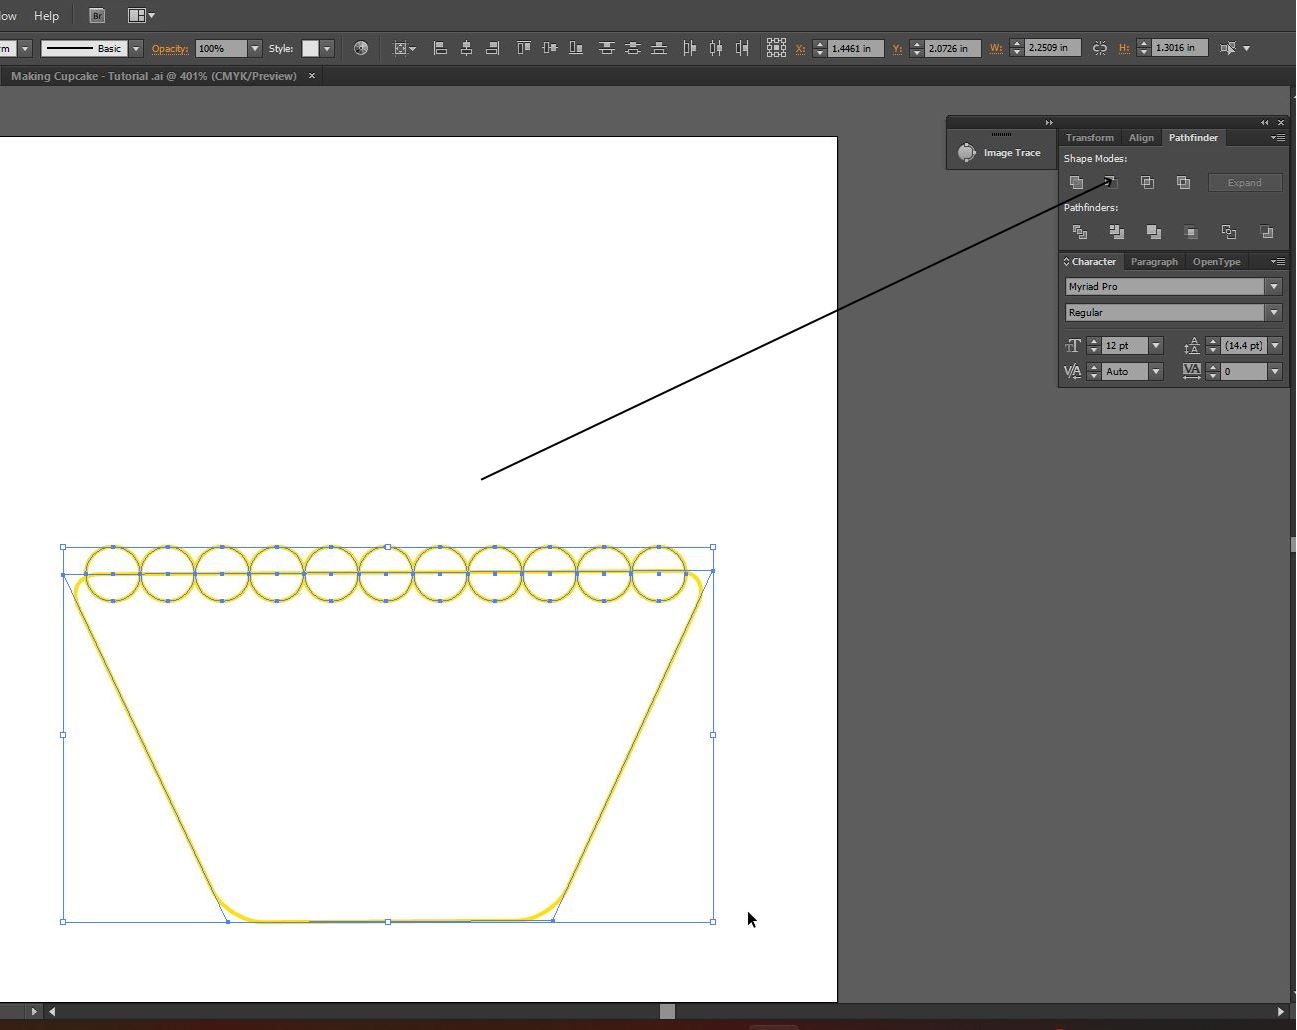
Select all the shapes (circles and shapes made from the polygon tool) and click Minus front on the pathfinder window. If you do not have the pathfinder window opened, just add it by going to the top of the Illustrator window and click the window then look for pathfinder and make sure to click it. You can also bring up the pathfinder window by using the shortcut Shift + Ctrl +F9.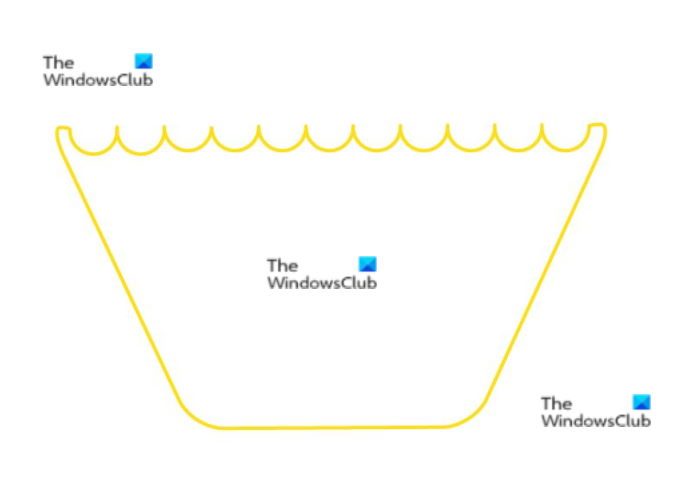
After clicking Minus front, the tool will remove parts of both sets of shapes and combine them to give one new shape. You may have something slightly different, but you can adjust the circles until the shape looks like it should. The shortcut for Undo (Ctrl + Z) will come in handy as you may need to undo a few times until the shape is perfect.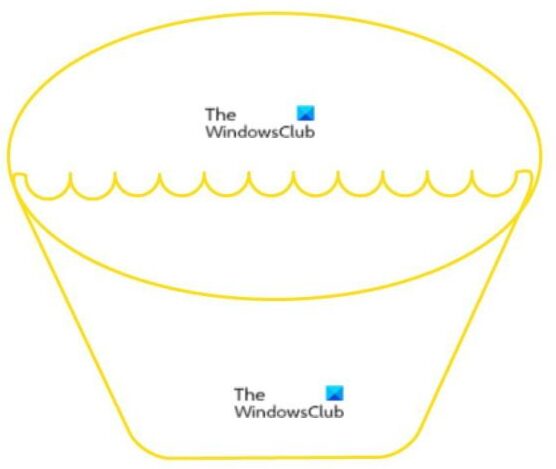
Select the ellipse tool and draw an ellipse shape that would go over the top of the shape. The important part is that it should go from one end to the other. You should have something like this.
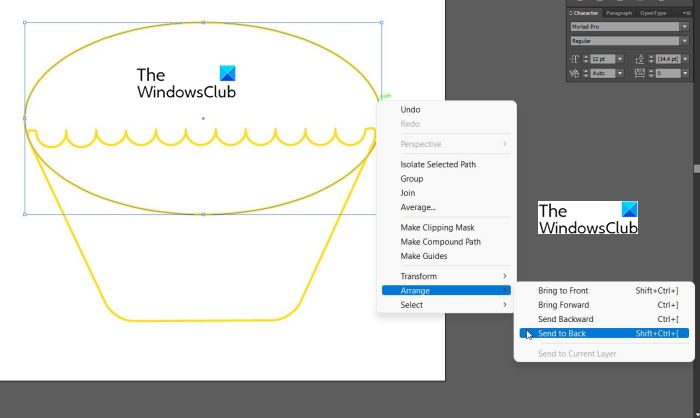
Right-click on the new ellipse tool, scroll down to Arrange and click Send to back. This will send the ellipse tool behind the other shape which you can see in the bottom of the cupcake. The keyboard shortcut for sending to back is Shift+ Ctrl + [.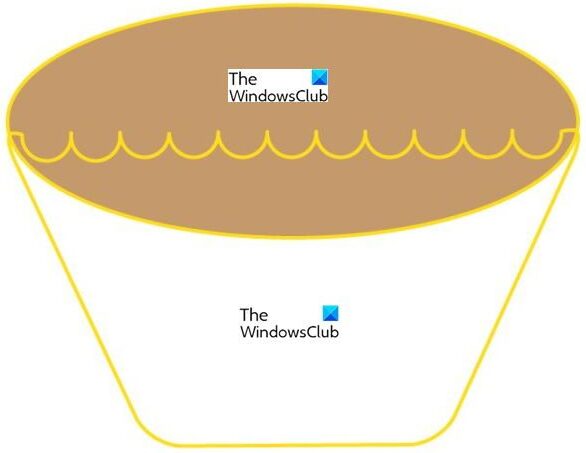
Click on the ellipse and give it a color that you would like to be the color of your cupcake. Remember that the ellipse is the top of the cupcake that is shown above the paper that is wrapped around the bottom of the cupcake. Remove the stroke color from the ellipse that is the top of the cupcake but that depends on the design you have in mind.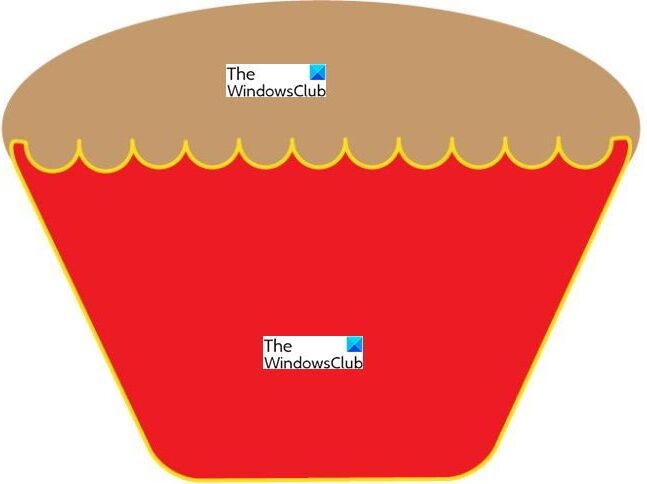
Select the shape that is representing the bottom of the cupcake and give it a fill color of your choosing. Remember that this is not the actual cupcake but the paper that holds it so you can be creative with the color choice. However, choose a color that goes with your theme or logo.
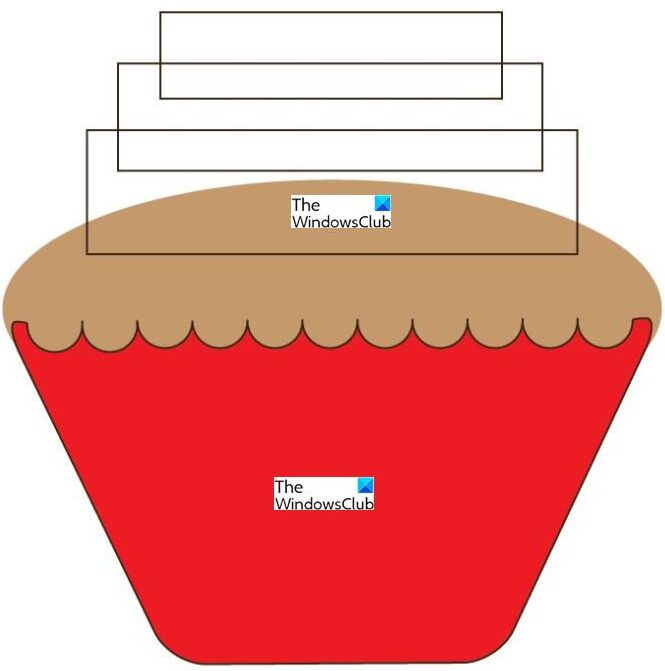 To make the icing on the cupcake we can use the rectangle tool and curve the edges. Draw a rectangle and copy it using Alt + click and drag, make them different sizes, and put them on each other causing an overlap. Make sure there is no fill color but add stroke so that the shapes can be seen.
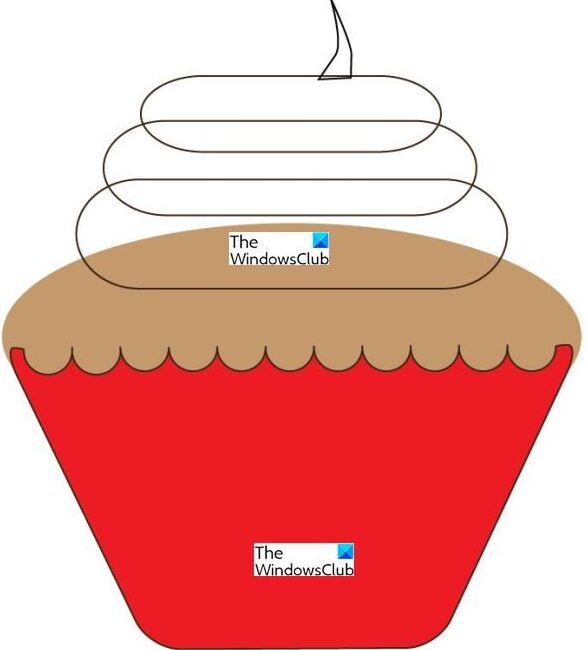
Click on the rectangles then go to effect then stylize and choose round edges. A radius of .25 should be enough, but you can choose what suits your needs. You can preview to see the outcome. Place a triangle on top of the rounded rectangles and warp it. That warped triangle will serve as the tip of the icing. You can use the warp tool, pen tool, or mesh tool to warp.
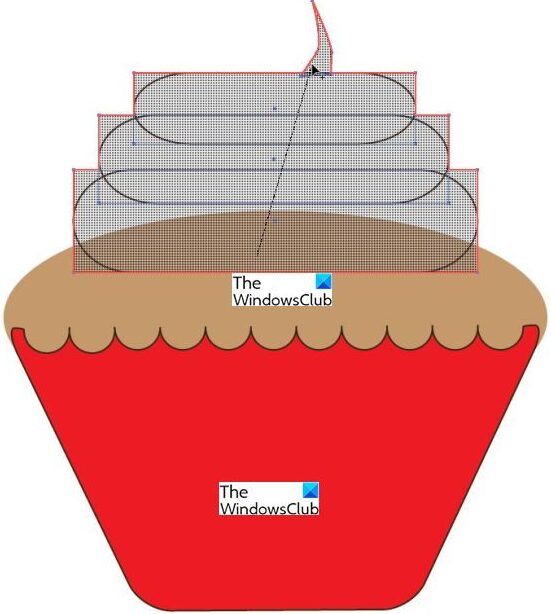
Select the three rounded rectangles and the warped star/shape then go to the left pane and click the Shape building tool. Hold the left mouse button while dragging the Shape building tool straight through all four shapes. The Shape building tool will merge the shapes into one.
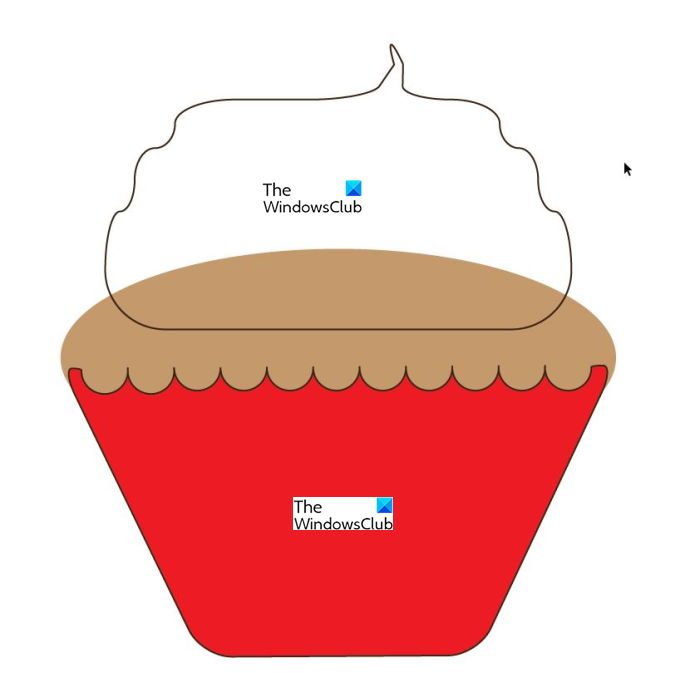 This is what the shapes will look like when merged, they will flow into one and then color and other things can be added to it to get it to look like frosting/icing on a cupcake.
Read: How to open RAW image in Adobe Photoshop
3] Completed Cupcake
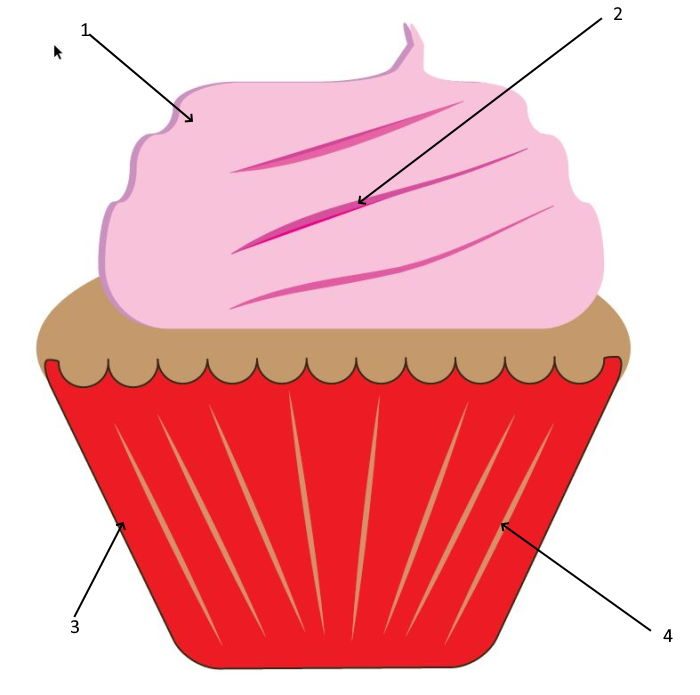
- Icing/frosting – Color added and was duplicated with one behind the other, the one in the back is in a darker color to give a raised 3D look.
- Lines on the icing – 3 lines that were given a stroke of 2 and were warped with the Warp tool. Variable line width is achieved by using the Variable width profile.
- Cupcake wrapper – The polygon tool is colored and given a thin stroke.
- The Cupcake paper lines are from the line tools and given color and stroke and opacity turned down to 50%.
The completed cupcake can be used as an addition to logos, or it can be a standalone logo, food pictures, and as many other uses as you can imagine. Creating your own artwork can help you avoid copyright infringements; it can also be cheaper than having to pay a professional to create artwork for your business.
Read: How to create Instagram Carousels in Photoshop
4] Saving for Use
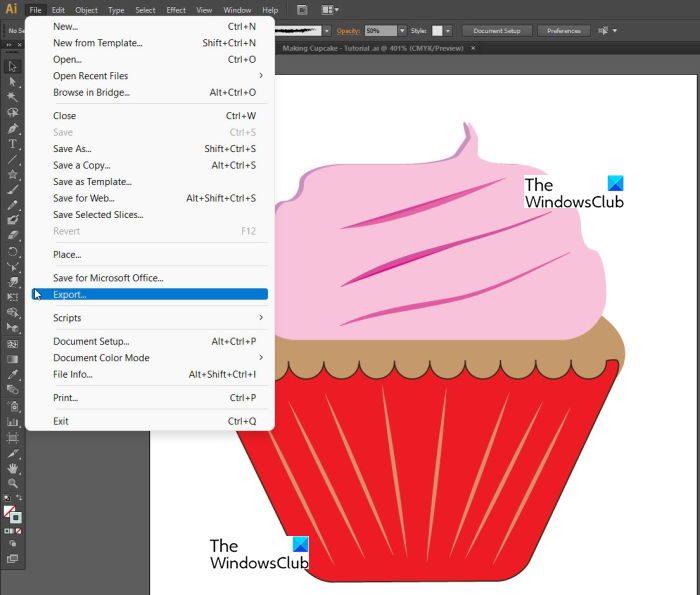
Adobe Illustrator allows the export of the finished file to different formats that can come in handy later.

When saving go to File, then Export then chose the appropriate file format, then select Use artboards and then click All. When all that is done you click Save.
- The PNG format allows for the saving of the file without the background. This is useful for times when you need to use the file, but you do not need any background present.
- The JPG allows for smaller files, but it will usually have the background present.
Saving in different color modes helps when the file will be used for different purposes. CMYK format is best for printing while RGB is best for displaying on screens.
Different file resolutions 75, 150, and 300 are the standard sizes that are used, and they will give different file sizes and image quality. The better the quality, the bigger the file and the more physical space that is needed to save it.
Try to know as much about the use of the file and start with the matching resolution and save in the matching file type and size.
How do you draw a cup in Illustrator?
The steps to make a Cup in Adobe Illustrator are in short:
- Launch Adobe Illustrator
- Draw an Oval using Ellipse Tool
- Draw a Triangle halfway down the Oval using Side Anchors
- Round the bottom edges of the Triangle
- Next, create the inside of the Cup as per your choice
- Fill the Cup with a Color
- Draw the Cups’ handle
- Save the Cup image.
How do you make a 3D Cup in Illustrator?
To create a 3D Coffee Cup in Adobe Illustrator, you will have to make use of the 3D Revolve Effect tool, and the procedure is similar to what is explained in this post.
Leave a Reply