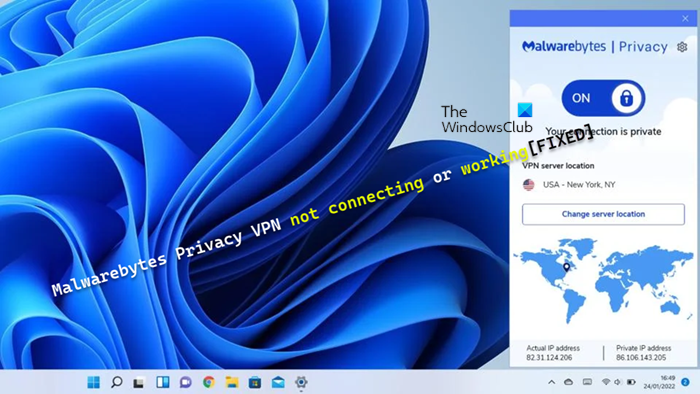
You may encounter the issue whereby the Malwarebytes Privacy VPN is not connecting or working on your Windows computer. It could happen after you recently updated the VPN software or any other Malwarebytes product) on your device. This post offers tailored fixes to this issue.

Malwarebytes Privacy VPN not connecting or working
If Malwarebytes Privacy VPN is not working or connecting on your Windows 11/10 device, then the applicable fixes provided below will help you resolve the issue on your system.
- Run a speed test with Malwarebytes Privacy VPN enabled and disabled
- Update drivers
- Uninstall Bonjour (if applicable)
- Update or uninstall Java (if applicable)
- Additional Troubleshooting
- Contact Malwarebytes Support
Let’s see these suggested fixes in detail. Before you begin, make sure Windows is updated to the latest version/build on your PC. These updates, including the Optional Updates that are released usually, will fix any bugs that can impact the normal function of programs that run on your device.
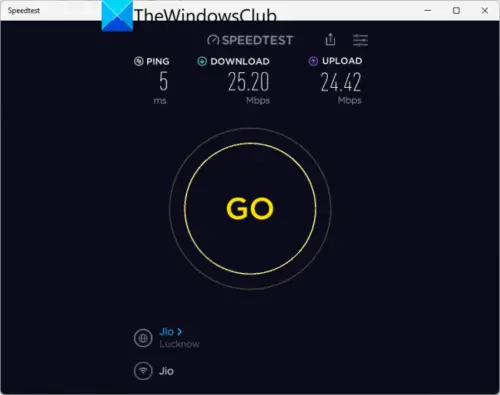
1] Run a speed test with Malwarebytes Privacy VPN enabled and disabled

You can run an internet speed test to check your internet connection. Make a note of the ping, download, and upload results. If the ping is too high (more than 100ms) or if the download speed is too low (less than 1Mbps) then this could be the reason why the Malwarebytes Privacy VPN may not be working or connecting on your PC.
You can try connecting your computer to another network (Wi-Fi, mobile hotspot, Ethernet cable, etc.) and see if there are any improvements are moments when the PC is connected to the internet via Malwarebytes VPN. If the issue persists, you can try to resolve any connectivity issues on your PC that might be the culprit here. You may need to contact your network administrator or your ISP to determine which network or router settings may be possibly blocking the VPN connection on your computer.
Read: VPN is blocked by the Router
2] Update drivers

Your system may have a few minor issues which may be part of the issue, but having poor or inconsistent connections is semi-normal, but it should be rare, not the norm. If you’re seeing this often, there may be something more going on with the computer that you’ll need to look into,o like missing or outdated drivers.
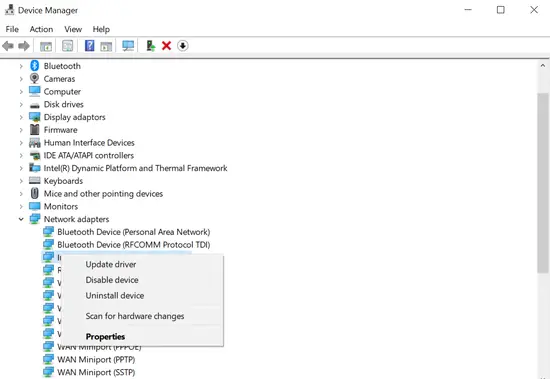
For this solution, you need to make sure your drivers are updated with particular attention to the PCI controller for data collection and signal processing, and your network adapters – below are your options.
- You can manually update drivers via Device Manager if you have already downloaded the .inf or .sys file for the driver, or update drivers via Command Prompt.
- You can as well get the driver updates in the Optional Updates section under Windows Update.
- You can download the latest version of the driver from the manufacturer’s website.
- You can automatically update your drivers using any of the free Driver Update Software for Windows 11/10 PC.
Read: What is TAP-Windows Adapter v9 and why does your VPN require this Driver
3] Uninstall Bonjour (if applicable)
Certain programs can often be faulted due to various issues, but these are also only transient issues that do not happen repeatedly or continue for days. That said, investigations revealed that some affected PC users had Bonjour installed on their system, and uninstalling Bonjour seemed to fix the problem.
In addition, you can troubleshoot in the Clean Boot state and see if the VPN runs smoothly in the Clean Boot state, then you may need to manually enable one process after the other and see which the offender is that creates problems for you. Once you have identified it, you need to disable or uninstall the software that uses this culprit process.
4] Update or uninstall Java (if applicable)
Investigations also revealed that some affected PC users had an old, compromised version of Java on their Windows 11/10 system. To resolve the issue, you need to uninstall Java via Control Panel > Programs > Programs and Features. If possible, you can try to use your computer without Java as very few programs require it. After you have removed Java from your system, restart your computer and see if that solved the problem. If not, continue with the next fix.
5] Additional Troubleshooting
1] Change your DNS settings to any of the third-party Public DNS servers and see if that helps. In addition, if the DNS settings are corrupted, it can prevent certain applications (in this case, the Malwarebytes Privacy VPN app) from making contact with the internet – flushing the DNS might solve the problem.
2] Change server location in Malwarebytes Privacy VPN. You will need to do this if you notice the internet speed is slow when Malwarebytes Privacy is on as you may lose some speed when running Malwarebytes Privacy because it takes time to encrypt your data. Troubleshooting this issue will depend on the internet speed test carried out in 1] above. If the download and upload speeds are slower with Malwarebytes Privacy toggled on, select a server location closer to your physical location. This can improve your connection speed. If the download and upload speeds are slower than your internet subscription’s expected range with Malwarebytes Privacy toggled off, contact your ISP for assistance.
3] If you are unable to access an app or site, like a video streaming service, then it’s likely the site may prohibit you from viewing its content while running a VPN. In this case, you can temporarily toggle Malwarebytes Privacy OFF to access the site.
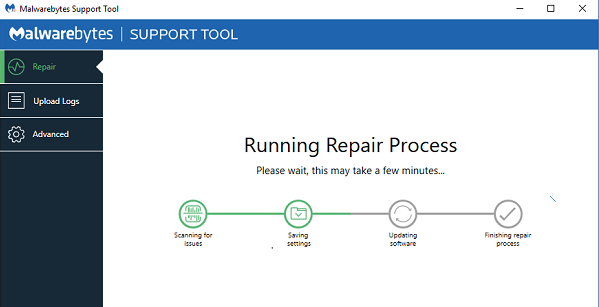
5] Uninstall, and reinstall Malwarebytes VPN & other products. On your Windows 11/10 device, you may need to uninstall Malwarebytes VPN and other products like the Malwarebytes AV using the Malwarebytes Support Tool. Follow these steps:
- After uninstalling Malwarebytes Premium, do not reinstall immediately, when prompted decline the installer.
- Next, head over to Control Panel > Programs > Programs and Features and uninstall Wintun-Windows and Malwarebytes Privacy.
- Once done, shut down the computer, and power off your router by switching it off or unplugging it.
- Wait 2 minutes then plug the router back in and power it on and wait 2 more minutes then turn the computer back on.
- On boot, you can now download Malwarebytes and reinstall it and activate it, then restart the computer again.
- On boot, you can now download Malwarebytes Privacy VPN and reinstall it and activate it, then attempt to connect with the VPN.
Read: Fix Malwarebytes high CPU and Memory usage on Windows
6] Contact Malwarebytes Support

At this point, if the issue is still unresolved, then you can go ahead and submit a support ticket to Malwarebytes Support at support.malwarebytes.com. You may have to include log files that can help troubleshoot the issue and possibly find a solution. To collect the logs on your system, do the following:
- Download the Malwarebytes Support Tool.
- In your Downloads folder, open the mb-support-x.x.x.abc.exe file.
- In the User Account Control pop-up window, click Yes to continue the installation.
- Run the MBST Support Tool.
- In the left navigation pane of the Malwarebytes Support Tool, click Advanced.
- In the Advanced Options, click Gather Logs.
A status diagram displays the tool is Getting logs from your machine. Once done, a zip file named mbst-grab-results.zip will be saved to your desktop which you can upload. If Malwarebytes Support weren’t helpful, based on your VPN preference, you can consider switching to an alternative VPN service provider and see.
I hope this post helps you!
Now read: VPN connected but cannot browse the internet
Does Malwarebytes block VPN connections?
To ensure your connection remains secure while accessing apps or sites that contain sensitive personal information, such as online banking, and items that have been added to the Require VPN list, Malwarebytes Privacy will block internet connection to the application IP address, or port unless the VPN is turned on. You can disable VPN blocking in Windows 11/10 via View Network Connections, right-click on the particular VPN you want to turn off, and select Disable.
Read: Malwarebytes blocks Program or Website; How to add Exclusions?
What stops a VPN from connecting?
Generally, suppose a VPN is not connecting to the internet. In that case, it’s usually due to several reasons like firewalls, blocked ports, outdated VPN software, issues with your router, or incorrect settings. In most cases, make sure that your firewall allows for use of the VPN, that your VPN software is updated, and that the right ports aren’t blocked. In the case your ISP might be restricting access, you can solve this problem by switching to a different server, port, or protocol.
Generic suggestions: VPN is not working on Windows PC.
Leave a Reply