For some PC users, reportedly, McAfee won’t open or start on their Windows 11 or Windows 10 computers. This post provides practical solutions to the issue.

You are likely to encounter these issues because one of the critical files included in some versions of LiveSafe or Total Protection is now out of date. Specifically, the affected versions of McAfee software, and one of the certificates used to sign some component files in these apps have expired. When your McAfee software detects the expired certificate, the app stops working.
Some other possible reasons why your McAfee is unresponsive include;
- You might have a virus or malware infection on your PC.
- Your installed McAfee files might have become damaged or corrupt.
- You might have a problem with the McAfee battery check feature.
McAfee not opening on Windows 11/10
If McAfee won’t open, launch or start on your Windows 11/10 computer, then the solutions we have presented below in no particular order can resolve the issue on your PC.
- Restart PC
- Run AV scan
- Verify if the installed McAfee is working properly
- Run McAfee TechCheck utility
- Check and resolve the battery check issue
- Reinstall McAfee
Let’s see these fixes in detail.
1] Restart the PC
The first troubleshooting step you can take if on your Windows 11/10 computer is to restart your PC and see if that solves your problem. If not, then proceed with the next solution.
2] Run AV scan

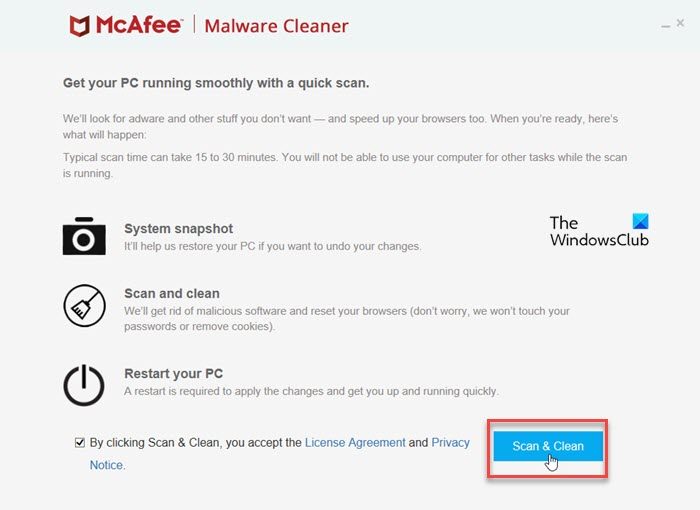
Some types of malware try to stop your McAfee software from opening or installing. To rule out the possibility of a malware infection on your PC, we recommend that you scan your computer using the free McAfee Malware Cleaner tool, which doesn’t require installation.
McAfee Malware Cleaner (MMC) cleans malware, adware, viruses, and other threats from your Windows computer. In addition to virus scanning, MMC performs additional actions to stop malware from spreading and compromising the data on your PC.
3] Verify if the installed McAfee is working properly

For your security software to be effective, it must ‘know’ about the latest viruses, ransomware, malware, and other threats. So, before you do any other checks, ensure that your software is up to date.
On a Windows PC, ensure that your software is up to date with the following steps:
- Right-click the McAfee shield icon on the taskbar next to the clock. If the McAfee icon isn’t visible, select the chevron (show hidden icon) button to find the McAfee shield icon.
- Click Check for updates.
- Wait for the update to complete. A message lets you know that you’re up to date.
Next, ensure that the various features in your McAfee software are turned on. Here’s how:
- Open your McAfee product.
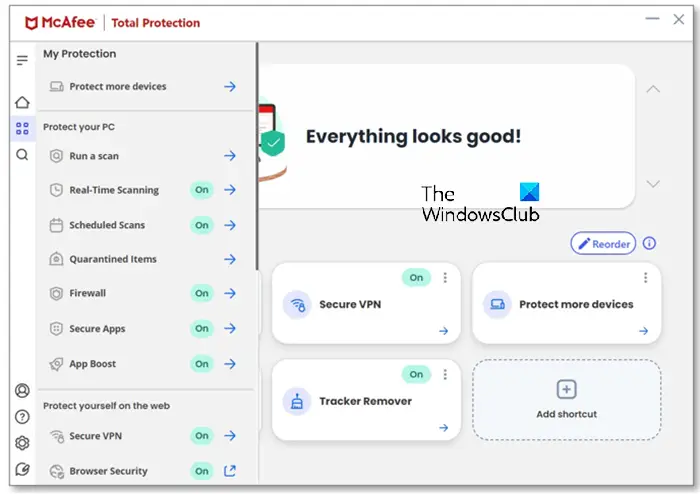
- On the left menu, click the My Protection tab.
- Make sure that the following security options are turned on:
- Real-Time Scanning
- Scheduled Scans
- Firewall
- Automatic Updates
- If any of the security options are turned off:
- Select the option (such as Firewall).
- Click Turn On.
4] Run the McAfee TechCheck utility

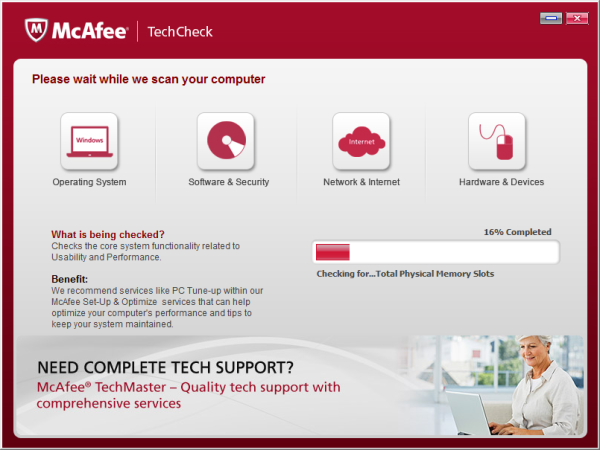
This solution requires you to run the McAfee TechCheck utility and see if that helps you resolve the issue. If not, you can proceed with the next suggestion.
5] Check and resolve the battery check issue
You first need to check if your main version is 15.0 .x or 15.3.x, you need to disable the battery check by following the steps below. Otherwise, you can apply the other solutions presented in this post to fix the other possible causes, such as corrupt files or a possible virus infection.
- Create a folder called McAfee in the root of your C drive. For example, C:\McAfee.
- Next, check to see if your computer has a 32-bit or 64-bit processor chip.
- Next, depending on your system architecture, download the TurnOffCSPBatteryCheck_x86.zip from kbresources-consumer.mcafee.com or TurnOffCSPBatteryCheck_x64.zip to the McAfee folder you created.
- Next, extract the archive file in the McAfee folder you created.
- Next, open Command Prompt in administrator mode and type the command below and hit Enter:
cd c:\McAfee
- Now, run the tool that you downloaded. For example, if you downloaded the 64-bit tool, type the following and press Enter:
TurnOffCSPBatteryCheck_x64
- Restart your PC when prompted.
On boot, check if the issue is resolved or not. If the latter is the case, then you can proceed with the next solution.
6] Reinstall McAfee
If you have verified if the installed McAfee is working properly as described above but the issue persists, then you can use the McAfee Consumer Product Removal tool (MCPR) to completely uninstall McAfee software. Once done, you can proceed to install the software once again on your Windows 11/10 device.
We hope this helps!
Read next: McAfee Security Scan Plus is not compatible
Why is McAfee not starting automatically Windows 11/10?
The reason the McAfee Icon does not immediately show up in your system tray when you boot your Windows 11/10 system is due to the fact Microsoft has requested that McAfee/Other Partners delay certain services upon reboot. This is to allow Windows services to load. Your McAfee protection still exists at start-up.
Also read: McAfee VPN not working
Does resetting the PC remove McAfee antivirus?
A System Restore doesn’t affect your documents, photographs, and other personal data files. Although your data is not affected, System Restore can affect many applications on your PC, including McAfee LiveSafe or Total Protection.
Leave a Reply