Creating and fixing the types of appointments can sometimes be a major impediment to business progress. A simple tool from Microsoft, Microsoft Bookings, saves you a great deal of time in this regard. In fact, the tool can play an important role in revolutionizing your business. All you need is a little knowledge about Microsoft Bookings deployment for your own enterprise. This post shows how to enter business information in Microsoft Bookings.
Microsoft Bookings Business Page
The information you provide on Microsoft Bookings Business Information Page is displayed on the page customers use to book appointments (known as the booking page) and in messages and reminders sent to them by Bookings.
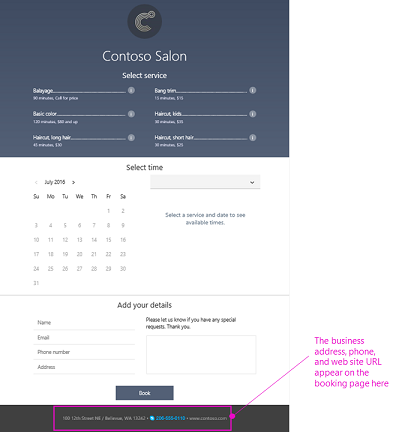
Enter information in Microsoft Bookings Business Information page
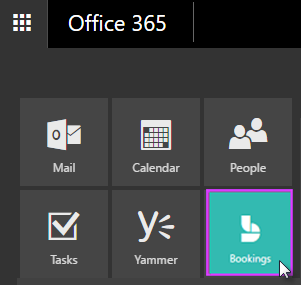
In Office 365, select the app launcher, and then select Bookings.
Next, navigate to the navigation pane and select Business information.
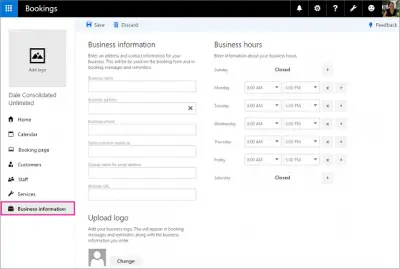
Enter your business information like business name, address, and phone number.
Next, under ‘Send customer replies to’, enter the email address you want to share with customers on your booking page.
Thereafter, under ‘Display name for email address’, enter the friendly name you want to be displayed for customers in place of the email address.
When done, go to Website URL, enter the URL of the home page for your business and select Save.
Next, upload your company logo.
Setting your business hours
By default, the business hours in Microsoft Bookings app are set to 8 a.m. to 5 p.m., Monday through Friday. Times are provided in 15-minute increments. To change the default time settings, go to the Business information page and under Business hours, use the dropdowns to select start and end times for each day. Click + to add start- and end-time selectors.
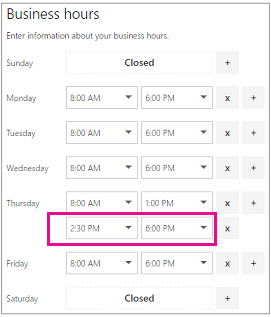
At times, you may feel the need to block out a portion of each day, or part of a day each week for some reason. You might not want to schedule customer appointments during these times. For this, navigate to the business information page and under Business hours, select a start and end time for Thursdays. In this example, we have set 8:00 a.m. to 1:00 p.m.
Select + to create a new row for Thursday.
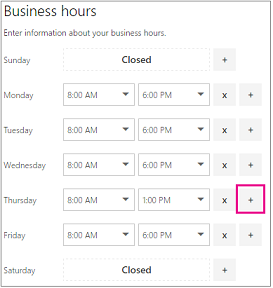
In the new row, select 2:30 p.m. for the start time and 6:00 p.m. for the end time.
Select Save.
Now, when a customer goes to your booking page, he will see that your business is closed from 1 to 2:30 on Thursdays.
Visit microsoft.com to get started.
Informational article thanks