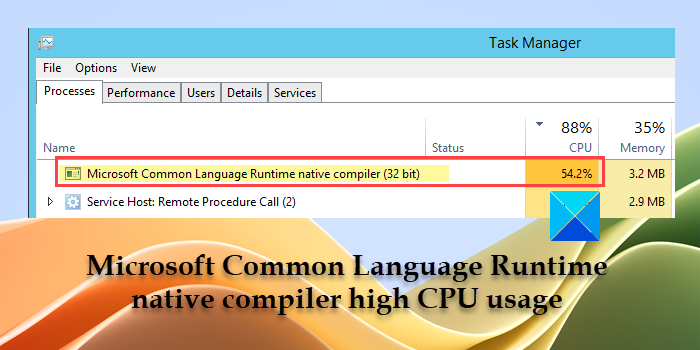
In this post, we will show you how to fix high CPU usage caused by Microsoft Common Language Runtime native compiler. CPU is an essential component of a computer system that performs the fundamental operations needed by the application processes to work. When these processes take up a significant amount of CPU, performance issues occur within the system. Microsoft Common Language Runtime (CLR) native compiler, also known as ngen.exe, is one such process that is known to cause high CPU usage on a Windows PC.
What is the Microsoft Common Language Runtime?
The Common Language Runtime (CLR) is a runtime environment that allows easy execution of programs written in multiple languages (VC++, C#, VB.NET, J#, JavaScript, etc.) under the .NET framework. It acts as an intermediary between the code and the underlying operating system.
Microsoft Common Language Runtime (CLR) native compiler or ngen.exe is an integral part of the .NET framework. It provides a run-time environment for managing the execution of applications written for the .NET platform, regardless of their programming language. Apart from compiling the code into machine language, it performs exception handling, garbage collection, and thread management to improve the performance of managed applications in Windows.
Microsoft Common Language Runtime native compiler high CPU usage
When ngen.exe runs the compilations, it sometimes uses a tremendous amount of CPU, causing the system to freeze. This happens when ngen.exe has to process a huge amount of data pertaining to a large batch of .NET updates or installations. Nevertheless, you can mitigate the Microsoft Common Language Runtime native compiler’s high CPU usage by following these fixes:
- Update, repair, or reinstall Microsoft’s .NET Framework
- Check for software conflicts
- Install Windows Update
Let us see these in detail.
1] Update, repair, or reinstall Microsoft’s .NET Framework
An outdated or corrupt .NET framework may cause issues with the ngen.exe process. Updating the framework to the latest version or repairing/reinstalling the framework might help fix these issues, including the high CPU usage issue.
A] Update .NET Framework
To manually update the .NET framework, go to Microsoft’s official website and download the latest version of the .NET framework. Double-click on the downloaded file and install the framework to your Windows PC following the on-screen instructions.
B] Repair .NET Framework
To repair the version of the .NET framework installed on your PC, use Microsoft .NET Framework Repair Tool.
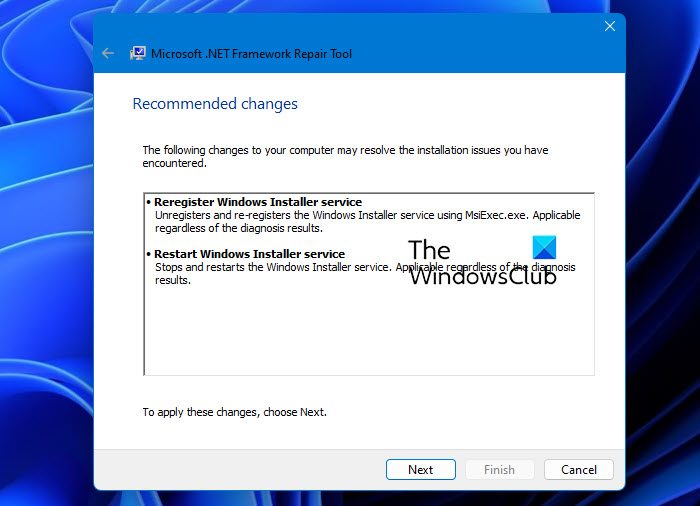
Download the tool from Microsoft’s official website and double-click on the downloaded file (netfxrepairtool.exe) to run the tool. Click on Yes in the UAC prompt. Accept the terms and click on Yes to proceed. The tool will scan the corrupted installation of the .NET framework and suggest changes to repair the issues. It will also fix issues with a failed .NET installation/update.
Click on Next to apply the changes. Click on Finish to close the repair tool.
If the repair tool doesn’t help, you may repair the .NET framework by disabling and then re-enabling the feature from Optional Features in Windows.
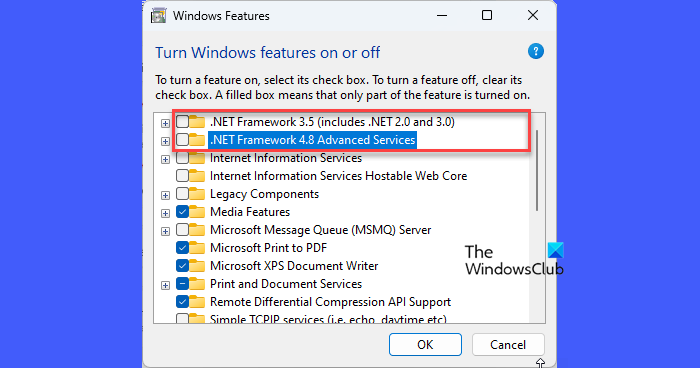
Open the Control Panel and click on Program and Features (change the view to large/small icons). Click on Turn Windows features On or Off in the left panel. De-select the .NET Framework 3.5 and .NET Framework 4.8 Advanced Services options. Click on the OK button.
Windows will disable the .NET framework on your PC. Reboot Windows and again go to ‘Programs and Features’ in the Control Panel. Open the Windows Features window and select the .NET Framework 3.5 and .NET Framework 4.8 Advanced Services options. Click on the OK button.
On the next screen, click on the Let Windows Update download the files for you option. Allow Windows to re-enable the .NET framework on your PC. Reboot your PC to apply changes.
C] Reinstall .NET Framework
You may perform a clean install of the .NET framework on your Windows PC using PowerShell, as follows:
Run PowerShell using administrator rights. Type the following cmdlet in the PowerShell window and press the Enter key:
Get-Package -Name “Microsoft .Net*” | Uninstall-Package

If you’re prompted to install NuGet (a packet manager required for the action), type Y and press Enter. PowerShell will uninstall the .NET framework from your PC.
Next, type the following command and press the Enter key:
winget install Microsoft.dotNetFramework
PowerShell will reinstall the latest version of the .NET framework on your Windows PC. Reboot your PC to save changes to the system.
2] Check for software conflicts
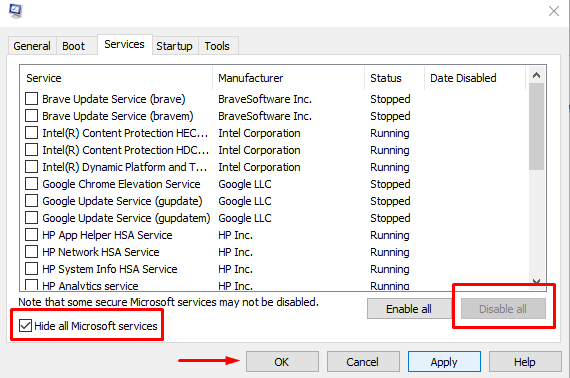
There may be some third-party software/service conflicts that may be causing high CPU usage by the Microsoft Common Language Runtime native compiler. Check if the issue appears in the Clean Boot mode. If not, identify the process/service that’s causing the issue (by disabling and then re-enabling the non-Microsoft services one by one). Stop the service or uninstall the conflicting program to fix the issue.
3] Install Windows update
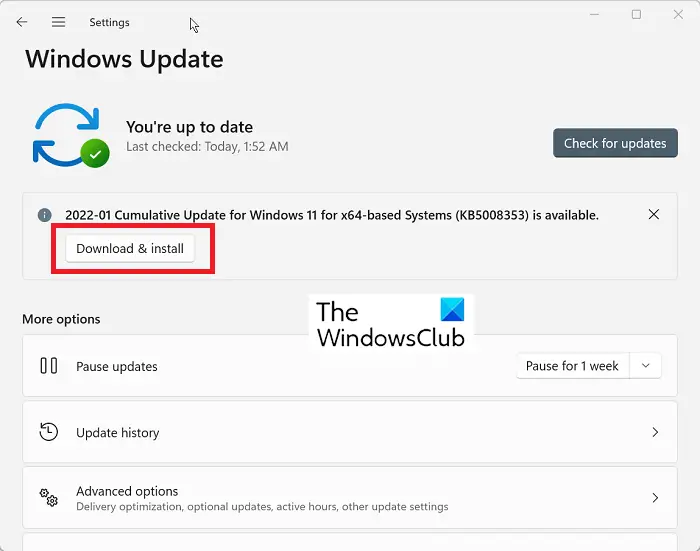
Windows Updates often contain patches and bug fixes that help resolve performance issues in Windows. If you have pending Windows Updates, install them and see if it fixes the issue.
I hope this helps.
Also Read: Fix 100% Disk, High CPU, Memory, or Power usage in Windows.
Why is my CPU at 100 when nothing is running?
Task Manager glitches, antivirus settings, and background processes are some of the factors that can contribute to too much CPU usage in Windows, even when no program or app seems to be running. To fix the issue, you may run the SFC or DISM scan, run the CHKDSK scan, or uninstall third-party browsers from your PC.
Read Next: Fix Microsoft Language IME high CPU usage in Windows.
Leave a Reply