Microsoft has made one of its best tools to create Automated Workflow, Microsoft Power Desktop Automation available free to all. It has a simple UI that allows you to automate any task by using the 370 pre-built actions. In this article, we are going to see how to use this software to create a simple workflow.
Power Automate Desktop for Windows systems
Microsoft bought WinAutomation and rename it Power Automate Desktop. WinAutmation was already one of the most renowned RPA or Robotic Process Automation programs. It has been helping users to create a UI workflow for ages.
How to use Power Automate Desktop to create a UI workflow?
As mentioned earlier, Power Automate Desktop has a simple UI and you can create a UI workflow effortlessly. You can add any process to the mix by just dragging it from the left panel of the window to the main screen.
- Download & install the application
- Create a Work Flow
- Input Variable
- Run and Record
- Save your Work.
So, let us see how to do it in short.
1] Download the application
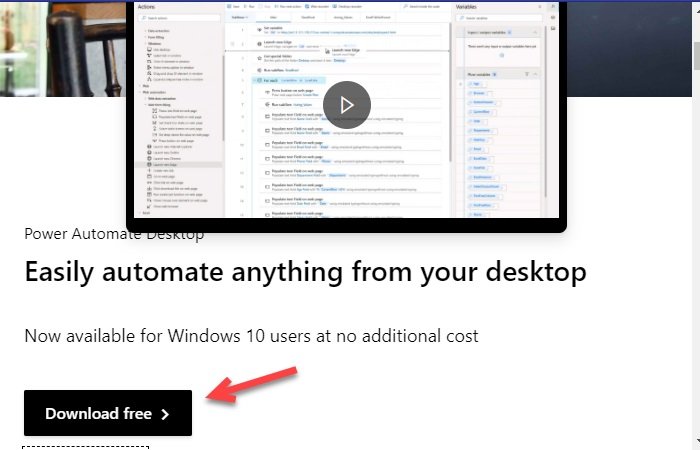
Download the software from Microsoft’s official website for free and install it on your computer. It is available for Windows 10 users at no additional cost.
One thing you need to make sure while setting up the application is to enter your professional Email ID as with the help of this software you can even work on shared workflows.
2] Create a Work Flow
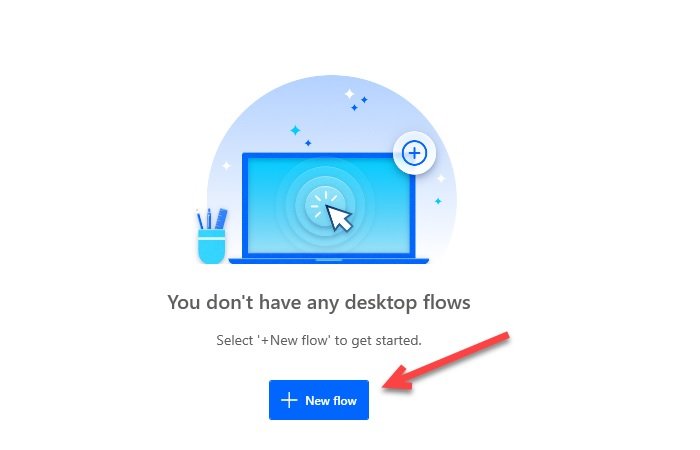
To get started with the application, click on New flow, enter the name of the workflow, and click Create.
Now, drag and drop all the actions from the left panel of the screen to create your workflow. For example, if you want to create an MS Excel workflow, expand Excel, drag all the required elements and you are good to go.
3] Input Variable
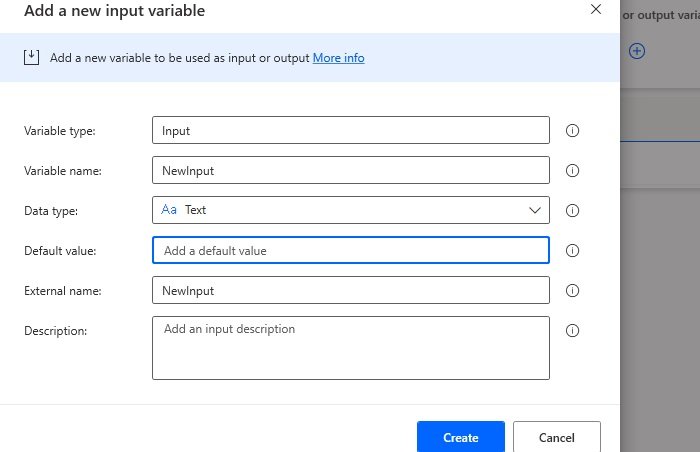
If you want to pass data to your workflow UI then Input Variable is what you need to set up. You can access Input Variable from the Input/Output Variable section placed at the right-panel of the screen.
When you click on the add button, you will be redirected to the “Add a new input variable” window. Add a Description, Data Type, and fill all the other sections.
Read: Microsoft Power Automate Tutorial – How to get started.
4] Run and Record
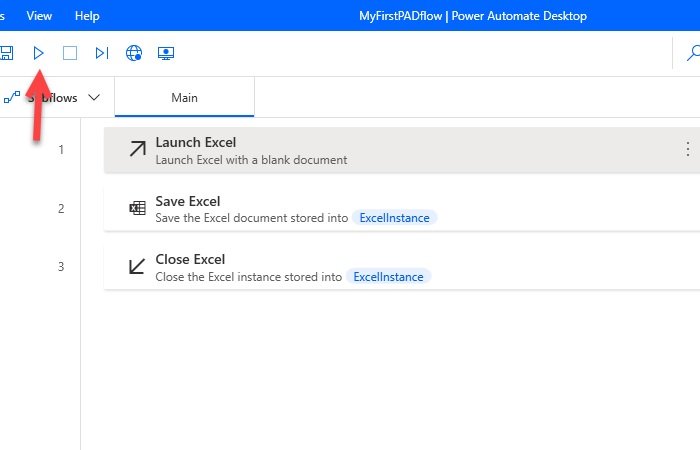
To start the process click on the Run button from the toolbar. After this you have to wait for a few seconds and wait for the process to finish. You can even run a single action by right clicking on it and selecting Run from here.
You can even record the process by clicking on the Desktop recorder button.
5] Save your Work
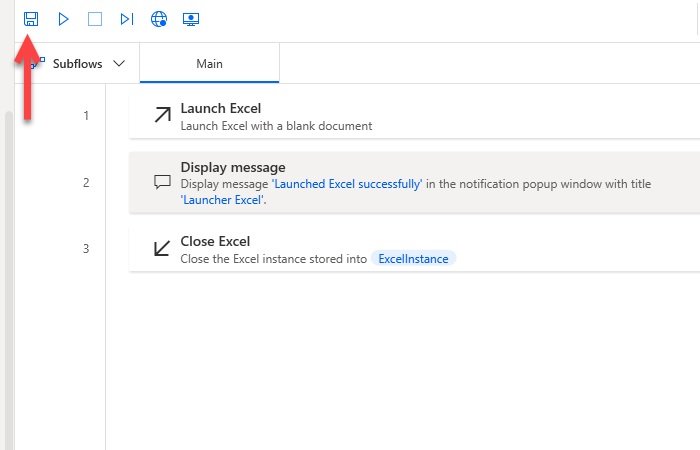
Now, to save the created workflow click on the Save button. This way your process has been saved.
Hopefully, this example has helped in creating your Workflow. You obviously can use it to automate more complex tasks.
Download free Power Automate Desktop ebook
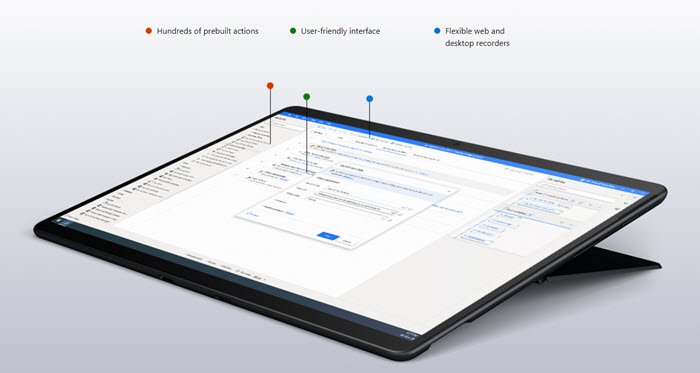
Microsoft has also made available a free ebook that you can download by going here.
In this e-book, you’ll find out how Power Automate Desktop puts the power of automation into everyone’s hands. It talks about:
- Building bots to do repetitive work for you using robotic process automation
- Automate any process from any application that runs on your PC or on the web
- Choose from hundreds of pre-built actions, record desktop and web actions using the built-in recorders.
Any feedback from you will be most welcome.
Leave a Reply