Microsoft Teams has become an essential tool for online communication and collaboration. The platform is being used widely in both personal and business settings, and it’s pretty easy to get started with. However, lately, many users have been complaining that the Microsoft Teams installation has failed in Windows 11/10.
Microsoft Teams installation has failed in Windows 11/10
While this is a rare case, if you are facing the problem, here’s how to fix it.
- Run the installer as an administrator
- Uninstall previous versions
- Delete Teams cache
- Clear Program files
- Registry cleanup
1] Run the installer as an administrator
Right-click on the Teams installer file and select “Run as administrator.” See if it works.
2] Uninstall previous versions
The error occurs mostly because of the issues that Microsoft has created with multiple versions. If you are installing Microsoft Teams on a PC where it was previously installed, then there is a high chance of facing the issue.
Start by ensuring that there’s no previous version of Microsoft Teams installed. If there is, it might cause trouble while you install a newer version of the app.
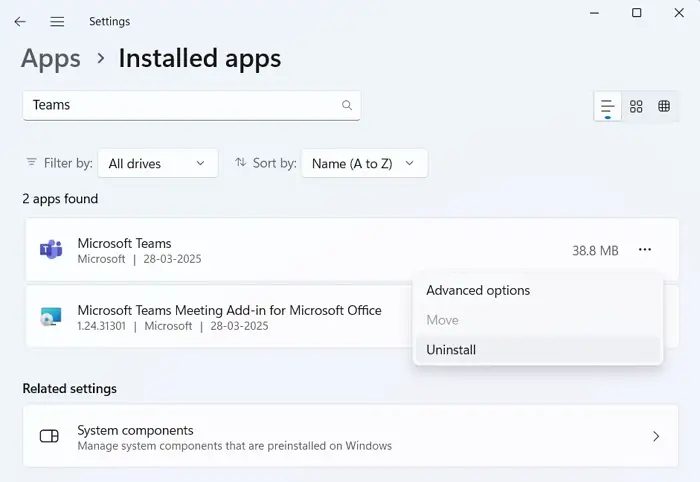
- Go to Windows Settings > Apps > Installed Apps.
- Over here, search for Microsoft Teams and Microsoft Teams Machine-Wide Installer.
- Click on the three dots icon and select Uninstall for both, one by one.
- Once Microsoft Teams is uninstalled, install it via the Microsoft Store and see if you get the same error again.
Read: Cannot install or uninstall programs in Windows
3] Delete Teams cache
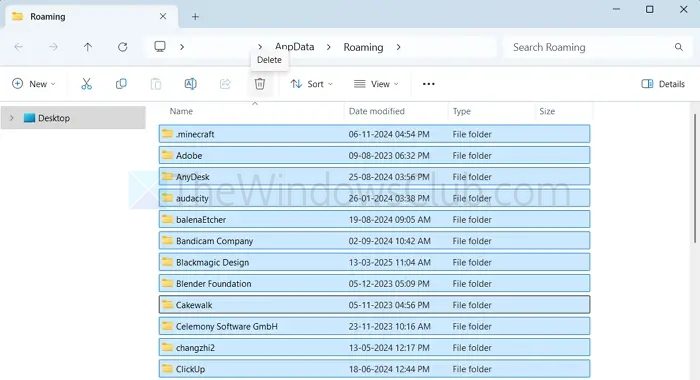
Even after uninstalling any previous version of the app, you may still encounter installation issues due to the cache.
- Press Win + R to open RUN, type %appdata%, and press Enter.
- Press CTRL + A to select all the files and then delete them.
- Once done, restart your PC and try installing Teams again.
Read: How to clean AppData folder in Windows?
4] Clear Program files
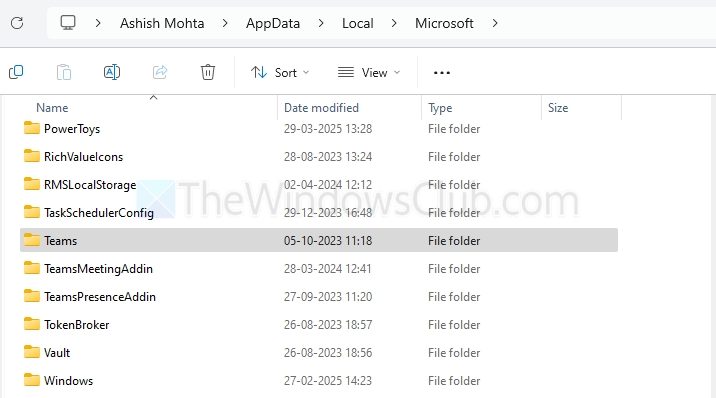
The issue could also occur due to some files being left behind after uninstalling Teams.
- Press Windows Key + E to open File Explorer.
- Go to the following path: C:\Program Files (x86)\Microsoft or C:\Users\YourUsername\AppData\Local\Microsoft
- From here, delete the Teams or TeamsMeetingAdd-In folder.
5] Registry cleanup
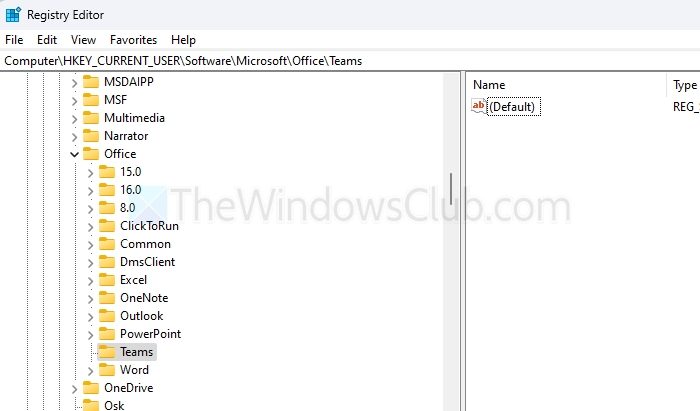
The issue could also be related to the registry. So, perform a registry cleanup before installing Teams.
- Press Win + R, type regedit, and press Enter.
- Navigate to the following paths one by one:
HKEY_CURRENT_USER\Software\Microsoft\Office\Teams
HKEY_LOCAL_MACHINE\Software\Microsoft\Office\Teams
- Delete any Teams-related keys.
- Once done, reboot and proceed ahead with Microsoft Teams installation.
So, those were a few quick ways to fix the Microsoft Teams installation has failed in Windows 11 error.
Read: How to remove cached Teams Credentials and Account
What if I encounter the “Microsoft Teams installation has failed” error while installing from the Microsoft Store?
If you encounter this error while installing Teams from the Microsoft Store, clear the Microsoft Store cache by pressing Win + R, typing wsreset.exe, and pressing Enter. After that, attempt the installation again.
How can I check if my Windows installation is causing the issue with Microsoft Teams?
To check if your Windows installation is the cause of the issue, start by checking for Windows Updates under Settings > Windows Update and installing any available updates. Running the Windows Store Apps troubleshooter in Settings > System > Troubleshoot > Other troubleshooters may also help resolve app installation issues.