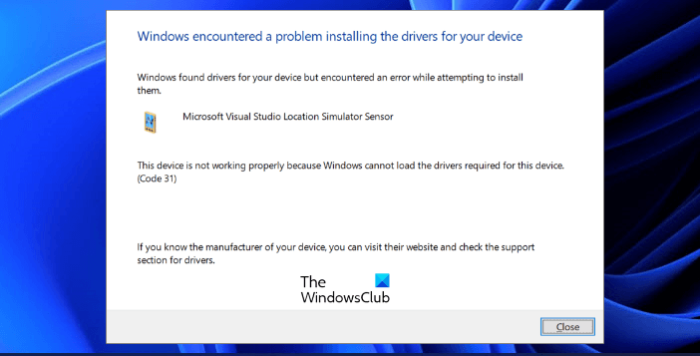
Some users are complaining that Microsoft Visual Studio Location Simulator Sensor is not working on their Windows computers. Some of them have tried updating the device driver from the Device Manager. But when they updated the driver, they received the following Device Manager error message:
This device is not working properly because Windows cannot load the drivers required for this device. (Code 31)

According to the Visual Studio developers, Microsoft Visual Studio Location Simulator Sensor was removed from the Visual Studio version 2017. But still, some users are experiencing the driver issue with Visual Studio. If this is the case with you, this article may help you fix it.
What does Microsoft Visual Studio Location Simulator Sensor do?
The Microsoft Visual Studio Location Simulator Sensor provides an environment to the developers where they can design, develop, test, and debug Windows Store apps. It also lets developers simulate the Windows Store apps so that they could test their functionality.
Microsoft Visual Studio Location Simulator Sensor not working
If Microsoft Visual Studio Location Simulator Sensor is not working on your system, try the following solutions:
- Run Program Compatibility Troubleshooter.
- Update driver manually.
- Uninstall driver (For Visual Studio version 2017 users).
Let’s discuss these solutions in detail.
1] Run Program Compatibility Troubleshooter
You might be experiencing the problem due to compatibility issues. To fix it, run Program Compatibility Troubleshooter. Follow the steps below:
- Right-click on the Microsoft Visual Studio icon on your desktop and select Properties.
- In the Properties window, click on the Compatibility tab.
- Now, click on the Run compatibility troubleshooter button.
After the troubleshooting process gets completed, check if the issue persists.
2] Update driver manually
Updating the driver automatically may give you an error. Manually updating the device driver worked for some users. You can also try this. The steps to update the Microsoft Visual Studio Location Simulator Sensor driver are listed below:
- Press Win + R keys to launch the Run command box.
- Type
devmgmt.mscand click OK. This will launch the Device Manager. - Expand the Sensors node.
- Right-click on Microsoft Visual Studio Location Simulator Sensor and select Update driver.
- Select Browse my computer for drivers.
- Click on the Let me pick from a list of available drivers on my computer option.
- Click Have Disk and then click Browse.
- Go to the path C:\Program Files\Common Files\microsoft shared\Windows Simulator\14.0 and select SensorsSimulatorDriver.inf file.
- Click Open and then click OK.
- Now click Next.
Wait till Windows installs the device driver on your system. After the installation process gets completed, check if the issue is fixed or not.
3] Uninstall driver (For Visual Studio version 2017 users)
We have explained earlier in this article that Microsoft Visual Studio Location Simulator Sensor was removed from the Visual Studio version 2017. Therefore, if you have Visual Studio version 2017, you can uninstall its driver from the Device Manager. Many users have stated that this solution fixed their issue. Maybe it will work for you too.
Follow the instructions below:
- Launch the Device Manager.
- Expand the Sensors node.
- Right-click on Microsoft Visual Studio Location Simulator Sensor and select Uninstall device.
- Click Uninstall in the pop-up window.
- Follow the on-screen instructions.
After uninstalling the driver, the issue should be fixed on your system.
How do I fix the Visual Studio Location Simulator Sensor?
You can fix the Visual Studio Location Simulator Sensor by updating or uninstalling the device driver. In some cases, running the Compatibility Troubleshooter fixes the issue. We have explained all the solutions to fix this issue above in this article.
Hope this helps.
Read next: Visual Studio Code crashing on Windows.
Leave a Reply