Do you know what a Matroska file is? Many of us have used it for years but have no idea of its real name. For those who are wondering, a Matroska file is actually MKV, and as you might now know, it’s usually attached to videos. Now, if you have an MKV file laying around on your computer, its possible to grab a few information from it, should you wish to. Not only that, the same can be done with the WebM file when using a program known as MKVToolnix. It allows you to create, alter, and inspect WebM & MKV files.
Create, alter & view Matroska MKV files
We’ve tested it for quite some time, and can say for certain that it works as intended. Folks like us do not need to be extracting meta information from video files, but for those who do, well, this tool should be good enough for most cases, and even some. Bear in mind that other graphic user interfaces are supported, here.
During the installation, you should see a section detailing the supported GUIs, so get those if you’re not a fan of the default design.
1] Info Tool

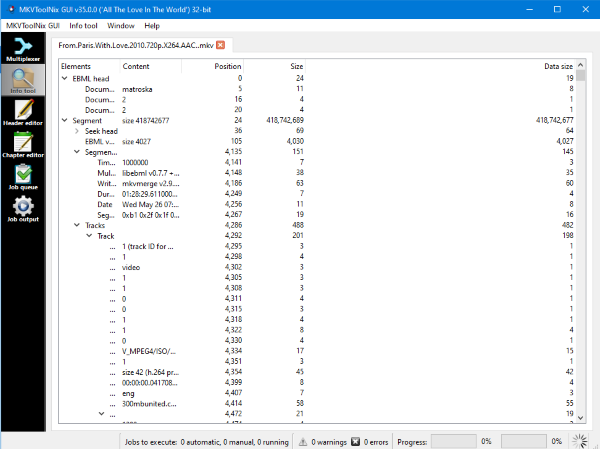
When it comes down to using the Info Tool, is pretty straightforward and to the point. Just click on the button, and from there proceed to add your MKV or WebM file. Once that is done, the user should now see a ton of information regarding the file.
2] Header Editor

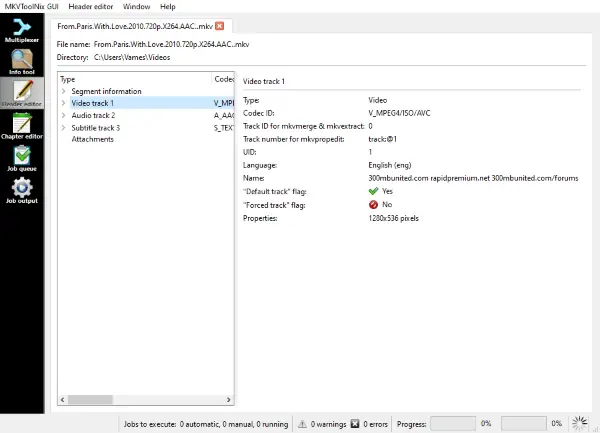
Do you want to edit the header of your MKV file? No problem, Thomas, for this is more than possible. Simply click on the button that says Header Editor, add your file, then prepared to be overwhelmed.
Yes, there’s a lot to do here, and there are many options and the features under this tab. You can make a lot of changes here, and that’s perfect for those who know what they’re doing.
3] Chapter Editor

Its now time to edit the chapter of your file for whatever reason, we don’t care. This feature is also to the point. Tap on the Chapter Editor button, add the MKV or WebM file, then make changes to the chapters if not are available.
Should you come across an empty spot, well, its possible to add new elements. Right-click in the black space then select what you want to do.
4] Multiplexer
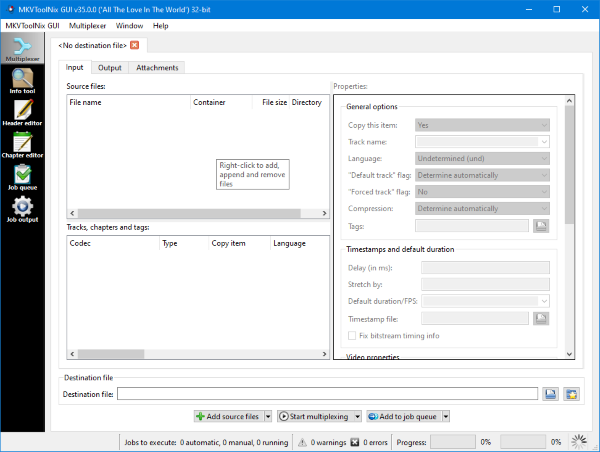
It is one of the most important sections on the MKVToolNix interface. This is the section where you can add input MKV, MOV, MP4, WebM, and other supported format files for processing. Whether you want to join two files or need to split a file, this section includes all the options. Attachments from the source files can also be added here. Once input files are added, adjust the output settings, select the output folder, and then you can process the input files.
How to split MKV files with MKVToolNix?
To split MKV files with MKVToolNix, access the Multiplexer section on its interface. Select the Input tab, and drag and drop an MKV file there. Switch to the Output tab, add a file title, the destination folder, and use the Split mode drop-down menu. For example, to split an MKV file by time duration, then select the After output duration option. Provide the time duration say 20s (for 20 seconds), 30s, 00:05:30 (for 5 minutes and 30 seconds), etc. Click on the Start multiplexing button and MKV will split based on the selected split mode.
How to join two files with MKVToolNix?
To join two files with MKVToolNix, make sure that the files have the same codecs. Otherwise, it won’t work. Open the MKVToolNix interface with the Multiplexer category. In the Input tab, right-click, and use the Add files option to add a video file. Open Add source files drop-down menu, and select the Append files option. Now you can add more files for the merge process. In the Output tab, add the output file title, destination folder, and other options as per your requirements. Press the Start multiplexing button to start the joining process.
Download the program directly from the official website.