There can be innumerable occasions where you do not want the microphone to be enabled. To disable the microphone, one of the ways is to go to Settings > System > Sound. Then, under the Input section, click the Device properties option and check the Disable option. All of this is a lengthy process but can be cut short with a few hotkeys. MicSwitch tool does that trick. It can mute the microphone with a shortcut.
Mute or Unmute Microphone in Windows 11/10 with a shortcut
MicSwitch tool lets users mute or unmute their system microphone using a predefined system-wide hotkey. So, any program that uses a microphone can be stopped in an instant.
- Launch MicSwitch.
- Configure hotkeys for toggling microphone input.
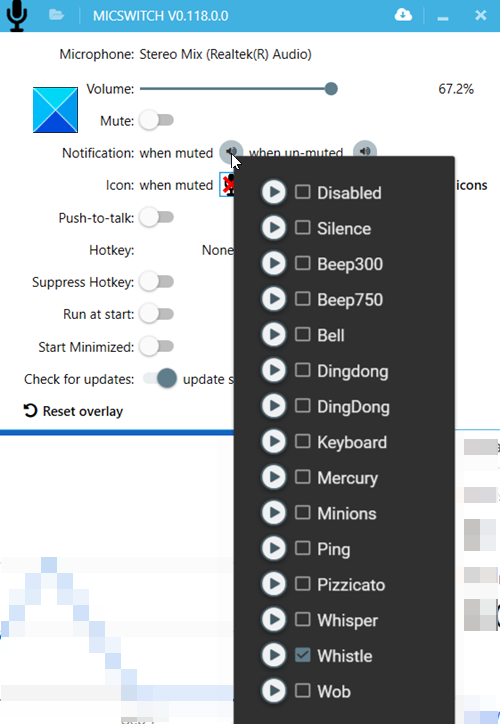
- Choose from multiple alerts sounds for muting/unmuting the device.
- Minimize it to the system tray, if required.
The freeware supports a wide range of configurable mute/unmute sound options and a configurable overlay with scaling/transparency support.
Download and install the latest version of MicSwitch from the GitHub page.

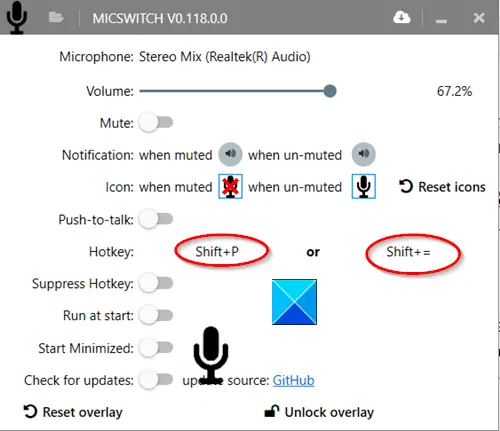
Launch the app once installed. You’ll notice, there’s no default hotkey set on the first run. So, configure the desired shortcuts as hotkeys.

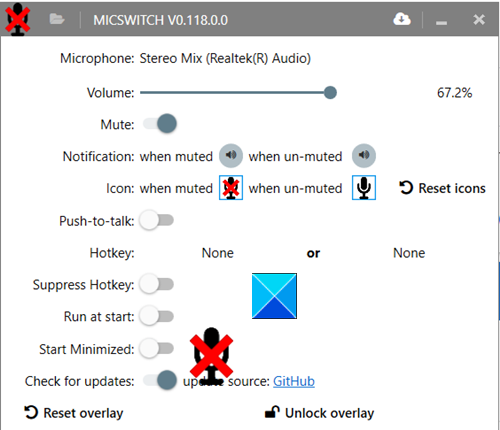
When done, these hotkeys will work as global shortcuts to toggle the microphone state (On or OFF).

You can select from multiple alert sounds for muting/unmuting the device. Configure other options like enabling/disabling the overlays. Audio notifications, etc. All the features or settings you choose to configure will allow you to seamlessly switch between audio-enabled apps.
Once done, minimize the app to the System Tray. The hotkeys will continue to work even after you’ve minimized the app to the system tray, regardless of which application is in running in the foreground. However, once you close the app, your settings will not be carried over to the next launch.
MicSwitch does the job it’s designed for. You can download it from GitHub.
Related: How to mute a Program in Windows 10.