One of the numerous Windows Services that run on the Windows 11/10 OS is the NET.TCP Port Sharing service. This particular service allows multiple users to share the TCP ports over the net.tcp protocol in a more secure way. In some cases, this service may fail to start even though you have set it up to automatically start on your Windows 11/10 device. This post identifies the potential cause, as well as provide the most suitable solutions to the error message The NetTcpPortSharing service failed to start on Windows 11/10.
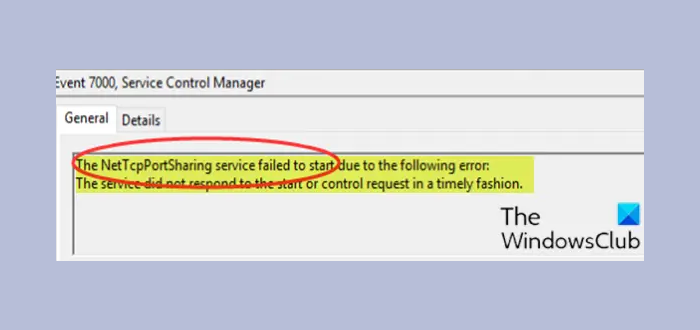
When you encounter this issue, you’ll receive the following similar error message in the Event Viewer:
Event 7000, The NetTcpPortSharing service failed to start due to the following error:
The service did not respond to the start or control request in a timely fashion.
The following are the potential culprits of this error:
- Glitched or Disabled Net.TCP Port Sharing Service.
- Inconsistent or corrupted TCP / IP data.
- .NET Framework 3.5 is disabled.
- Recent critical system change – mostly Windows update
- System file corruption.
The NET.TCP Port Sharing service failed to start
If you’re faced with this issue, you can try our recommended solutions below in no particular order and see if that helps to resolve the issue.
- Disable IPv6
- Set the NET.TCP Port Sharing Service to automatic startup
- Re-enable the .NET Framework 3.5 Dependency
- Reset Winsock
- Perform System Restore
Let’s take a look at the description of the process involved concerning each of the listed solutions.
1] Disable IPV6
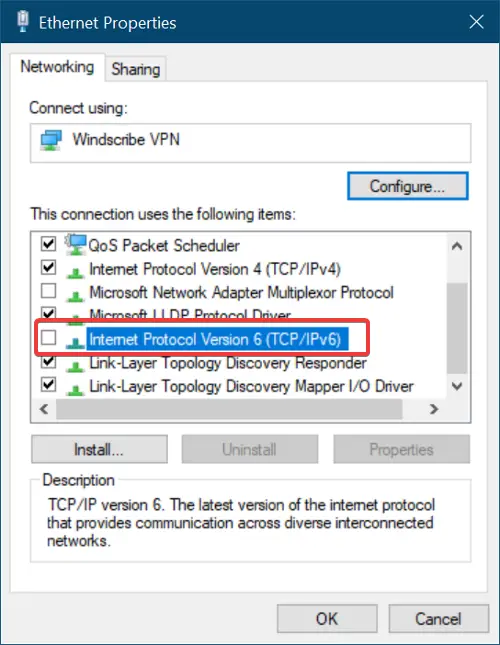
Disabling IPv6 on your Windows device could fix the NET.TCP Port Sharing Service Failed To Start issue.
2] Set the NET.TCP Port Sharing Service to automatic startup
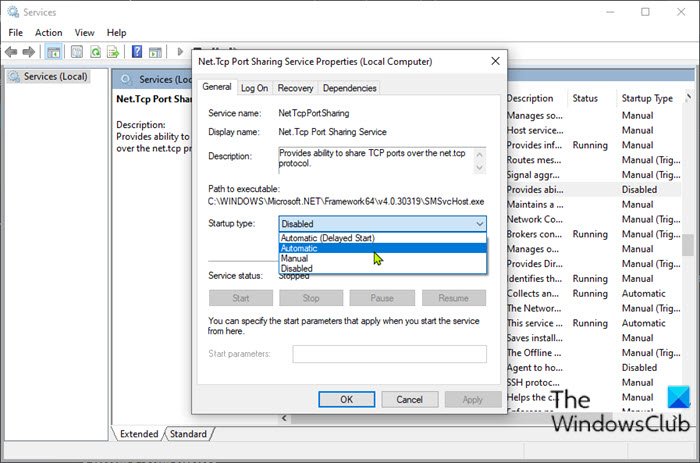
You may encounter this error due to a Windows 10 glitch, that will force the NET.TCP Port Sharing Service to be stuck in a state where it can neither be opened nor be closed. In this case, you need to restart the service automatically. Here’s how:
- Press Windows key + R to invoke the Run dialog.
- In the Run dialog box, type services.msc and hit Enter to open Services.
- In the Services window, scroll and locate the NET.TCP Port Sharing Service.
- Double-click on the entry to edit it’s properties.
- Make sure that the option under the Startup type menu in the service’s properties window is set to Automatic. Confirm any dialog boxes which may appear when changing the startup type.
Note: In case the service is already set to Automatic, then you may need to click the Stop button under Service status section, and then enable it again by clicking the Start button.
- Click Apply > OK to save changes.
- Exit Services console.
- Restart computer.
If the issue persists, try the next solution.
3] Re-enable the .NET Framework 3.5 Dependency
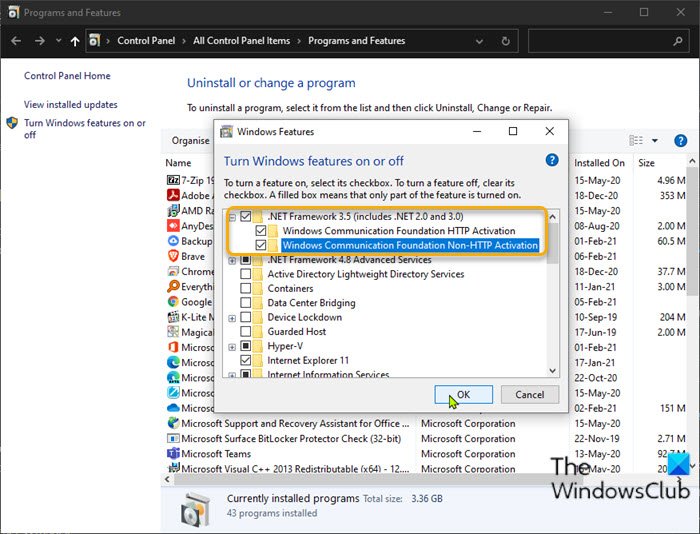
This solution requires you to enable the .NET Framework 3.5 dependency from the Windows Features applet. Here’s how:
- Invoke the Run dialog box.
- In the Run dialog box, type appwiz.cpl and hit Enter to open the Programs and Features window.
- In the window that opens, on the left pane, click the Turn Windows Features On or Off link.
- In the Windows Features applet that pops up, check the .NET Framework 3.5 box and then click the + sign to expand the section.
- Now, check both the Windows Communication Foundation HTTP Activation and Windows Communication Foundation Non-HTTP Activation box.
- Click OK to save changes.
Note: If you find both options already enabled, uncheck them to temporarily disable them and restart your PC. Then, once your PC boots, check both options to enable them again.
- Restart computer.
4] Reset Winsock
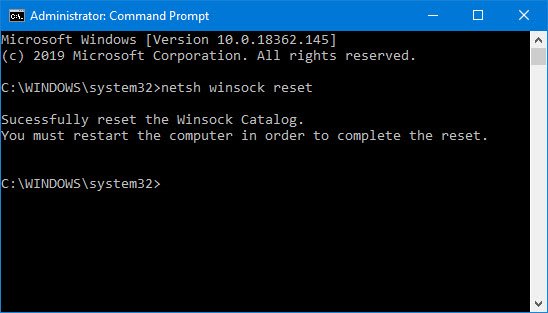
Since this error might be network adapter-related, resetting Winsock will help you solve the errors pertaining to the Transmission Control Protocol and Internet Protocols.
5] Perform System Restore
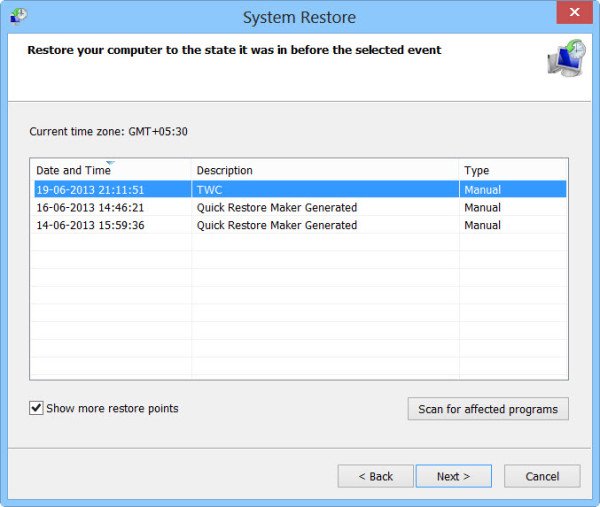
A System Restore is a snapshot of the Windows System files and other installed application files on your system at a specific point in time. Performing a system restore helps the files to be restored to a previous state when the OS was working fine without issue.
If System Restore fails to fix the issue, you can try Reset This PC, or Cloud Reset, or In-place Upgrade Repair to resolve the issue.
I hope this helps!
Leave a Reply