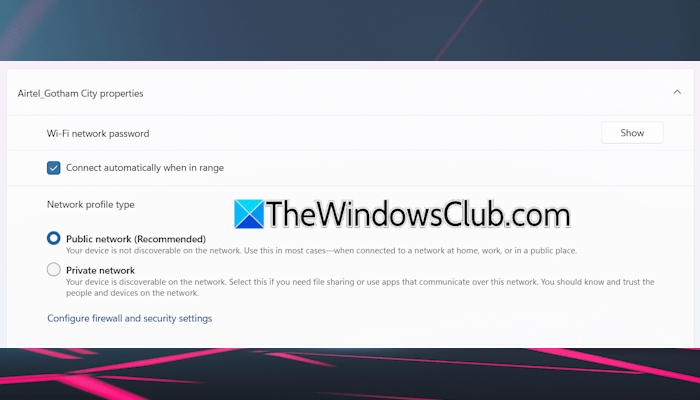
If the Network Profile keeps changing automatically on your Windows 11/10 computer, the fixes provided in this article will help you. Usually, this issue occurs due to a misconfigured Firewall setting or a corrupt network driver.
Network Profile keeps changing automatically on Windows 11/10
Use the following fixes if the Network Profile keeps changing on your Windows 11/10 computer:
- Delete all network profiles
- Check the status of the WLAN AutoConfig service
- Reinstall the Network driver
- Change the network profile through the Registry
- Try the Windows PowerShell command
- Check your Antivirus or Firewall settings
- Create a new user profile
- Reset your network
All these fixes are explained in detail below:
1] Delete all network profiles
Delete all the network profiles from your system including the currently active one. Use the following steps:
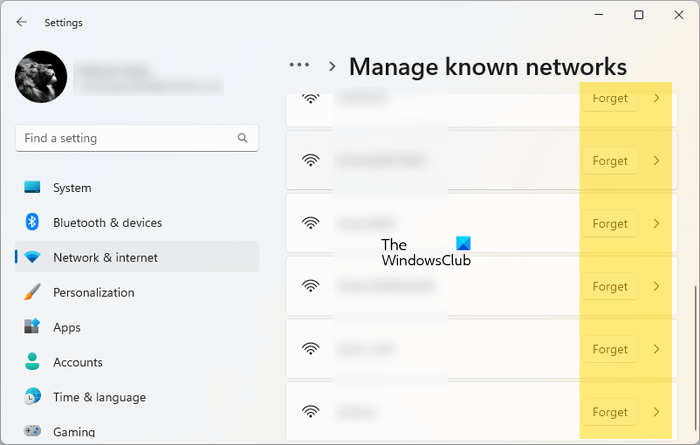
- Open Windows 11 Settings.
- Go to Network & Internet > WiFi.
- Select the Manage Known Networks tab.
- Click Forget next to each saved network.
- Now, disconnect your system from the current network and delete that network too.
Restart your computer and connect it to the network. Now, check if the issue persists.
2] Check the status of the WLAN AutoConfig service
Check the status of the WLAN AutoConfig service and take appropriate action. Follow these steps:
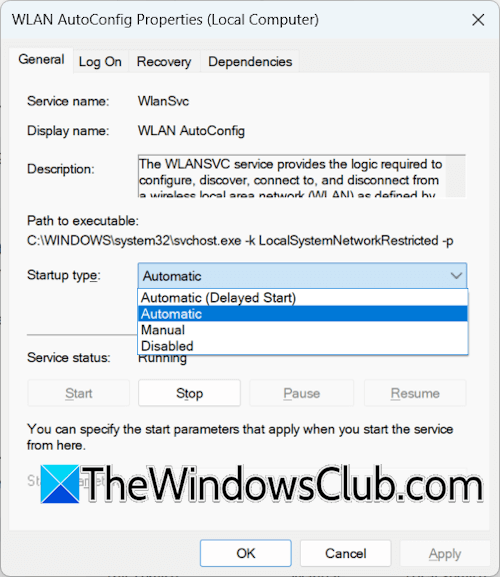
- Open Windows Services Manager.
- Scroll down and find the WLAN AutoConfig service.
- Check its status. If it is stopped, start it. To do so, right-click on it and select Start.
Now, right-click on it and select Properties. Select Automatic in the Startup type under the General tab. Click Apply and then click OK.
3] Reinstall the Network driver
A corrupt Network adapter can also cause this problem. We suggest you reinstall the network driver and see if it helps.
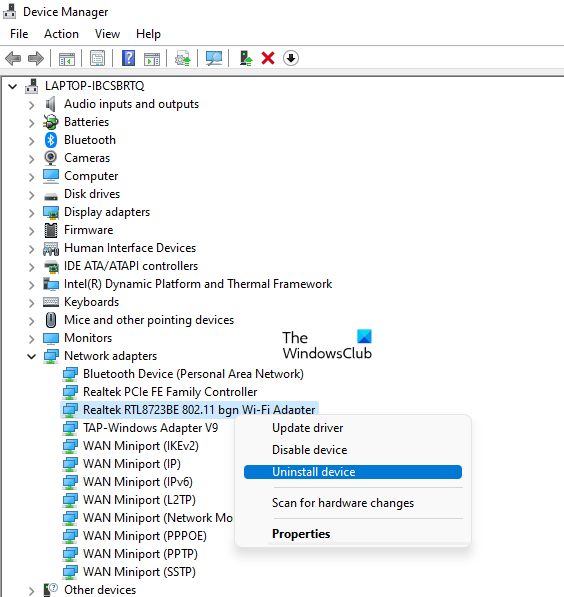
Follow these steps:
- Open the Device Manager.
- Expand the Network adapters branch.
- Right-click on your network card driver and select Uninstall device.
- Restart your computer or perform a scan for hardware changes.
Windows will automatically install the missing driver.
4] Change the network profile through the Registry
If the problem persists, try changing the network profile through Windows Registry. Before proceeding, we recommend you create a system restore point and backup your registry, so you can revert the changes if any problem occurs.
Follow all these steps carefully. Open the Registry Editor. Copy the following path and paste it into the address bar of the Registry Editor. Now, hit Enter.
Computer\HKEY_LOCAL_MACHINE\SOFTWARE\Microsoft\Windows NT\CurrentVersion\NetworkList\Profiles

Expand the Profiles folder on the left side. You will see all the network profiles present on your system. Now, find out the correct network profile. Select all the folders one by one and read the profile name on the right side. The profile name is the WiFi name. When you find the right profile, double-click on the Category value on the right side and enter one of the following values as per your requirements:
- For the Public profile, enter the value 0.
- For the Private profile, enter the value 1.
Click OK to save changes.
5] Try the Windows PowerShell command
You can also try running a command in Windows PowerShell to change your network profile.
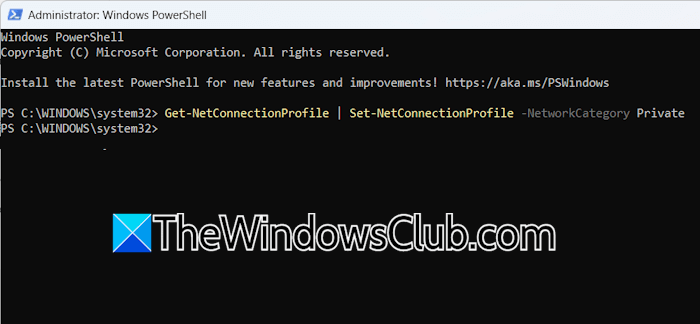
Open Windows PowerShell as an administrator. Copy the following command, paste it into the PowerShell window, and press Enter.
Get-NetConnectionProfile | Set-NetConnectionProfile -NetworkCategory Private
In the above command, replace the word Private with Public if you want to set your network profile Public.
6] Check your Antivirus or Firewall settings
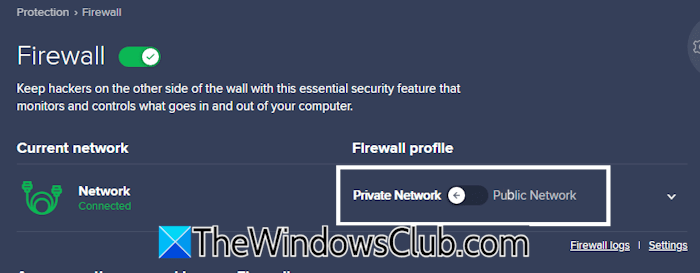
If you use a third-party firewall, check its settings. You might have set a different network profile in your firewall settings due to which your network profile keeps changing automatically to the one set in your firewall.
7] Create a new user profile
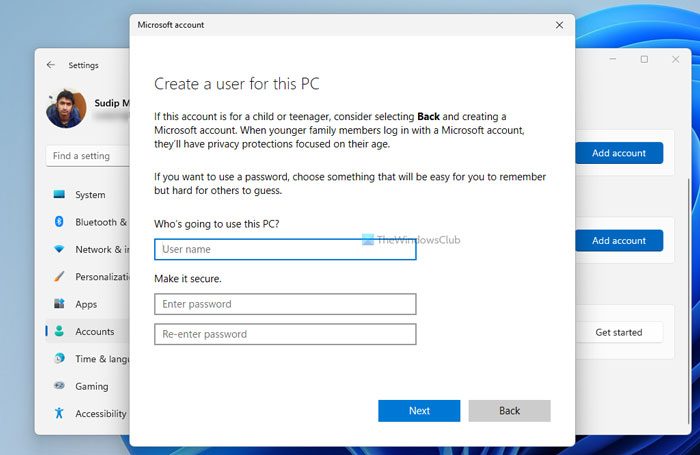
The problem may also be with your user profile on Windows 11. To confirm this, create a new user profile and log in to that profile. Now, check if the issue occurs in that user profile. If not, you can transfer your user data from the previous profile to the new user profile.
8] Reset your network
If the issue persists, reset your network. This action will reset the networking components to default and reinstall the network adapters. Windows 11 will start automatically during the network reset. Therefore, save all your pending work before proceeding.
That’s it. I hope this helps.
How to change the network profile from private to public in Windows 11?
To change the network profile in WIndows 11, open its settings and go to Network & Internet > WiFi. Select your internet connection. Select the required profile under the Network profile type section.
How do I stop Windows 11 from automatically connecting to wireless networks?
To stop Windows 11 from connecting to wireless networks automatically when in range, open your system settings and go to Network & Internet > WiFi > Manage known networks. Select the wireless network from the list. Now, uncheck the Connect automatically when in range checkbox.
Read: Option to change Network Profile from Public to Private missing.