Sometimes, your Windows 11/10 laptop may throw an error saying No battery is detected. There may be several reasons why this error occurs. Here are a few easy-to-follow steps that may help you resolve the issue of No battery is detected on your Windows laptop.
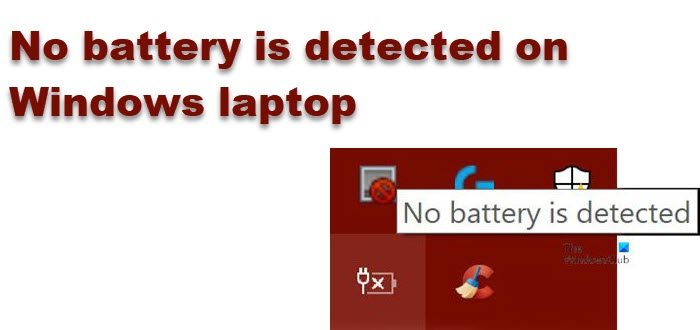
No battery is detected on Windows laptop
As mentioned before, there may be several causes of this No battery is detected error on your Windos 11/10 laptop. You can try the following fixes and one of them should work for you.
- Check the power adapter
- Open the battery compartment and clean it
- Update the battery-related drivers on your laptop
- Run Power Troubleshooter
- Run the Power Efficiency Diagnostic Report Tool.
Let us look at each of these fixes in detail.
1] Check the power adapter
This should be the first and the foremost step in fixing the issue of No battery is detected on a Windows laptop. The power adapter may be either loose or not working. Check if the laptop is charging with another power adapter.
Read: How to fix Battery drain issues.
2] Open the battery compartment and clean it
If you are sure that, the power adapter is working fine, you can try removing the battery from its compartment. In case the laptop has been dropped, reconnecting the battery will resolve the issue. When you open the battery compartment, clean it with a dry cloth. Accumulated dust can also create hindrances in battery charging.
3] Update the drivers on your laptop
Updating the drivers on your laptop might also do wonders. Go to Start Menu and open Device Manager. Click on the drop-down arrow of the Batteries option to see the sub-sections within it. You will see the following sub-sections within Batteries:
- Microsoft AC Adapter
- Microsoft Surface ACPI-Compliant Control Method Battery
Right-click on each of these items and click on the Uninstall device.
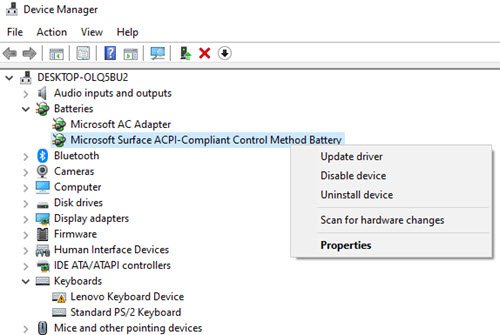
This will uninstall each of the Battery related devices.
Now remove the battery from the laptop and reconnect it after some time. Next, connect the power adapter to the laptop and start recharging it.
After this, start your laptop and it should reinstall these two drivers automatically.
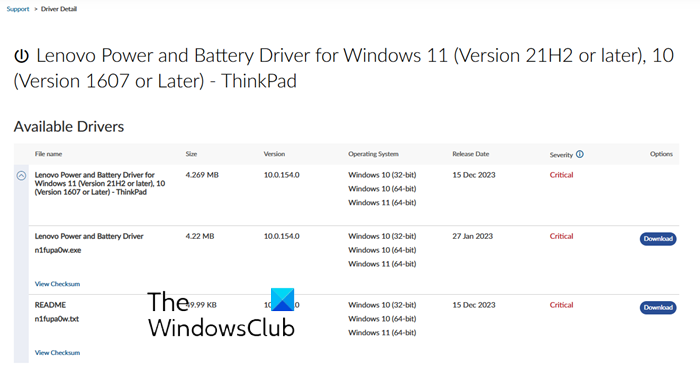
If you feel you can visit your manufacturer’s site to download the Battery driver.
Read: Batteries not showing in the Device Manager of Windows
4] Run Power Troubleshooter
If you have Windows laptops, you can troubleshoot the laptop’s power settings. Press Windows Key + I and go to Find a setting field. Type ‘Troubleshoot Power’ and you will see the following option.
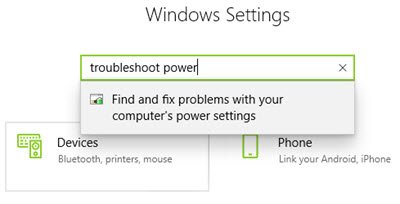
Click on this option and you will see the Power Troubleshooter open.
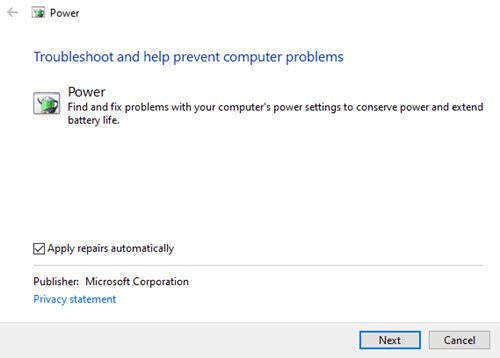
Click Next and follow the instructions in the window. After the changes, reboot your laptop.
Read: Windows laptop Battery charging slowly or not charging.
5] Run the Power Efficiency Diagnostic Report Tool
The Power Efficiency Diagnostic Report Tool will give you a complete analysis of the battery usage and it may help you detect the problem. To get the battery report type the following command in the command prompt:
powercfg /batteryreport

The report is generated and saved on the file path. This path is mentioned in the Command Prompt.
Try one of these options and see if the battery issue is solved on your laptop.
Related error message: Your battery has experienced permanent failure and needs to be replaced.
Leave a Reply