Some users encountered sound issues after connecting their monitor to their PC with the DisplayPort cable. The reason for this problem can be corrupted sound card drivers or a faulty DisplayPort cable. This article shows what you can do if you get no sound with DisplayPort on Windows 11/10.

No sound with DisplayPort on Windows 11/10
Use the following solutions if you get no sound with the DisplayPort cable on your Windows 11/10 computer.
- Check your monitor sound settings
- Update your monitor firmware
- Run Audio Troubleshooter
- Update the required drivers
- Check the default audio device
- Change the audio format
- Install another version of the audio driver
- Restore your system
All these fixes are explained below in detail.
1] Check your monitor sound settings
Some of your monitor sound settings might be misconfigured, which is why you are experiencing this issue. Check your monitor sound settings before trying to fix any troubleshooting issues.
2] Update your monitor firmware
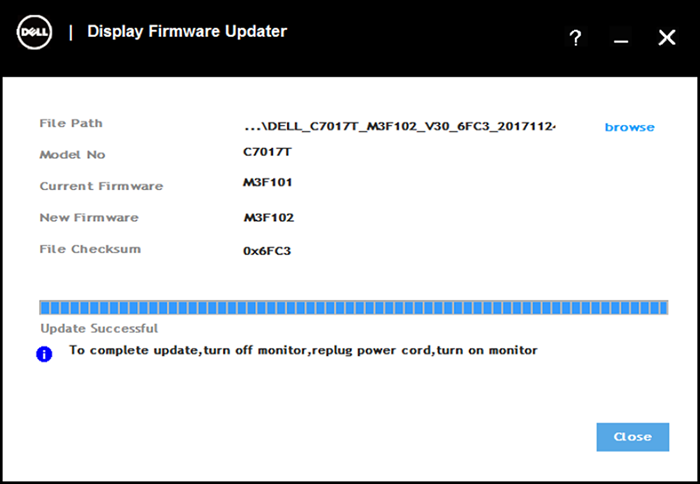
Your monitor should have the latest firmware. An outdated monitor firmware can also cause this problem. This fix applies if your monitor has built-in speakers. Check for firmware updates for your monitor and install the same (if available). You can download the latest firmware version for your monitor from the manufacturer’s official website. Also, the process to install the firmware update differs for different monitors.
3] Run Audio Troubleshooter
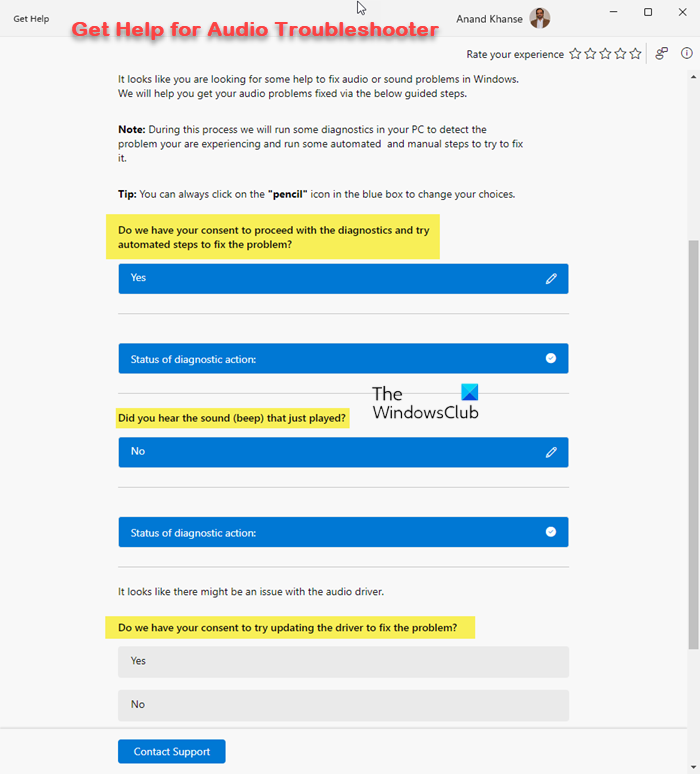
The Audio Troubleshooter in Windows helps fix audio-related issues. Run Audio Troubleshooter and see if it helps. In Windows 11, you can run it through the Get Help app.
4] Update the required drivers
Outdated or corrupted drivers can also cause this problem. We suggest you keep all your drivers up to date. You can download the complete driver package or update tool for your system from the official website of your computer manufacturer. This dedicated software is designed to scan your system and install the necessary updates.

Based on the manufacturers, these are some of these tools:
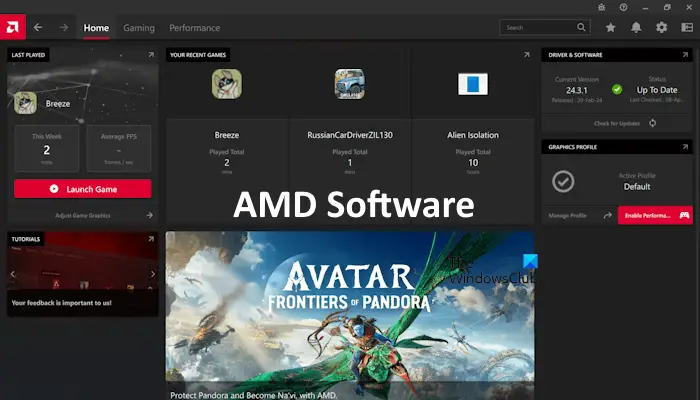
If your system has an AMD chipset, download and install the AMD Software and check for the required updates.
We also suggest you update the audio driver. Download the latest version of the Audio driver from the official website of your computer manufacturer and install it manually.
5] Check the default audio device
Check the default audio device in the Control Panel. Go through the following instructions:
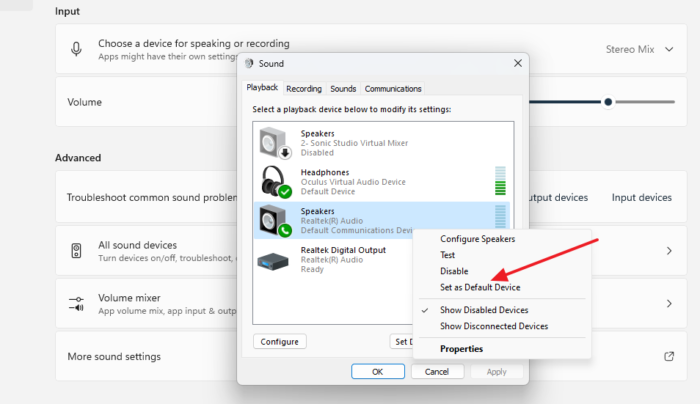
- Open the Control panel.
- Type sound in the Control Panel search bar and select Sound from the search results.
- Right-click on your audio device and select the Set as Default Device option.
6] Change the audio format
Change the audio format and see if it helps. The following steps will help you with that:

- Open the Control Panel.
- Type sound in the Control Panel search bar.
- Select Sound from the search results. This will open the Sound Properties window.
- Right-click on your audio device under the Playback tab and select Properties.
- Go to the Advanced tab and change the Default Format.
- Click Apply and click OK to save changes.
Try all the available sound formats and see which one works.
7] Install another version of the audio driver
Install another compatible version of the audio driver and see if it works. Before proceeding, create a System Restore Point. This will allow you to restore your system to the previous working state if any problem occurs.
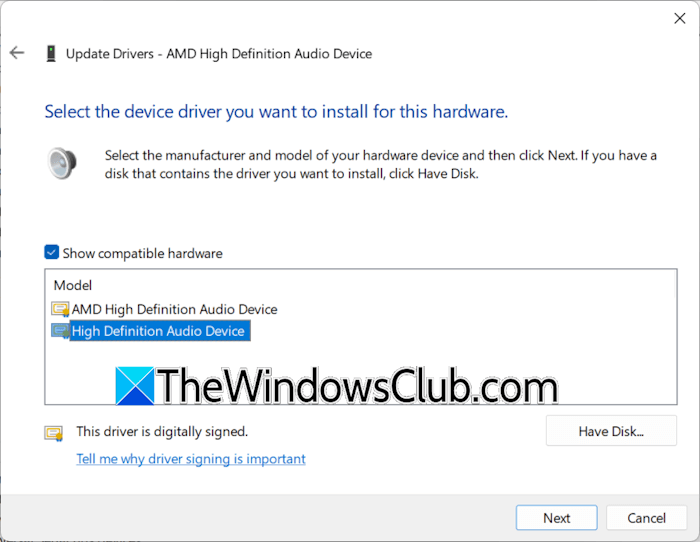
Go through the following instructions:
- Open the Device Manager.
- Expand the Sound, video and game controllers branch.
- Right-click on your sound card driver and select Properties.
- Go to the Driver tab and select the Update Driver option.
- Select the Browse my computer for drivers option.
- Now, select Let me pick from a list of available drivers on my computer.
- Select the Show compatible hardware checkbox.
- Select the High Definition Audio Device or another compatible driver for your sound card and click Next. Follow the on-screen instructions to install the audio driver.
Now,l check if the issue persists.
8] Restore your system
If the sound was working previously through the DisplayPort cable, you can restore your system to the previous working state. Before proceeding, check your cable because it may be faulty in this case.
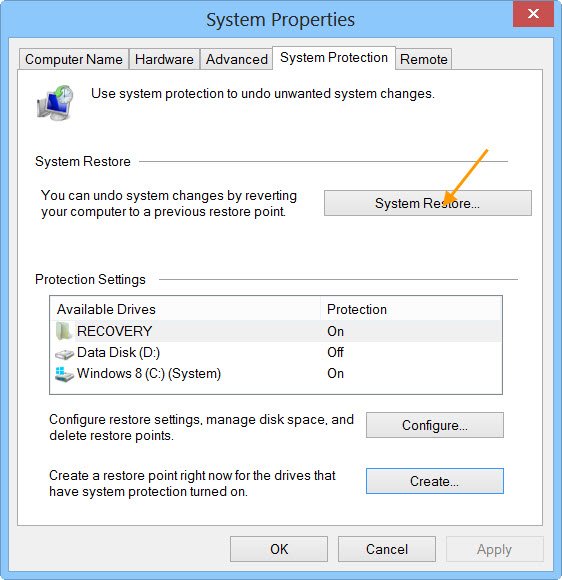
Open the System Restore tool and restore your system. While doing this, select the restore point created on the date after which the problem started occurring.
Related: Fix DisplayPort No signal issue on Windows 11
Why is the Sound not coming through my DisplayPort?
There can be many reasons why sound is not coming through the DisplayPort. The cable might be faulty. Other causes are a corrupted sound card driver or incorrect audio format.
Read: How to fix Sound Distortion issues in Windows.
How do I enable audio output in Windows 11?
To enable audio output in Windows 11, make your audio device the default device. You can do this by opening the Sound Properties through the Control Panel. If, despite setting the audio device as the default device, you do not get sound, update or reinstall the audio device driver.
TIP: Use NVIDIA Graphics Firmware Update Tool to fix DisplayPort black screen flicker issues.
Leave a Reply