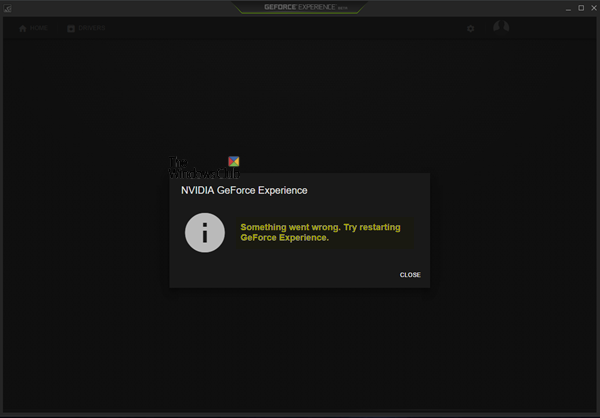
Computers that come with a graphics card from NVIDIA have to install the appropriate drivers for it. And when you get the latest drivers for your NVIDIA GeForce Graphics card, you get NVIDIA GeForce Experience with it. Many times, due to different reasons like the outdated graphics card drivers, some services being stopped unexpectedly, or any other reason. The error that it throws up is:
NVIDIA GeForce Experience, Something went wrong, Try restarting GeForce Experience

Though NVIDIA GeForce works fine with Windows 11/10 OS, sometimes you may experience different problems. For example, you may find that the GeForce Experience overlay is causing drops in frame rate or there is some stuttering problem. Such a problem can be fixed by updating the NVIDIA display drivers or other solutions. But users may face other problems from time to time like the one mentioned above in this post.
There could be different reasons for this problem. For example, you may experience this issue if the Startup type of different NVIDIA display driver services (like NVIDIA GeForce Experience Service, NVIDIA Geforce Experience Backend Service, etc.) is not configured properly. This problem can also be caused by outdated NVIDIA display drivers.
We will see how you can fix this problem.
NVIDIA GeForce Experience not working or won’t open
If NVIDIA GeForce Experience is not working or won’t open and you see error Something went wrong, Try restarting GeForce Experience, then these suggestions will help you. As mentioned earlier, the main culprit is the Qualcomm Atheros driver. To fix this error, we will try the following fixes:
- Check the NVIDIA Display Driver Services.
- Update your NVIDIA Display Drivers.
- Clean Install and Reinstall the Drivers.
If you tend to create a System Restore point usually, you can try to undo any modifications on your computer, by performing System Restore. In case, you do not have a habit of creating a System Restore point; I suggest you start doing so because it is a very strong feature that will let you fix your computer in a number of scenarios.
1] Check the NVIDIA Display Driver Services
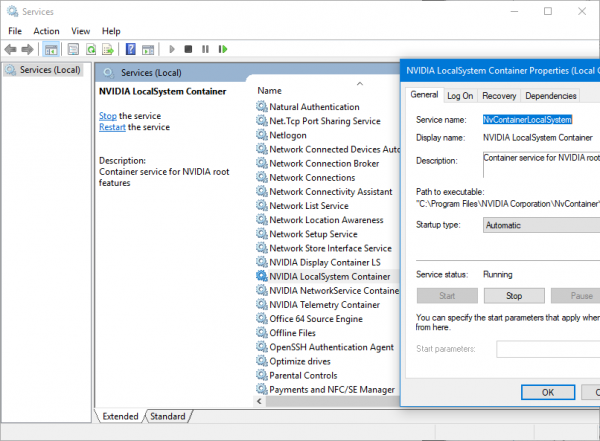
You will have to open Windows Services Manager. Start by hitting the WINKEY + R button combination to launch the Run utility. Then type in, services.msc and then hit Enter. It will now launch Services window and will populate a list of services.

Now, look out for the following Services, and ensure that their Startup types are as follows:
- NVIDIA Display Container LS – Automatic
- NVIDIA NetworkService Container – Manual
- NVIDIA LocalSystem Container – Automatic
- NVIDIA LocalSystem Container – Automatic
- NVIDIA GeForce Experience Service – Automatic (Delayed Start)
- NVIDIA Geforce Experience Backend Service – Automatic (Delayed Start)
- NVIDIA Telemetry Container service – Automatic
Double-click on it to open its Properties box. If the service is not running already, just select Start to start running them else first select Stop and then select Start to restart them.
Check if this fixes your issue.
2] Update your NVIDIA Display Drivers
One of the main things that you should be doing is updating your NVIDIA Display Drivers. For that, you just need to head to their latest Display Driver Download Website to download the NVIDIA driver.
From the drop-down menus, you need to select the exact model of your Graphics Card. Then upon hitting the Search button, you should be able to see the latest release of the driver for your graphics card. Accept the terms of use and then download the driver. Finally, run the downloaded file to install your latest drivers.
Reboot your computer for the changes to take effect.
3] Clean Install and Reinstall Drivers

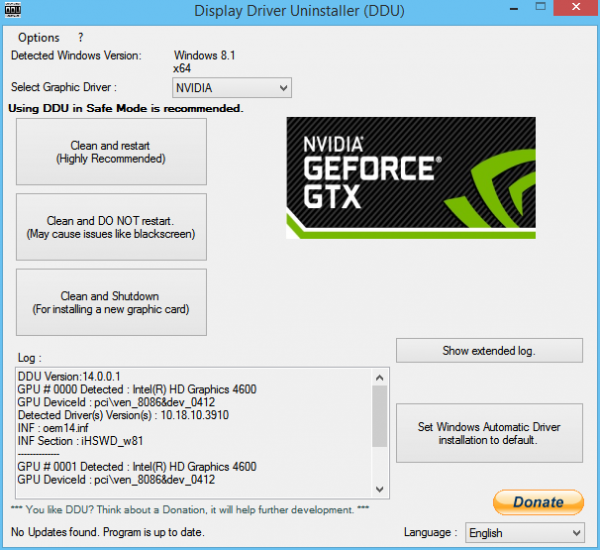
You can use Display Driver Uninstaller to clean install your NVIDIA Display Driver.
After that, you can download & install the latest version of the NVIDIA Graphics Drivers from nvidia.com.
Hope this helps!
Leave a Reply