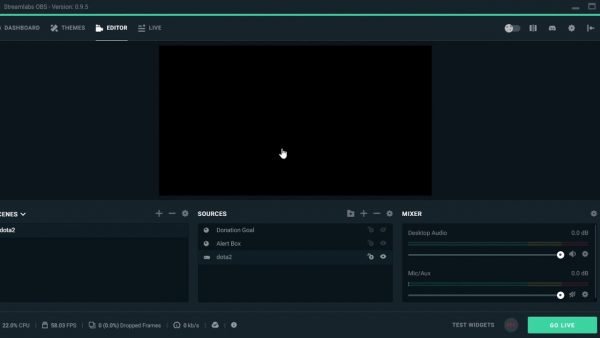
OBS, or Open Broadcaster Software, is free and open-source software that helps users stream video and audio on online services like YouTube, Mixer, SoundCloud, and more. The Display Capture module is for OBS’s Video feed, sending the user’s display as a stream. But sometimes, OBS Display Capture does not work as expected. We have observed the same on forums and other support websites.

OBS is available on Windows 11/10 and macOS. Gamers and podcasters use it efficiently to manage different modules and video and audio feed sources.
OBS Display Capture not working properly on Windows 11/10
This post will show you some of the effective methods using which can resolve this error on Windows 11/10:
- Update OBS to the latest version
- Run Steam as Administrator.
- Select the default Graphics Processing Unit.
- Run OBS with High-performance processor settings
- Reinstall OBS software.
1] Update OBS to the latest version
NVIDIA GPU never went along with OBS until this February. Earlier, if you had an Nvidia GPU, and you tried to use OBS, it would result in a black screen. The only option was to switch to the integrated GPU. The scenario changed in February 2019 with OBS version 23, when both collaborated to add support for NVIDIA GPUs. So, if you are running an older version of OBS, it is best that you update to OBS 23 and check if the GPU issues have been resolved.
If you don’t want to upgrade, you need to switch to an integrated GPU for OBS.
2] Run Steam as an Administrator
Sometimes, missing user account privileges results in errors like this.
- Right-click on the desktop shortcut of Steam and select Open file location.
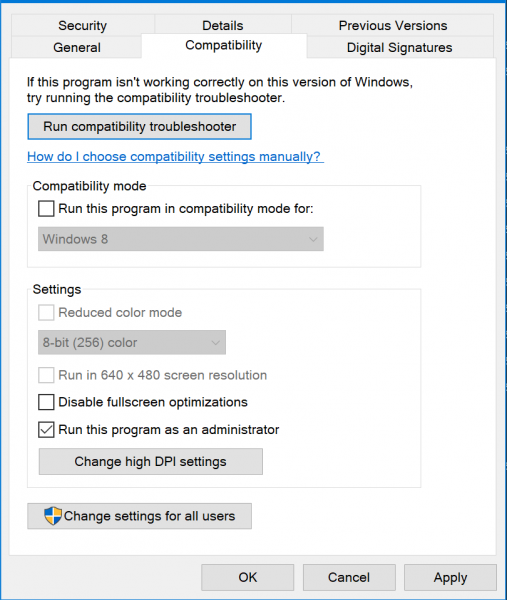
- Right-click on the executable file for OBS and select Properties.
- Navigate to the Compatibility tab.
- Under the section of Settings, check the box that says Run this program as an administrator.
- Select Apply and then select OK.

Also, the file may not be intended to run on your current version of Windows. You may run the application in Compatibility Mode. This will let the application think that it is running in the compatible environment as it is intended to if the Run this program as an administrator does not work.
3] Select the default Graphics Processing Unit
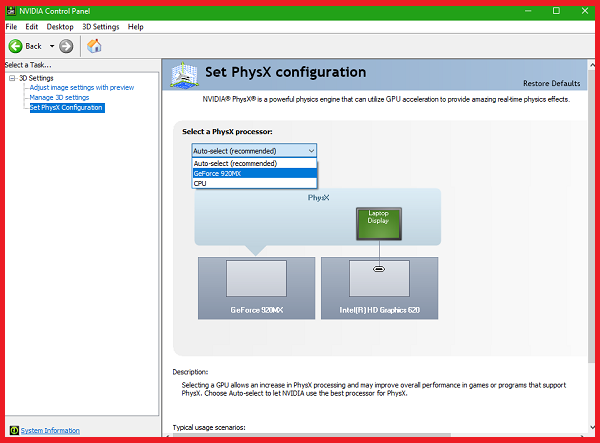
Many CPU’s have an integrated GPU. If you are using a graphics card, make sure the OS is using it. In the case of NVIDIA, the OEM offers a control panel. Right-click on the desktop and then click on the NVIDIA Control Panel. On the left-hand side tree-structured list, expand 3D Settings and click on Manage 3D Settings.
Select your preferred GPU to the High-Performance NVIDIA Card from the drop-down on the right side panel.

We need to do this because sometimes the Integrated GPU does hold enough resources and power to contribute to the process and hence results in errors like this.
4] Run OBS with High-performance processor settings
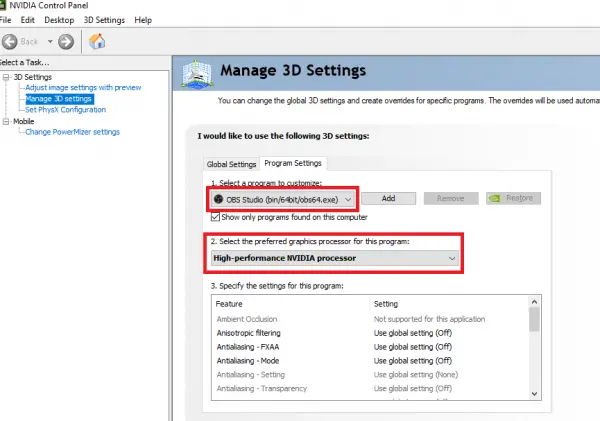
On the NVIDIA panel, navigate to the tab called Program Settings and select the program that you are trying to run from the drop down and click on Add. We will add OBS to the program list.
The default paths for OBS on Windows 10 are-
- x86: C:\Program Files (x86)\obs-studio\bin\32bit\obs32.exe
- x64: C:\Program Files (x86)\obs-studio\bin\64bit\obs64.exe

Next, set the graphics processor to High-performance processor.
Reboot your computer for the changes to take effect.
Read: Fix OBS not capturing Game Video on PC.
5] Reinstall OBS Software
- In the Start Search box, type in appwiz.cpl and hit Enter.
- This will open the Uninstall a program Control Panel applet.
- Right-click on the Open Broadcaster Software entry and select Uninstall.
- Reboot your computer.
In case, you do not find Open Broadcaster Software there, you need to open the Settings App and navigate to Apps > Apps and Features and on the right side panel, look for it to uninstall it from there.
Then you can get the latest version of Open Broadcaster Software from their official website here.
Hope this fixed your OBS issue.
How do I fix a Black screen on OBS Display Capture?
To fix a black screen on OBS Display Capture, run OBS as an administrator, ensure both your GPU drivers and OBS are updated, and adjust the compatibility settings. Also, verify that the right display is selected in OBS settings and disable any conflicting software overlays or game mode on Windows.
How do I fix Mirror effect in OBS Studio display capture?
To fix the mirror effect in OBS Studio display capture, go to the “Transform” option by right-clicking the display capture source, then select “Flip Horizontally.” This action will correct the mirrored image, providing a proper display without reversed visuals, ensuring accurately mirrored recordings or streams.