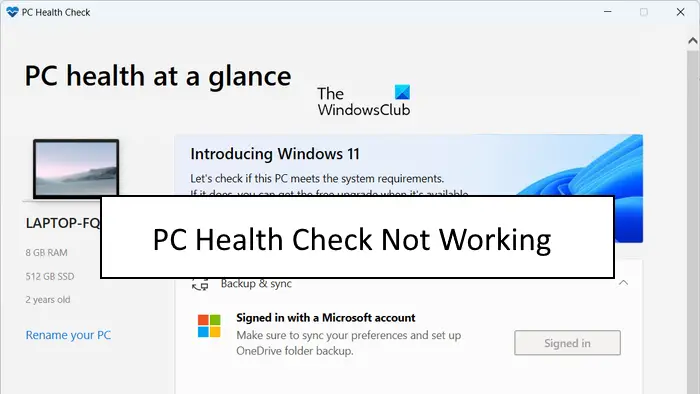
Is PC Health Check not launching or working correctly on your Windows computer? As reported by some Windows users, the PC Health Check app is not opening on their computers. Some have even complained that the app is not working as intended or not showing results.

These issues with the Windows PC Health Check app could be caused if the app itself is corrupted. Besides that, it might also be the case that your system files are broken which is why the app is not working fine. Another potential cause of the same issue could be a software conflict. Now, in any case, if you are experiencing problems with PC Health Check, this post will show you how to fix them.
PC Health Check not opening, working or showing results
If the PC Health Check app is not opening, working, or showing results on your Windows 11/10 PC, here are the methods to fix these issues:
- Re-run the WindowsPCHealthCheckSetup file.
- Repair the PC Health Check app.
- Get the latest version of PC Health Check.
- Repair system files using an SFC scan.
- Reinstall PC Health Check.
- Troubleshoot in a clean boot state.
- Use an alternative to PC Health Check.
Before you try the fixes listed below, restart the app or your computer and see if the issue is fixed. If not, you can use the mentioned fixes to resolve the problem.
1] Re-run the WindowsPCHealthCheckSetup file

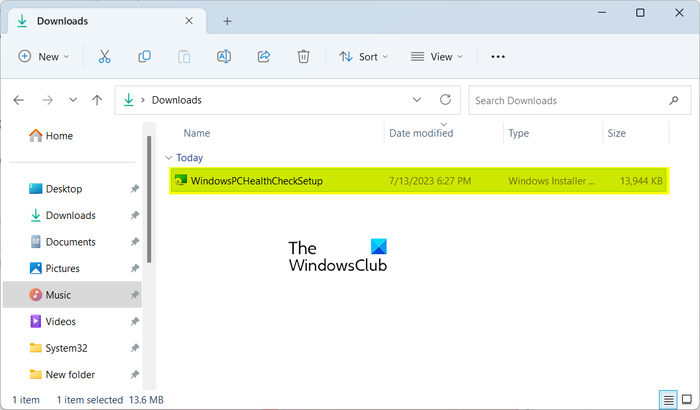
Some affected users have confirmed that re-running the WindowsPCHealthCheckSetup file has helped them fix the issue. So, you can also try doing the same and see if it works for you. Open your Downloads folder or the folder where you have saved the WindowsPCHealthCheckSetup file and double-click on it to run it. It will then relaunch the PC Health Check app. You can now check if the problem is resolved.
2] Repair the PC Health Check app

If PC Health Check Tool is not working as intended, it is likely to be corrupted. Hence, if the scenario is applicable, you can fix the problem by repairing the app. To do that, you can follow the below steps:
- First, open the Control Panel by searching for it using the Windows Search function.
- Now, click on the Uninstall a program option under Programs.
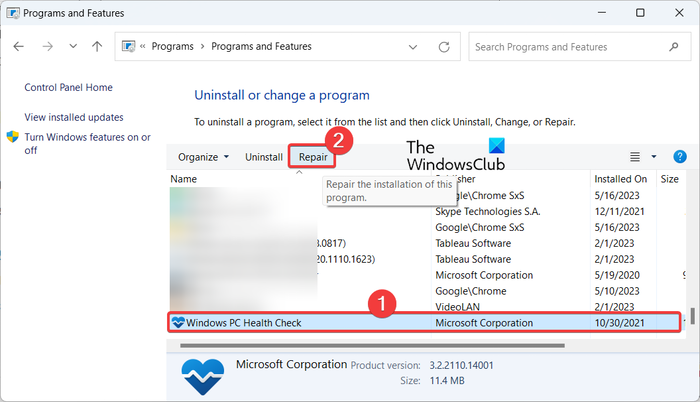
- Next, scroll down and choose the Windows PC Health Check app.
- After that, press the Repair button and Windows will start repairing the app.
- Once done, the PC Health Check app will be relaunched.
You can now check if the problem is resolved.
Read: Windows 11 not showing up in Windows Update Settings.
3] Get the latest version of PC Health Check
The issue might be happening due to having an outdated version of the PC Health Check app. So, you can try updating the app to its latest version and see if the issue is fixed. You can download the latest version of PC Health Check from the Microsoft website. After that, you can install the app and launch it to check if it shows results or not.
4] Repair system files using an SFC scan

Corrupted or missing system files could be the main culprit behind PC Health Check not working properly. So, if the scenario is applicable, you can try fixing your system files using a System File Checker (SFC) scan. SFC is a Windows built-in command line utility that helps you fix system file corruption. Here’s how you can run an SFC scan to fix this issue:
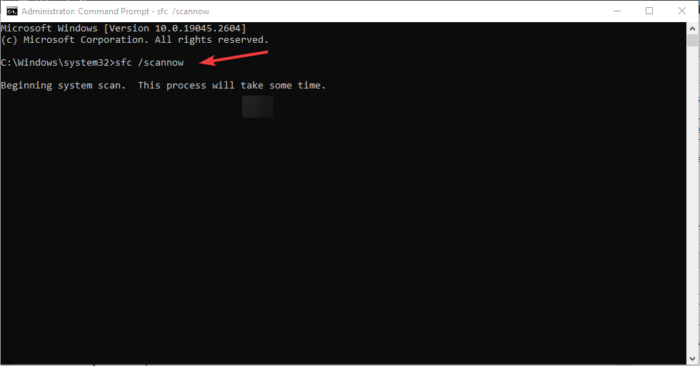
First, open the Command Prompt with administrator rights. After that, type and Enter the below command to perform an SFC scan:
sfc /scannow
The scan will take about 10-15 minutes or a few more minutes to finish. When it is done, you can restart your computer and then try running the app to see if the issue is fixed.
5] Reinstall PC Health Check

If the issue remains the same, you can uninstall the PC Health Check app and then reinstall its latest version on your computer.
To do so, open the Settings app using Win+I and go to Apps > Installed apps. Now, locate the Windows PC Health Check app and press the three-dot menu button present next to it. After that, choose the Uninstall option and follow the onscreen instructions to complete the process.
When the app is uninstalled, reboot your computer and then download the latest version of the PC Health Check app from here. Run the installer and complete the app installation. You can now start the PC Health Check app and check if it is working fine or not.
Read: Is your OEM computer ready for Windows 11?
6] Troubleshoot in a clean boot state
It could be a third-party software conflict causing the issue. Hence, if the scenario is applicable, you can first start your PC in a clean boot state. Here’s how you can do that:
- Firstly, evoke the Run command box using Win+R and enter msconfig in the Open box to quickly open the System Configuration window.
- Next, go to the Services tab and tick the Hide all Microsoft services checkbox so that you don’t disable an essential Windows service.
- After that, tick all the services that you want to disable and press the Disable all button.
- Now, go to the Startup tab, tap on Open Task Manager, and disable all your startup software.
- Next, move to System Configuration and press the Apply > OK button to save changes, and then reboot your computer.
If PC Health Check is opening and working correctly in a clean boot state, you can be sure that the issue is triggered due to a software conflict. You can then start enabling third-party services or software one by one and analyze the one causing the problem. Once you have analyzed that, you can temporarily disable it or permanently uninstall the program from your computer.
Read: Checkit Tool will tell you why your PC does not support Windows 11.
7] Use an alternative to PC Health Check
If the problem is still the same, you can use an alternative to PC Health Check. WhyNotWin11 is another free tool that does the same work as the PC Health Check app. It is also a compatibility checker that determines why your system can’t run Windows 11. So, you can download it and run the app to find compatibility results.
TIP: See this post if while using the PC Health Check app on your computer, if you get Your organization manages updates on this PC message.
Is it OK to uninstall Windows PC Health Check?
If you are running the latest Windows 11 OS on your computer and don’t need to perform a system compatibility test, you can uninstall Windows PC Health Check. You can do so using Control Panel or Windows Settings app. Launch your Control Panel, click on Uninstall a Program option, select the Windows PC Health Check app, and click on the Uninstall button. After that, follow the prompted guide and the app will be removed from your computer.
What is the shortcut to check PC health?
You can quickly access the PC Health Check app using the taskbar search option. Apart from that, you can also create a shortcut for the PC Health Check app on your desktop and quickly run it. To do so, right-click on your desktop and select the New > Shortcut option. After that, enter the location of the PC Health Check app. By default, it is located at C:\Program Files\PCHealthCheck\PCHealthCheck.exe. Now, press the Next button, enter the name of the shortcut, and press the Finish button.
Now read: Windows Memory Diagnostic not working; Displaying no results.
Leave a Reply