We list out things in Word using bullets. There are basic bullets available in Microsoft Word as numbers, symbols, and more. We might be using numbers, dot symbols and regular symbols as bullets in Word. When you are preparing a project document or presenting any seminar, then it would be very impressive, if you use a ‘bulleted list’. You can customize or change how we use Word bullets to make the document look attractive and impress your boss or colleague. Have you ever thought of using pictures as bullets in Word? Here, I am not talking about the default pictures that Word provides.
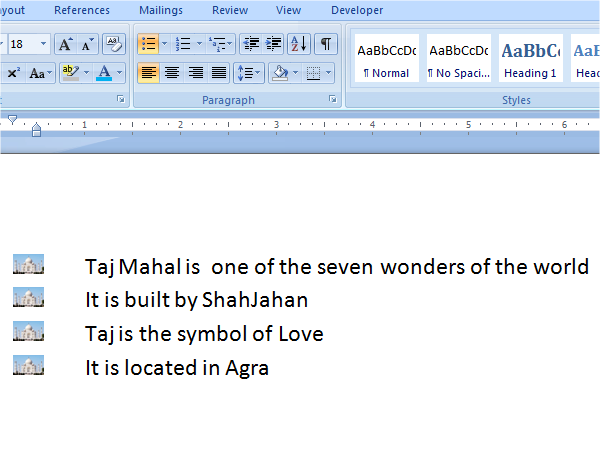
Suppose you have a corporate logo or a good picture that suits the content of your document, and you want to use that picture as bullets in Word. If so, then this article will let you know how to use pictures as bullets. Apart from the default pictures provided, we can even import pictures from our desktop and use them as bullets. We already know how to change the default numbered list in Word, and now let us see how to create a picture bullet list in Word.
How to use Pictures as Bullets in Word
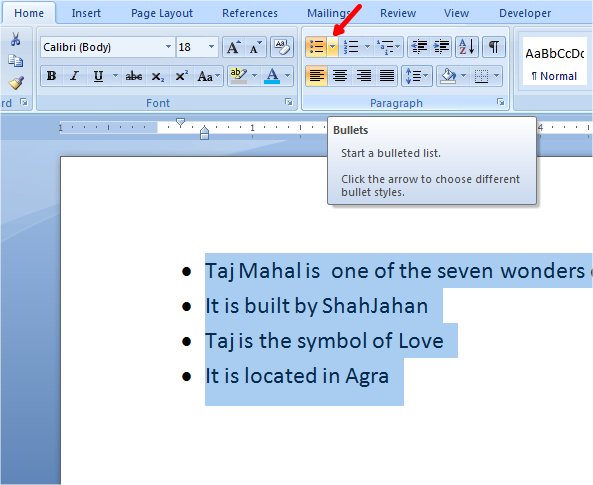
To use pictures as bullets in Word, first select the content for which you want to change bullets. In “Home” tab click on the dropdown of the “Bullets” button under “Paragraph” Section.
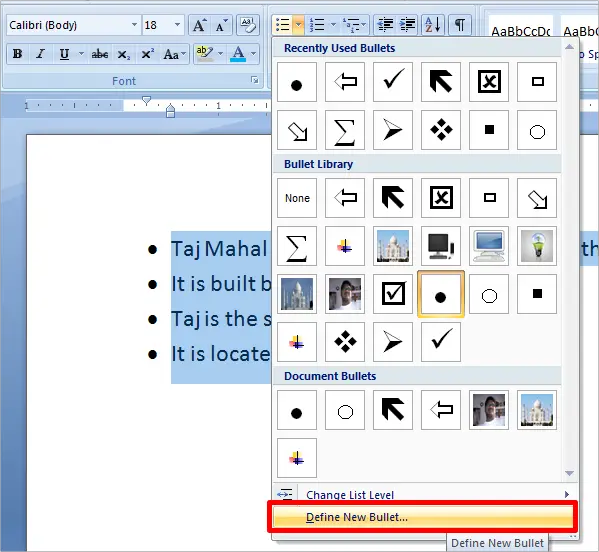
It shows you the Recently Used Bullets, Bullet Library and the Bullets which were used in this document. You can use any one of them and that is what we do it normally. If you want to use picture as bullets, then click on “Define New Bullet”.
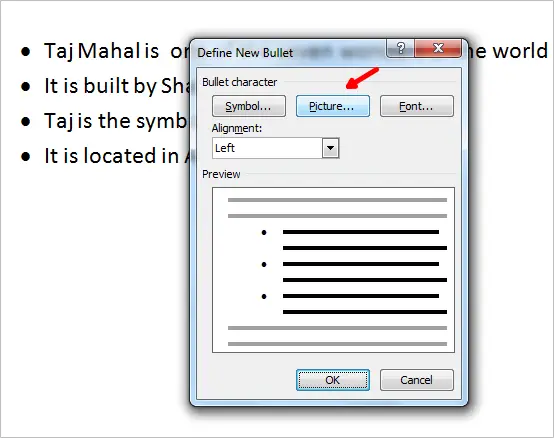
It shows you the “Define New Bullet” dialog box. Under “Bullet Character” click on “Picture” button.
Picture Bullet dialog box appears. By default it shows you some pictures and they can be used in Word. If you want to use pictures from your desktop, then click on “Import” button.
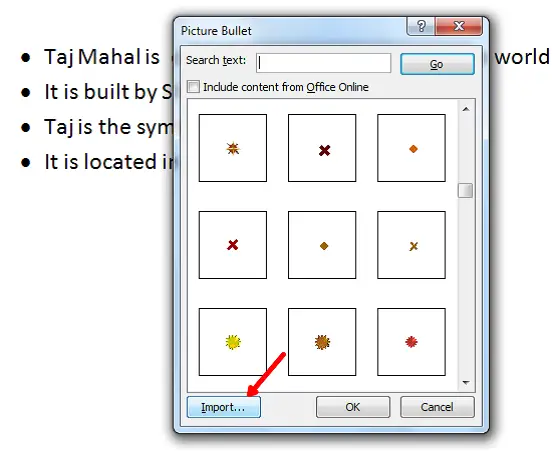
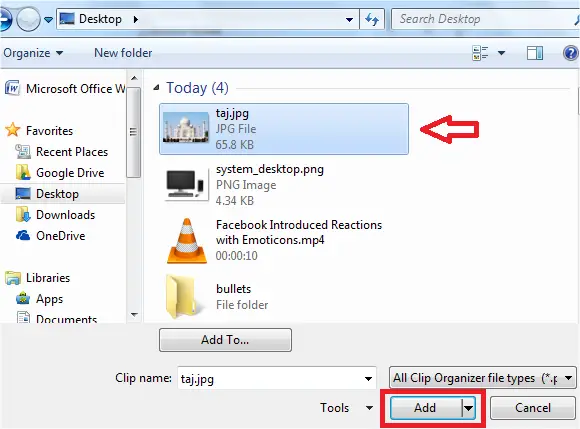
From the dialog box, navigate to the location where you saved the image. Select the image and click on “Add”.
You can see that the selected picture is added to the bulleted list. Select the image from the bullet list and click “OK.” This shows you a preview of this picture as a bullet. If you are OK with it, then click “OK.” Otherwise, select one more image from your desktop and repeat the same steps.
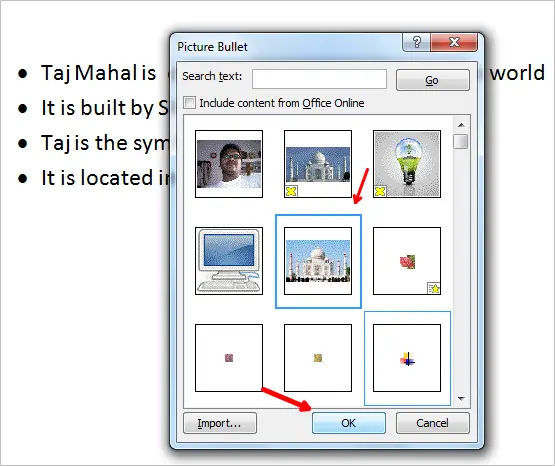
Now, you can see that the selected bullet list as pictures i.e; previous bullets were replaced with the pictures.

Not all pictures will work as bullet points. Images should be transparent and have a good background so that they look impressive in your Document.
You might want to also take a look at this post that shows how to Wrap Text around Pictures & Images in Microsoft Word.
Have you ever used pictures as bullets in Word? If so, please do share with us through comments.
Now read: How to remove Field Shading in Word.