If you see the Please back up your data and replace your hard disk drive warning after starting your Windows 11/10 computer, the solutions provided in this article will help you. This error occurs when the hard drive is failing. When a computer starts, the BIOS performs a hardware check. If a hardware failure is detected, it shows a message on the screen. The affected users cannot boot into Windows due to this error.
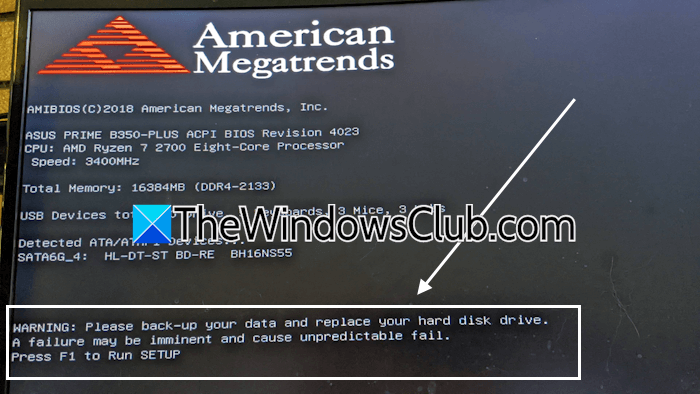
The complete error message is:
WARNING: Please back-up your data and replace your hard disk drive. A failure may be imminent and cause unpredictable fail.
Please back up your data and replace your hard disk drive
The error message Please back up your data and replace your hard disk drive indicates a failing hard drive. Therefore, you need to replace it. However, in some cases, the BIOS displays this error message despite the hard drive being healthy. Use these suggestions if you get this error and cannot boot into Windows.
- Run Startup Repair
- Turn off the SMART Self Test (if applicable)
- Use Windows Recovery Environment to back up your data
- Install the hard drive to another working computer
- Update your hard drive firmware
These fixes are explained below in detail:
1] Run Startup Repair
Startup Repair is a built-in tool in Windows computers that helps users run necessary repairs to fix boot and other issues. If this error is occurring due to a software glitch, running the Startup Repair can help.
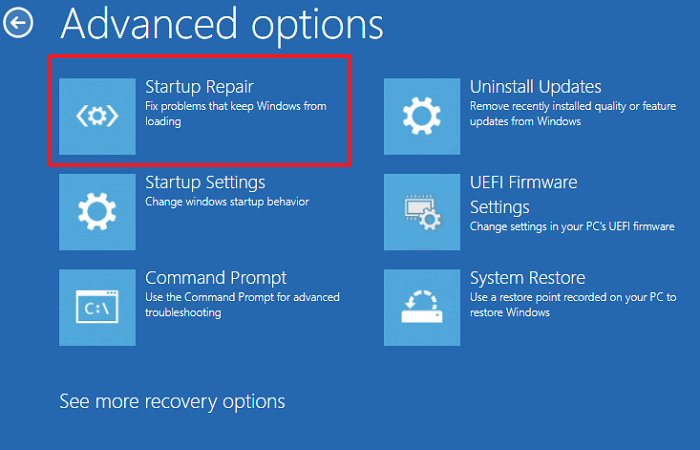
To run Startup Repair, you need to enter Windows Recovery Environment. When you are unable to boot into Windows, you can enter the Windows Recovery Environment by interrupting the normal boot process. However, this method will not work because the boot process is terminated at the initial phase when BIOS runs a hard drive test. In this case, you need a bootable USB Flash drive with Windows ISO.
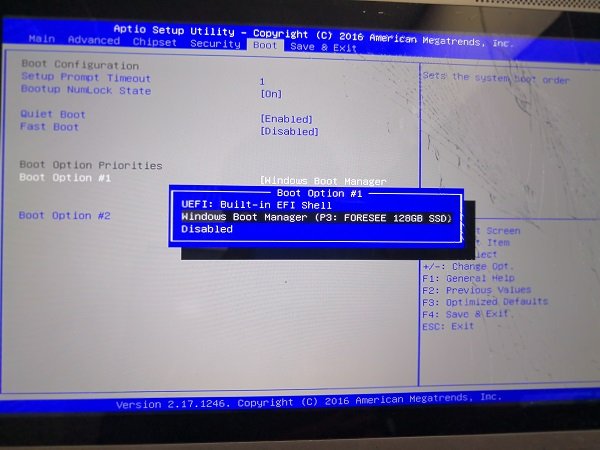
On a working computer, prepare a bootable USB Flash drive with Windows ISO. You can use a third-party tool for this, like Rufus. Now, connect the bootable USB Flash drive to your computer and enter the BIOS. Change the boot order in BIOS and select the bootable USB Flash drive.
You will see the Windows installation screen. Click on the Repair your computer link on the bottom left side to enter Windows Recovery Environment. Select Troubleshoot > Startup Repair.
2] Turn off the SMART Self Test (if applicable)
If the Startup Repair does not work, disable the SMART Self Test to boot into Windows, so you can back up your data. The settings to disable the SMART Self Test may be different for different BIOS. Hence, refer to the user manual or visit the support website of your computer manufacturer to know how to disable this feature.
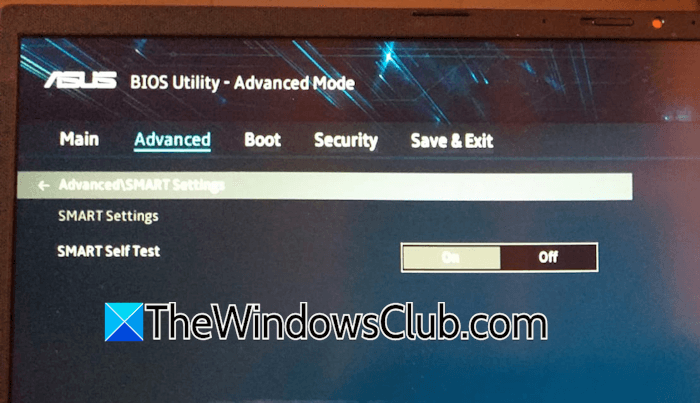
I will explain the steps for disabling this feature for the ASUS motherboard.
- Turn off your computer.
- Press and hold the F2 key and turn on the computer.
- You will enter the BIOS of your computer. Now, you can release the F2 key.
- Go to Advanced Mode.
- Select the SMART Settings option.
- Turn off the SMART Self Test option.
- Save settings and exit.
You will now be able to boot into Windows. Once you boot into Windows, backup all your data and replace your hard drive (if it is faulty). After installing Windows on the new hard drive, enable the SMART Self Test again.
Read:
- How to check SMART Failure Predict Status of Drives.
- Monitor hard drive SMART attributes with PassMark DiskCheckup.
3] Use Windows Recovery Environment to back up your data
If you cannot boot into Windows, you can use Windows Recovery Environment to back up your data. Enter the Advanced Startup Options screen and go to Troubleshoot > Command Prompt. When the Command Prompt appears on your screen, type Notepad and hit Enter.
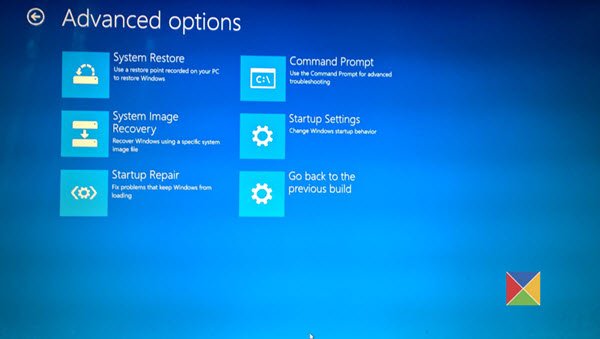
The above command will open Notepad in the Windows Recovery Environment. Now, press the Ctrl+O keys to access all your hard drives, hard drive partitions, and external storage devices connected to your computer. Open the hard drive partition of the affected hard drive and copy your data. Paste this data into an external storage device. This will take time, but you can back up your data.
4] Install the hard drive to another working computer
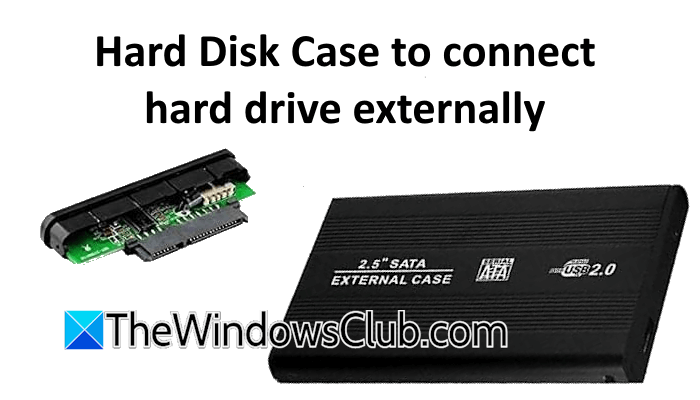
You will need a working computer for this fix. Open your computer case and disconnect the affected hard drive from it. Install it into another working computer if an empty slot is available. If an empty slot is unavailable, you can connect that hard drive externally through a hard disk case. If your hard drive is detected, you can back up your data.
5] Update your hard drive firmware
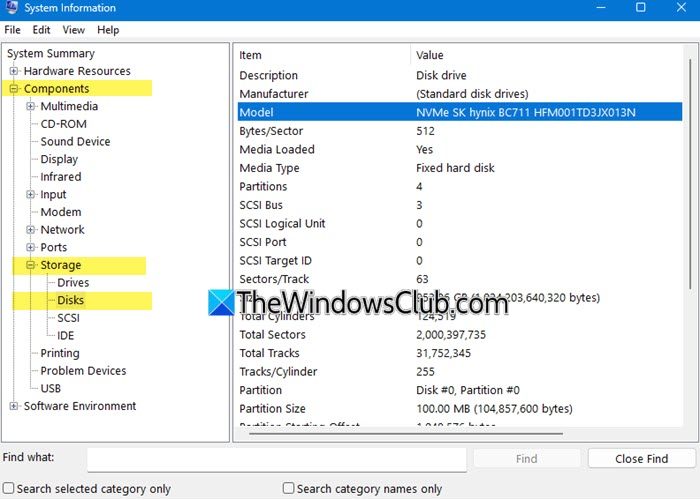
Outdated hard drive firmware is one possible cause of this error. If your hard drive is healthy, its firmware might be outdated. You can update its firmware on another computer and then install it on your computer. This should fix this error.
Refer to the official website of your hard disk manufacturer to learn the exact process of updating its firmware.
I hope this helps.
How do I back up my hard drive?
You can back up your hard drive manually. Connect another storage device to your computer and copy all the files to the external storage device manually. Or, you can also use free file backup software, like Areca, AOMEI Backupper Standard, etc.
How do I fix and repair my hard drive?
A corrupted hard drive may have bad sectors. You can repair the corruption of hard drive data with the help of the CHKDSK tool in Windows. However, if the hard disk has a hardware fault, you need to contact the manufacturer to repair your hard drive.
Read next: 1720 SMART Hard Drive detects imminent failure.