While I love using Windows Live Mail on my Windows 7, updating it has never been a pleasure for me. For long I had stopped updating Windows Live Mail 2011 to its latest version, for the simple reason that whenever I did so and rebooted, I was unable to Reply or Send new mail and received the error – Failed to initialize canvas. I never really found a solution to this error!
I had tried to update WLM on many occasions, received the same error, and then “system restored” back to get the earlier version. This time too, I decided to brave the updating process once again by updating Windows Live Mail Version 2011 to Build 15.4.3555.0308, a few days back.
I again faced the same problem, when I restarted my computer, started Windows Live Mail and tried to send a new mail!
Failed to initialize canvas
So I decided to Repair WLM. It did not work. A fresh install seemed to be the only option. I exported my mail and settings, uninstalled WLM reinstalled WLM and imported back my mail and settings. I could now send new mails!
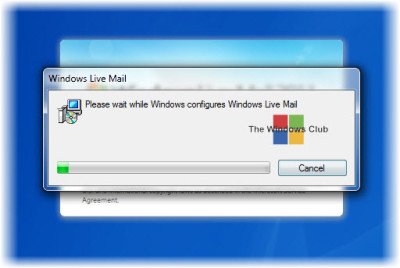
Things looked great – till I rebooted and received the message:
Please wait while Windows configures Windows Live Mail
Now every time I restarted my Windows, I received this message – and it was pretty irritating waiting for a minute or two.
So I looked around on the internet and found that there was not much confirmed and working help available anywhere for this particular problem – although it did seem to be a common problem. Then I came across a bit of information that pointed me in this direction. The problem appeared to be in the Permissions for the following registry key:
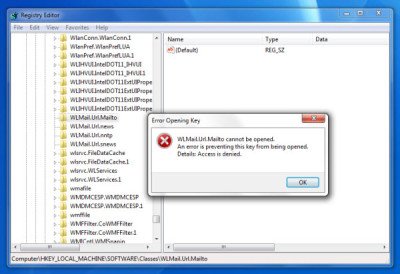
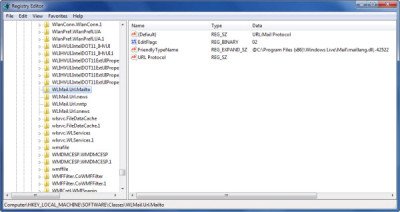
HKEY_LOCAL_MACHINE\SOFTWARE\Classes\WLMail.Url.Mailto
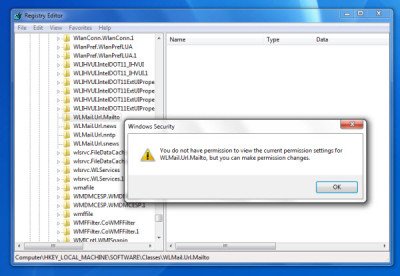
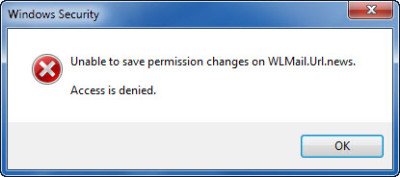
So I exited Windows Live Mail, opened Windows Registry and navigated to this key. I tried to open it and change its permissions. But was unable to and received the following messages:
I was unable to save the changes.
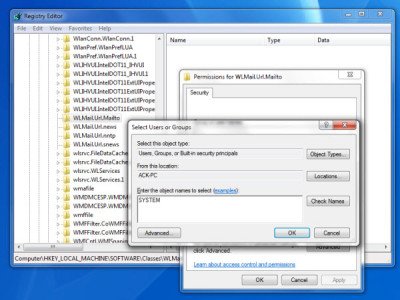
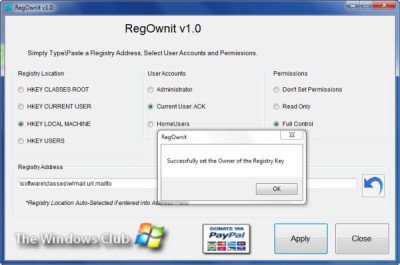
So I downloaded our portable freeware RegOwnIt which allows you to take ownership and control of registry keys easily and quickly.
I pasted the path of the registry key and clicked on Apply. The new ownership was set.
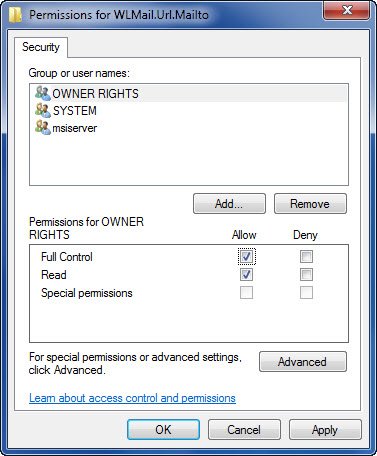
Now you have to ensure that the permissions for WLMail.Url.Mailto key are as follows:
Right-click it > Permissions > Set them thus > Click Apply/OK – and you will also see some new settings appear in the registry.
That’s it!
Now I started my Windows Live Messenger – and viola – no more Please wait … message! The problem was solved!
I hope this simple solution, to a rather frustrating problem, which worked for me, helps you too.
I am trying to uninstall my windows 8 and I am not very computer literate that is why I do not like it. I do not know where start search is so I can start the process can someone help me pplease?
This post on Windows 8 Search Tips may help you: https://www.thewindowsclub.com/windows-8-search-tips
I have the “canvas” error message but I reluctant to totally uninstall and start over from scratch. Wish MS would fix this.
thx – that sped up the load time