In this article, we will talk about how you can fix the poor print quality of your printer. The poor print quality of a printer depends on several factors, such as incorrect printer settings, low ink in cartridges, etc. In some cases, corrupted drivers and outdated printer firmware can also deteriorate the print quality.
How to fix the poor print quality of a printer on PC
Use the following suggestions to fix the poor print quality of your printer while printin on your Windows PC:
- Clean the printhead
- Check your ink cartridges
- Increase DPI for printing
- Clean the encoder strip (if applicable)
- Disable high-speed printing (if applicable)
- Select the right paper type
- Update printer firmware
- Print from different software
- Reset your printer
All these suggestions are explained in detail below. These suggestions apply to printers of different brands.
1] Clean the printhead
A dirty or clogged printhead results in bad print quality. Hence, to fix poor print quality, clean the printhead. You can perform automatic or manual printhead cleaning. First, do the automatic printhead cleaning by following the steps provided below:
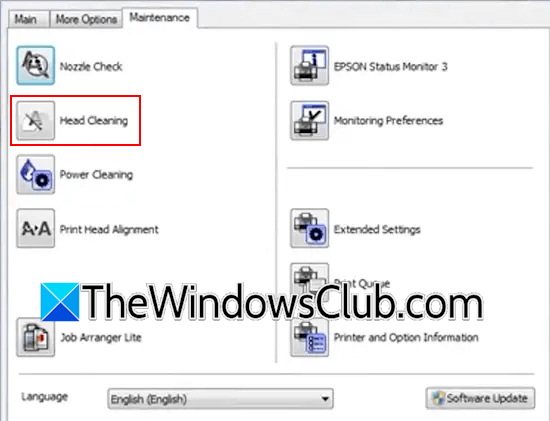
- Open the Control Panel.
- Go to Hardware and Sound > Devices and Printers. In Windows 11, you can open this page through Windows 11 Settings. Open Windows 11 Settings and go to Bluetooth & devices > Devices > More devices and printer settings.
- Right-click on your printer and select Printing Preferences.
- Go to the Maintenance tab.
- Click on Head Cleaning.
Also, perform Power Cleaning. If this does not make any changes, you can also clean the printhead manually. To do this, you have to open your printer and remove the printhead. Refer to the user manual to know how to remove the printhead.
2] Check your ink cartridges
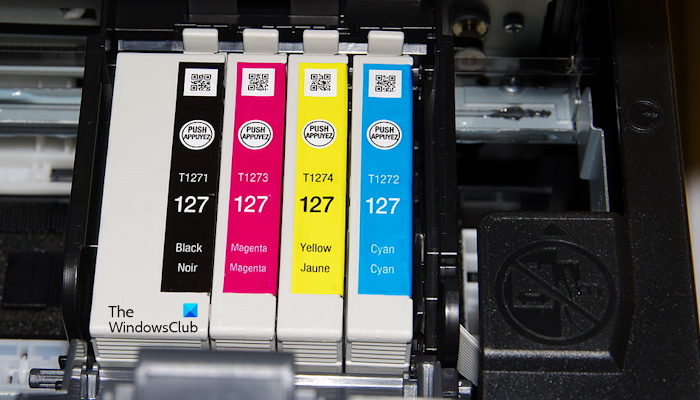
Low ink levels in ink cartridges also reduce the print quality. Check your ink levels in ink cartridges.
3] Increase DPI for printing
In printing, DPI is used for printer resolution. It indicates the clarity and detail of an image on a paper. The higher DPI number causes more ink droplets to bunch together tightly, which results in a crisp and high-quality image. Change the DPI setting for your printer and select the higher number. Now, print a test page to check the print quality. But keep one thing in mind, selecting a high DPI setting will also consume more ink. You will find the option to change the DPI setting in Printing Preferences. Refer to the user manual of your printer.
4] Clean the encoder strip (if applicable)
Encoder strips are usually found in inkjet printers. If your printer has an encoder strip, make sure that it is clean. Refer to your printer manufacturer’s support website or your printer’s user manual to know the right method to clean the encoder strip.
5] Disable high-speed printing (if applicable)
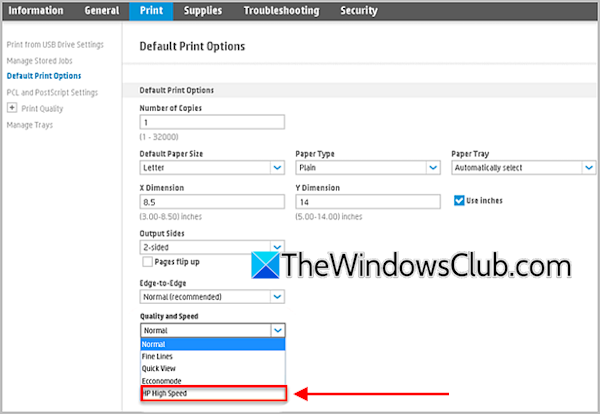
Some printer models support high-speed printing. Sometimes, this feature can cause print quality issues. Depending on your printer model, you can enable and disable it in Printing Preferences or through your printer’s embedded web server page. Refer to your printer manufacturer’s official website or the user manual of your printer model.
6] Select the right paper type
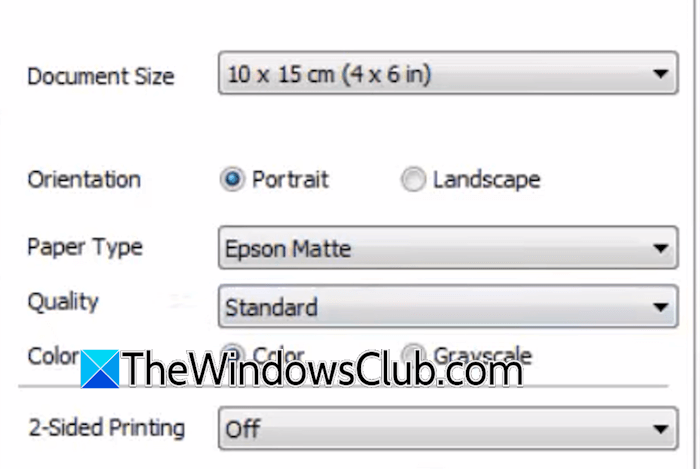
Select the correct paper type before giving the print command. Selecting the photo or Matte paper option in Paper type can increase the print quality.
7] Update printer firmware
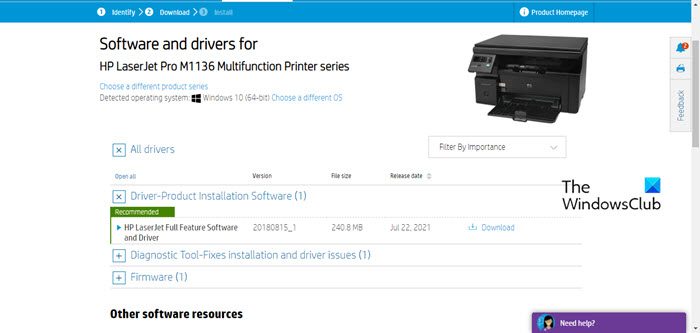
An outdated printer firmware can also cause poor print quality issues. Download and install the latest printer firmware. The latest version of your printer firmware is available on the official website of your printer manufacturer. You can download it from there.
Also, download and install the latest printer driver for your printer.
8] Print from different software
Sometimes, issues are associated with a particular software. You can use another software to print the same page or document. For example, if you are printing a Word document, you can try another free Microsoft Office alternative software, such as LibreOffice.
9] Reset your printer
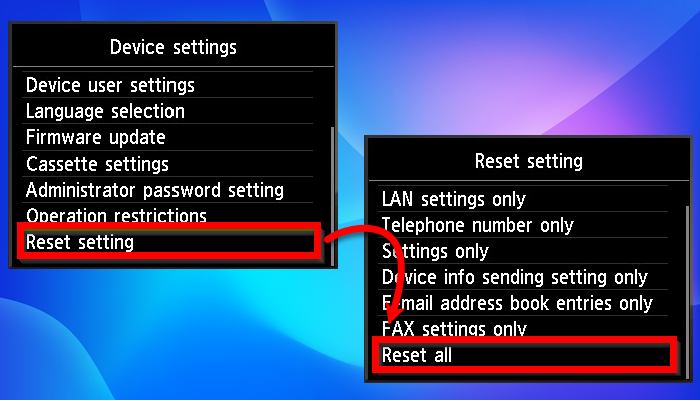
Reset your printer to the factory default settings. The methods for resetting printers of different brands vary. Your printer user manual will provide the right information.
That’s it. I hope this helps.
Read: Fix Printer Connection and Printing problems
Why is the print quality poor?
There can be multiple reasons for bad print quality, such as incorrect print settings, outdated printer drivers or firmware, low DPI settings, etc. High humidity also impacts the print quality. Apart from these, dirty or clogged printhead also causes printer to print in bad quality.
Read: Printer not working in Windows
How to adjust printer settings?
You can change the printer settings in the Printing Preferences option. Open Windows 11 Settings and go to Bluetooth & devices > Devices > More devices and printer settings. This will open the Devices and Printers page in the Control Panel. Right-click on your printer and select the desired option from the context menu.
Leave a Reply