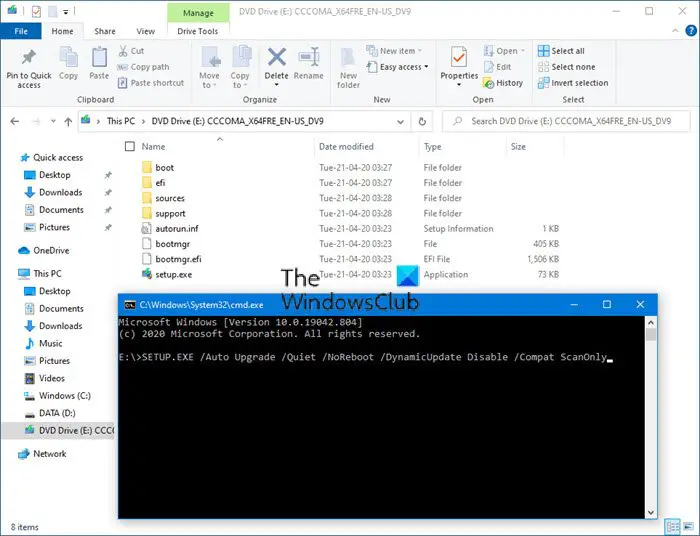
Before you proceed with upgrading to Windows 11/10, upgrading your Windows 11/10 installation to the next version or installing a Feature Update, you might want to run a Pre-Upgrade Validation Check to identify any issues that your computer may have.
Run Pre-Upgrade Validation Check in Windows 11/10

The built-in command-line tool SETUP.EXE allows you to check for compatibility issues only and not actually perform the upgrade.
To run the check you have to execute the following command from the Drive letter of your mounted Windows 11/10 ISO:
SETUP.EXE /Auto Upgrade /Quiet /NoReboot /DynamicUpdate Disable /Compat ScanOnly
This will make your system download the latest compatibility information from Windows Update and then run the check.
On completion of the scan, you may receive one of the following messages:
- No issues found: 0xC1900210
- Compatibility issues found (hard block): 0xC1900208
- Migration choice (auto upgrade) not available (probably the wrong SKU or architecture)· 0xC1900204
- Does not meet system requirements for Windows: 0xC1900200
- Insufficient free disk space: 0xC190020E
You can then review the SETUPACT.LOG or SETUPERR.LOG in C:\$WINDOWS.~BT\Sources\Panther folder, that are generated by SETUP.EXE to see what errors are found.
To resolve these errors, check our post on Windows Upgrade Modern Setup errors & resolution.
Other reads that may interest you: