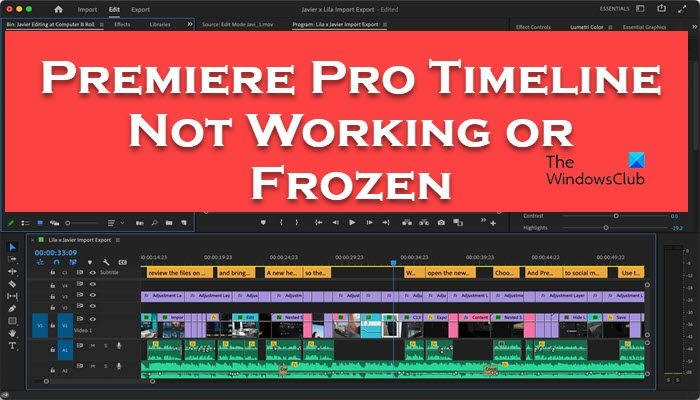
Premiere Pro is the leading video editing tool in the market. It is used not just by professionals but also by amateurs. However, according to some users, Premiere Pro Timeline is not working or is frozen. As per the reports, one can scrub across the timeline but the footage stays still. Some users also reported that the play button stops working too when this happens. In this post, we will discuss the issue and see what you need to do when Premiere Pro Timeline fails to work.

Premiere Pro Timeline is not working or is frozen
If Premiere Pro Timeline is not working, first of all, restart the app. You need to close it not just by clicking on the cross button but by going to the Task Manager, right-clicking on the app, and selecting End Task. After opening the application, check if the issue is resolved. In case, the Timeline is still not working, follow the solutions mentioned below to resolve the issue.
- Try a different video
- Repair the corrupted video
- Enable Preview Area and then use the timeline
- Reset the UI
- Clear Adobe Premiere Pro Media Cache
Let us talk about them in detail.
1] Try a different video
Before even entertaining the fact that there is something wrong with Premiere, we need to check if the video is not corrupted. To do the same, we would like you to try editing a different video. So, import a different video and see if the timeline works. In case, the timeline starts working, move to the next solution. However, if the timeline still fails to work, skip the next solution.
2] Repair the corrupted video
If after changing the video, Premiere Pro Timeline starts working, your video is corrupted. But there is nothing to worry about as we got your back. Use any of the video repair tools mentioned in the list to scan and repair your video. Once your video is repaired, import it and start working on it.
3] Enable Preview Area and then use the timeline

There is a bug in Adobe Premiere Pro, where you need to enable Preview Area for the timeline slider to properly work. It is a minor glitch and should be fixed in the later versions, but as of now, follow the steps given below to enable the Preview Area.
- When you are working on the project, go to your project window and click on the three horizontal lines.
- Once the context menu appears, click on Preview Area.
- With this you will get a square inside your Project Area.
Now use the timeline slider normally.
4] Reset the UI
Sometimes, in order to personalize the application we make certain adjustments that can trigger some issues. In that case, we recommend resetting the UI of the application. Follow the steps mentioned below to do the same.
- Open Adobe Premiere Pro.
- From the taskbar at the top of the window, click on Window > Workspaces > Reset to Saved Layout.
- Follow the on-screen instructions to reset the application.
Once done, restart the video editing app and check if the issue is resolved.
5] Clear Adobe Premiere Pro Media Cache

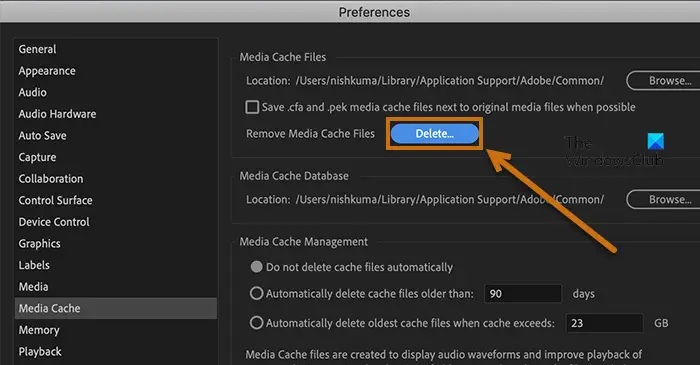
If nothing else worked for you, the last resort is clearing out the media cache that’s accumulated over time. The cache might help the app to perform quicker as it stores the frequently used information. In case, this information is corrupted, the app might through a tantrum. Therefore, let us clear the media cache of Premiere Pro using the following steps.
- Open Adobe Premiere Pro.
- Click on the Edit button from the top of the window and then move to Preferences.
- Go to Media Cache.
- Now, click on the Delete button placed next to the Remove Media Cache Files option.
- Select Delete all media cache files and click on Ok.
After deleting the cache, check if the issue is resolved.
Hopefully, we are able to resolve your issue.
Read: Premiere Pro: There Was an error decompressing Audio or Video
Why the timeline is not playing in Premiere Pro?
The timeline will not play in Premiere Pro if your graphics drivers are not updated. This is a compatibility issue, so, go ahead and update all your graphics drivers. If that doesn’t work, try playing a different video as it is possible that the video you are playing is corrupted. If none of the tips made any difference, follow the solutions mentioned in this article to resolve the issue.
Read: Difference between Adobe Premiere Pro and Adobe After Effects
How do I get my timeline to show in Premiere Pro?
If the timeline is missing in Premiere Pro, the option is not enabled. So, the app is open, click on Windows and then select Timeline. If the Timeline still not appears, go to the Project you want to edit, double-tap on the sequence and it will appear.
Also Read: Premiere Pro crashing or stops working on Windows 11/10.
Leave a Reply