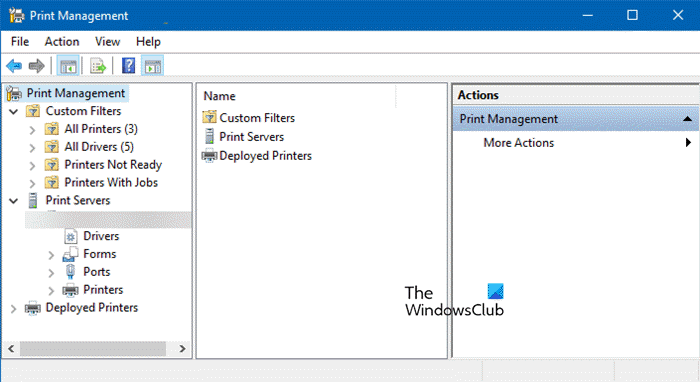
The Print Management Tool is a utility of Windows 11 that enables you to install and manage printers in an organization or for your personal use. This app will provide you with a platform that has an easy-to-use interface allowing you to keep printing-related work hassle-free. However, few users know about this tool and how to open and use the Print Management Tool in Windows 11. Therefore, in this article, we are going to discuss this in detail.

How to open Print Management Tool in Windows 11
To open Print Management Tool, you have various options, depending on your convenience and ease of use, you can pick the best method. The following are the methods to open Print Management Tool on a Windows computer.
Via Search Bar
Windows 11 provides you with an easy way to open Print Management Tool from Windows’s search bar. Follow these steps to access Print Management.
- Press Windows Key + S.
- Type Print Management in the Search bar.
- Click on the Open button.
Via Run or Command Prompt or PowerShell

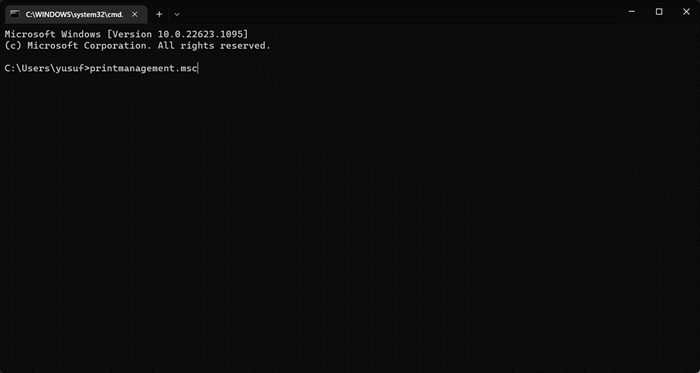
You can use a single command to open the Print Management Tool using either Command Prompt or Run, in order to launch the former, just search out CMD and open it (it is better to open Command Prompt as administrator), when it comes to latter, all you have to do is hit Win + R and Run dialog box will pop up. Finally, run the following command and you will be good to go.
printmanagement.msc
This will launch the Print Management Tool.
Note: Instead of Command Prompt, you can PowerShell or Terminal too.
Via File Explorer
The address bar in File Explorer can be used to open Print Management and from here you can manage printers and printing tasks. Follow the prescribed steps to do the same:
- Press the Windows + E key to open File Explorer.
- In File Explorer, go to the following location: C:\Windows\System32.
- Once it opens, find printmanagement.msc file from the search bar and double-click on it to manage printers.
Via Control Panel
If you want to use Control Panel to open the Print Management Tool:
- Open Control Panel
- Set View by to Large icons
- Go to Windows Tools > Print Management.
Now, that you know how to open the Print Management Tool, let us learn how to use it.
Read: Windows cannot find printmanagement.msc in Windows
How to use Print Management Tool in Windows 11
After launching Print Management Tool, you will see a simple UI.
- First of all, expand Custom Files and select All Printers to view all added Printers.
- Now, you can probe even further, and check what all Printers are added here.
- You can check Queue Status and Jobs in Queue in order to get a better understanding of the job in progress and what are the steps you need to manage your printer.
One of its best features is Print Servers. It lets you remove or add Print Servers to your existing network. All you have to do is click on Print Servers and then follow the on-screen instructions to complete the process. Hopefully, you will be able to do the job pretty easily.
Hopefully, now you know how to open and use Print Management Tool on a Windows computer.
Read: Turn Off Let Windows manage my default printer setting in Windows.
Leave a Reply