As a Windows 11 or Windows 10 PC user, you may encounter printer issues or errors like Error 0x00000c1, Error 0x0000052e, Error 0x0000007c or 0x000006e4, HP Printer validation failed error. In this post, we provide the solutions to fix the Printer driver was not installed – Element not found error when trying to manually add or install a printer on your system.
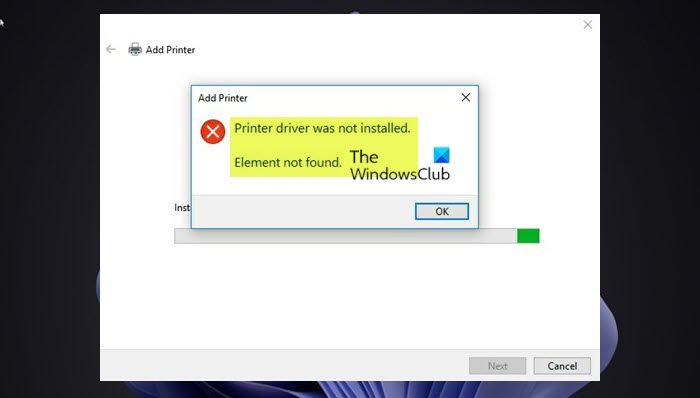
Printer driver was not installed – Element not found
If you’re faced with this issue, you can try our recommended solutions below in no particular order and see if that helps to resolve the Printer driver was not installed – Element not found error that occurred on your Windows 11/10 computer.
- Run Printer Troubleshooter
- Run SFC scan and DISM scan
- Update Printer driver
- Disable Driver Signature Enforcement
- Run Hardware Troubleshooter
Let’s take a look at the description of the process involved concerning each of the listed solutions.
Before you try the solutions below, check for updates and install any available bits on your Windows 11/10 device and see if the error reappears when you attempt installing the printer. On the other hand, if the error started after a recent Windows update, you can perform System Restore or uninstall the update – but if you prefer not to do neither, you can then go ahead with the solutions below.
1] Run Printer Troubleshooter
You can begin troubleshooting to fix the Printer driver was not installed – Element not found error that occurred on your Windows 11/10 computer by running the inbuilt Printer Troubleshooter. Running the Windows in-built Troubleshooter will restart your printer and drivers and check for any errors. Your printer must be connected during this procedure.
To run the Printer Troubleshooter on your Windows 11 device, do the following:
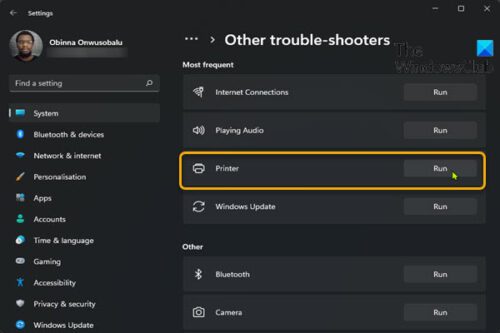
- Press Windows key + I to open Settings app.
- Navigate to System > Troubleshoot > Other troubleshooters.
- Under the Most frequent menu, find Printer.
- Click Run.
To run the Printer Troubleshooter on Windows 10 PC, do the following:
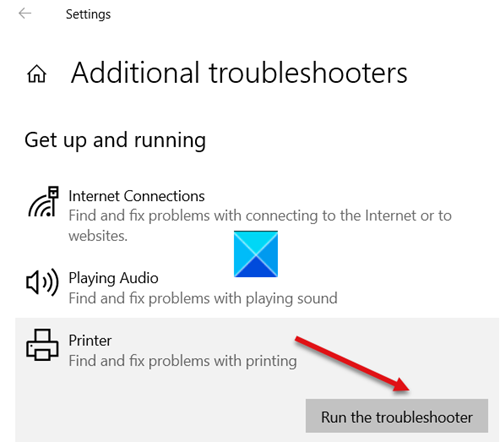
- Press Windows key + I to open Settings app.
- Go to Update and Security.
- Click the Troubleshooter tab.
- Scroll down and click on Printers.
- Click the Run the troubleshooter button.
- Follow on-screen instructions and apply any recommended fixes.
After running the troubleshooter, try installing the printer again and see If the error is fixed. If not, try the next solution.
2] Run SFC scan and DISM scan
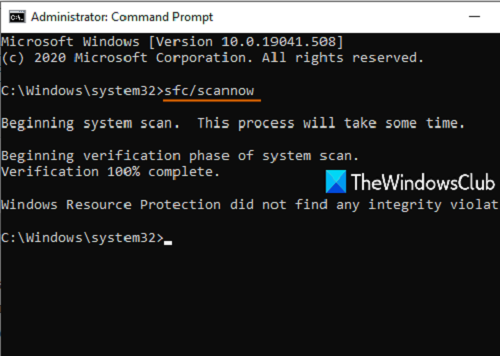
The System File Checker (SFC) and DISM (Deployment Image Servicing and Management) are both native tools to the Windows OS which PC users can utilize to fix corrupt or missing system/image files on the Windows 11/10 computer. The SFC/DISM utility can be run in tandem – to do so, follow the instructions in the guide on how to fix Devices and Printers page is blank.
3] Update Printer driver
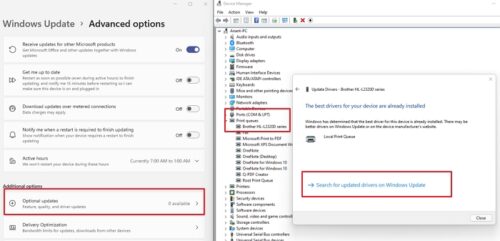
This solution requires you to update your printer driver and see if that helps to resolve the issue in hand. You can manually update printer driver via Device Manager if you have already downloaded the .inf or .sys file for the driver, or update driver via Command Prompt. You can as well get the driver updates on the Optional Updates section under Windows Update or you may also download the latest version of the driver from the printer manufacturer’s website or automatically update your drivers using any of the free Driver Update software for Windows 11/10 PC.
However, if the latest drivers are installed, you can rollback the driver or download and install an earlier version of the driver.
If both updating and/or rolling back the driver didn’t work, you can uninstall the printer driver, and then restart your PC – on boot, Windows will scan for hardware changes and automatically reinstall the generic driver for the printer device which in some cases is sufficient enough for the printer to function without issues.
You may also be able to resolve the issue in hand by downloading and installing Universal Printer Driver (UPD) for Windows from support.hp.com website.
4] Disable Driver Signature Enforcement
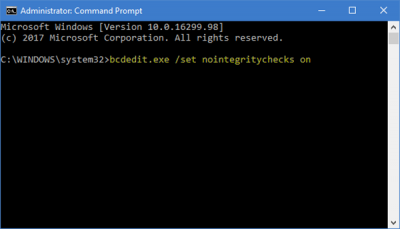
Driver signing enforcement for Windows 11/10 PCs ensures that only drivers that have been sent to Microsoft for signing will load into the Windows kernel during the boot process – this prevents malware/virus from creeping in and infecting the Windows kernel.
This solution requires you to disable Driver Signature Enforcement. After your computer has restarted, make sure that your printer is switched on and properly connected to your computer through the right port, then proceed to add/install the printer and see if the error in view reoccurs. If so, try the next solution.
5] Run Hardware and Devices Troubleshooter
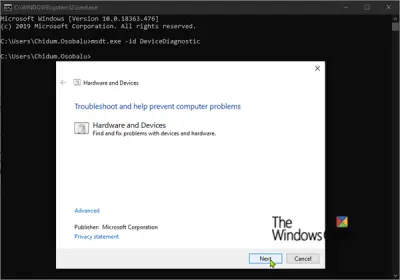
This solution requires you to run the Hardware and Devices Troubleshooter to fix problematic devices. You can also manually check for faulty printer hardware and as well check for faulty components if the issue isn’t with the hardware itself.
Any of these solutions should work for you!
Related post: Unable to install printer – The handle is invalid
How do I install a printer driver using Group Policy?
To install a printer driver using Group Policy, do the following:
- Open Group Policy Editor.
- Navigate to the path below:
User Configuration > Policies > Windows Settings
- Right-click on the Deployed Printers.
- Select Deploy Printer.
- Click on the Browse button and browse the shared printer driver
- Click on Add.
- Finally, click OK button.
Why does my printer say No driver Found?
If you’re receiving the Printer driver is unavailable error message on your Windows 11/10 PC, it simply means that the driver installed for your printer is either not compatible or is outdated. Since the computer cannot recognize or function with the driver, you will not be able to access your printer and use the hardware to print jobs.
Leave a Reply