If your printer keeps printing the same page automatically, the solutions provided in this article will help you fix the problem. This problem can occur due to outdated printer firmware or corrupted printer driver.
Printer keeps printing the same page automatically
Use the following suggestions if your printer keeps printing the same page automatically on your Windows computer.
- Run the Printer Troubleshooter
- Update your printer firmware
- Clear the Print Spooler
- Uninstall and reinstall the printer driver
- Repair your system image files
- Completely remove your printer and add it again
- Delete all temporary files
- Reset your printer
All these fixes are explained in detail below.
1] Run the Printer Troubleshooter
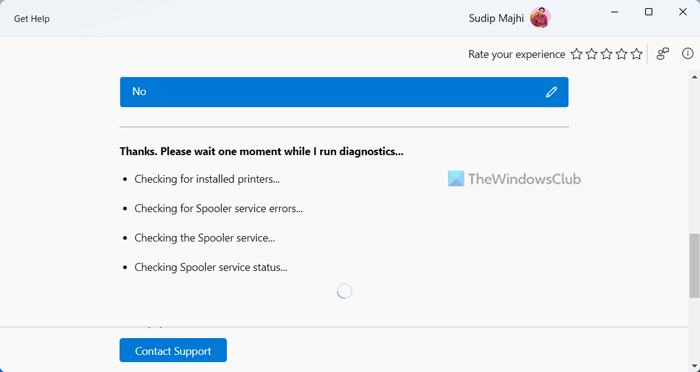
Run the Printer Troubleshooter through the Get Help app and see if it helps. You can also launch it directly from Windows 11/10 Settings. Open Settings and go to System > Troubleshoot > Other Troubleshooters. Click on the Run button next to the Printer.
2] Update your printer firmware
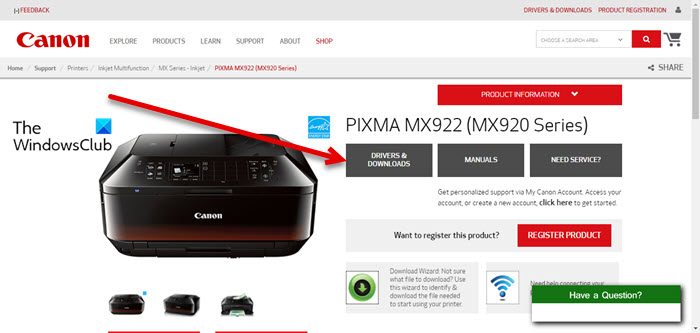
An outdated printer firmware can also cause this problem. I suggest you check for the Printer firmware updates. The method to update your printer firmware is available in the printer manual. Visit your printer manufacturer’s official website and download your printer’s user manual from there.
3] Clear the Print Spooler
If the problem still persists, clear the Print Spooler. First, open Windows Services Manager and look for the Print Spooler service. Right-click on the Print Spooler service and select Stop.
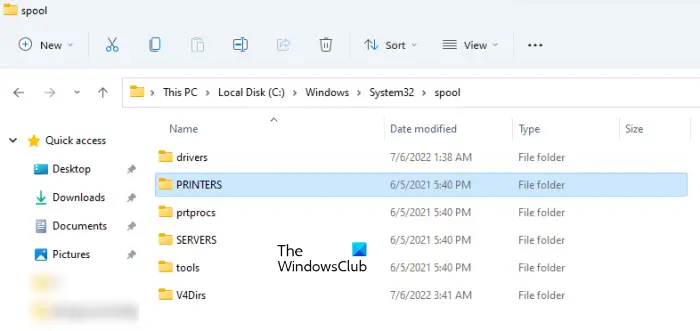
Now, open File Explorer and go to the following path:
C:\Windows\System32\spool
Open the PRINTERS folder and delete all the files inside it. Do not delete the PRINTERS folder. After that, open the Services Manager and start the Print Spooler service. Now, check if the problem persists.
Read: How to carry out Print Spooler Repair in Windows
4] Uninstall and reinstall the printer driver
One possible cause of this problem is the corrupted printer driver. Follow these steps:
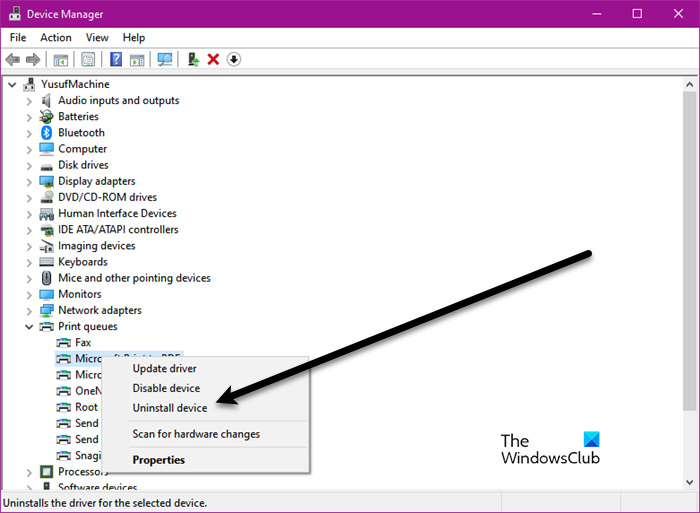
- Open the Device Manager.
- Expand the Print queues branch.
- Right-click on your printer driver and select Uninstall device.
- Download the latest version of your printer driver from the official manufacturer’s website.
- Run the installer file to install the printer driver.
If the printer driver is downloaded as an INF file, use the Device Manager to install the printer driver.
5] Repair your system image files
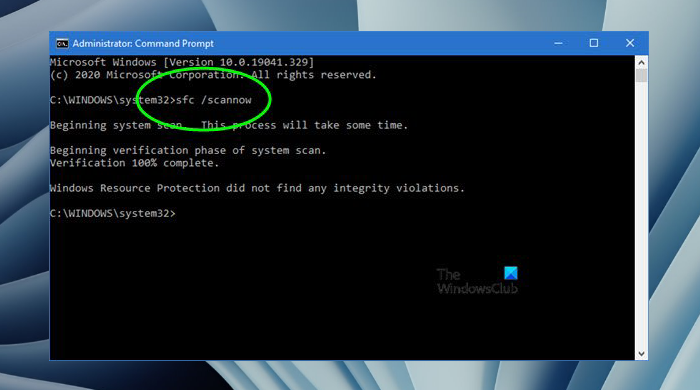
If the problem persists, I suggest you run the System File Checker tool to repair the corrupted system image files on your computer. You can also use the DISM tool.
6] Completely remove your printer and add it again
Completely remove your printer and add it again. The steps to do this are as follows:
- Open Windows 11 Settings.
- Go to Bluetooth & devices > Printers & scanners.
- Scroll down and click on the Print Server Properties tab.
If you are a Windows 10 user, open the Control Panel and go to Hardware and Sound > Devices and Printers. Select your printer. You will see the Print server properties option on the ribbon.
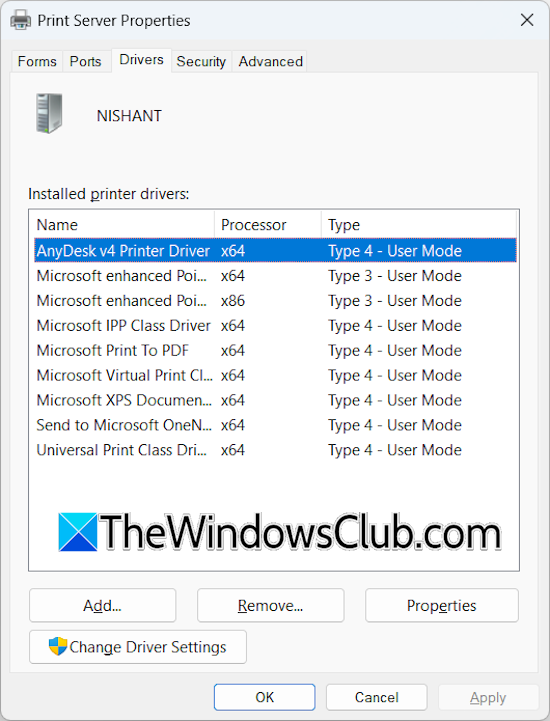
Go to the Drivers tab in the Print server properties window. Select all the drivers for your printer and remove them one by one. For example, if you have an HP printer, remove all the HP printer drivers from there.
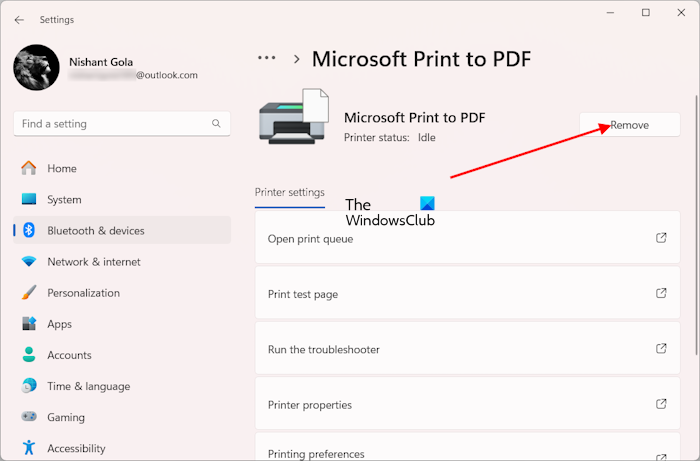
Now, remove your printer. Open Windows 11 Settings and go to Bluetooth & devices > Printers & scanners. Select your printer and remove it. Windows 10 users can remove the printer from the Control Panel. Also, delete the printer driver from the Device Manager.
Now, restart your computer and add your printer again. You may need to reinstall the printer driver.
7] Delete all temporary files
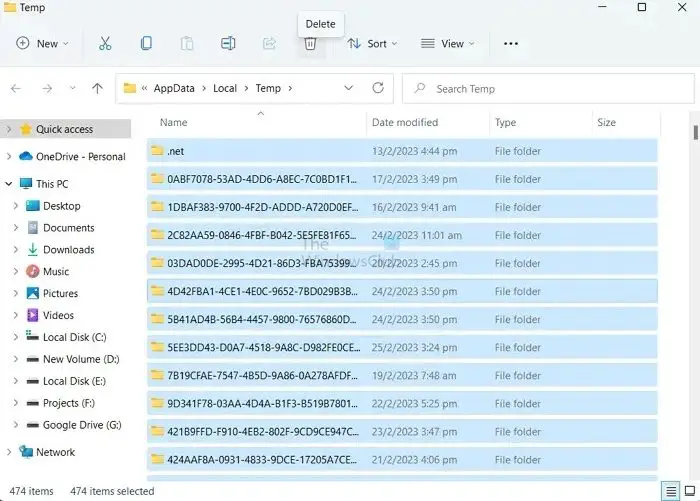
Delete all temporary files from your PC. Open the Run command box and type %temp%. Click OK. This will open the TEMP folder in File Explorer. Delete all the files inside the TEMP folder and restart your computer.
8] Reset your printer
If the issue persists, the last resort is to reset your printer to its factory default settings. The correct method to factory reset your printer is in the user manual.
If resetting the printer to the factory default settings does not help, you need to contact printer support or take your printer to the service center.
How do I cancel ongoing printing?
To cancel ongoing printing, first, you have to pause the print jobs. Open the Devices and Printers page in the Control Panel and select your printer. Right-click on your printer and select the See what’s printing option. Now, click on the Printer menu and select Pause Printing. Click on the Printer menu again and select the Cancel All Documents option.
How to stop printing in an HP printer?
To cancel a print job in an HP printer, press the Cancel button on the HP printer Control Panel. If you want to cancel multiple print jobs, you have to clear the print queue by deleting all files inside the PRINTERS folder.
Read next: Windows can’t install the kernel-mode print driver.
Leave a Reply