If your printer is printing in the wrong colors, the solutions explained in this article will help you resolve the issue. Usually, hardware issues are responsible for this problem. However, sometimes, outdated printer firmware can also cause this issue. Use the fixes provided here and see if they help.
Fix Printer printing wrong colors on Windows PC
If your printer is printing in the wrong colors, the following suggestions will help. Before you proceed, make sure that you are using genuine ink cartridges.
- Update your printer firmware
- Perform the Head Cleaning of your printer
- Clean your printer
- Check for Cartridge Contamination or Ink Cross Contamination
- Run Power Cleaning and Nozzle Check (if applicable)
- Run an automated ink cartridge cleaning tool (if applicable)
- Service your printer
Let’s see all these fixes in detail.
1] Update your printer firmware
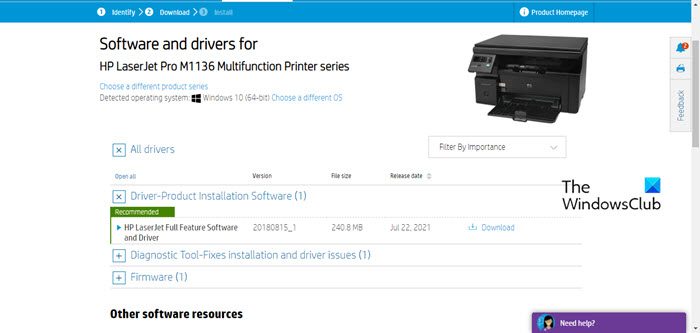
The first step is to update your printer firmware. An outdated printer firmware can cause various issues with the printer. Therefore, keeping your printer’s firmware up to date is always suggested. The correct way to update your printer firmware is mentioned on the official website of your printer manufacturer. You need to visit the official website.
Read: Printer printing in faded colors on Windows computer
2] Perform the Head Cleaning of your printer
If your printer has a Head Cleaning feature, you can use it to clean the printhead and see if this fixes the issue. For supported printers, the Head Cleaning feature can be accessed through the Control Panel on Windows 11/10.
If you are a Windows 10 user, open the Control Panel and go to Hardware and Sound > Devices and Printers.
In Windows 11, opening the Devices and Printers page through the Control Panel opens the Windows 11 Settings app. Hence, Windows 11 users have to follow the instructions explained below:
- Open Windows 11 Settings.
- Go to Bluetooth & devices > Devices.
- Scroll down and click on the More devices and printer settings tab.
- The Devices and Printers page in the Control Panel will open.
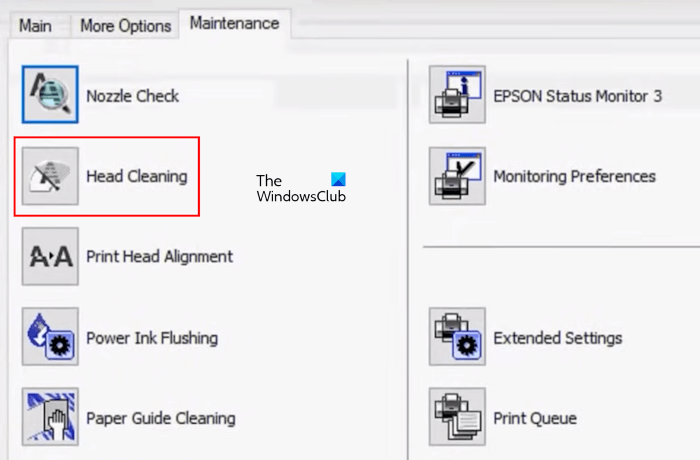
Now, once you are on the Devices and Printers page in the Control Panel, right-click on your printer and select Printing preferences. Select the Maintenance tab and click on the Head Cleaning option (if available).
You can also clean your printhead manually but that requires you to open your printer.
3] Clean your printer
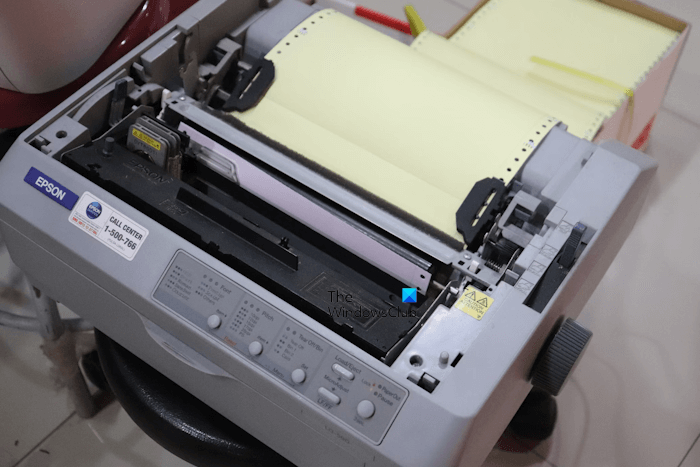
If dust or debris accumulates inside your printer, you may experience this issue. Check this and clean your printer. Follow the proper cleaning steps to clean your printer. If you do not know the proper printer cleaning procedure, it will be better to get professional help.
4] Check for Cartridge Contamination or Ink Cross Contamination
Cartridge Contamination or ink cross-contamination occurs when one ink pollutes another. This results in poor color output or incorrect print color output. You can check the ink-cross-contamination issue on your printer by visually analyzing the ink cartridges.
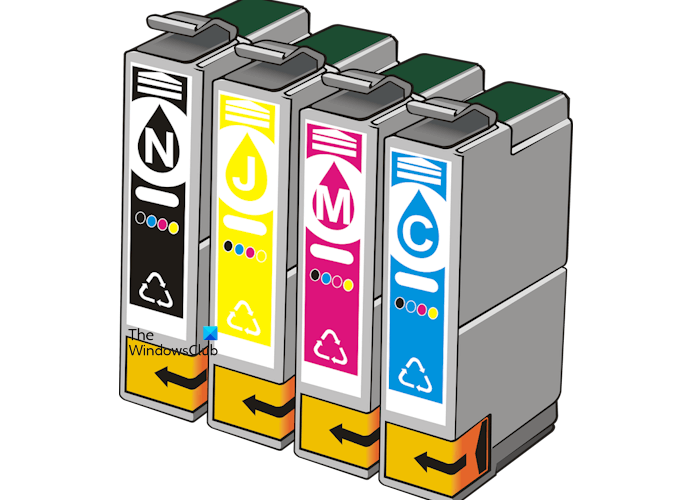
If your ink cartridge shows another color near the outlet, say a yellow ink cartridge shows a green color near the outlet, the possibilities of ink-cross contamination are high. This is one of the examples of the Cartridge Contamination.
Following are some of the possible causes of Ink-cross Contamination:
- Putting the wrong ink in the ink cartridge.
- Ink pooling in the capping station.
- Damaged layers between different ink channels in the printhead.
5] Run Power Cleaning and Nozzle Check (if applicable)
If your printer supports a Nozzle Check, run it. Before running the Power Cleaning, make sure that your ink cartridges are full of ink. Open the Devices and Printers page in the Control Panel. The steps to open this page in Windows is already explained above.
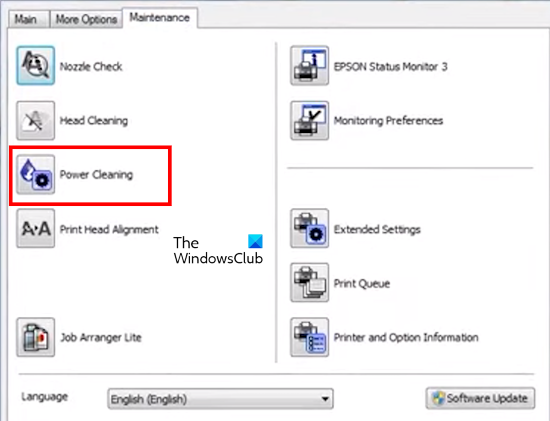
Now, right-click on your printer, select the Printing preferences option, and then go to the Maintenance tab. Click on the Power Cleaning option. During the Power Cleaning process, your printer should not be turned off. This process will take some time. When the Power Cleaning is completed, run the Nozzle Check to print a test page.
If the problem persists, you may need to clean your printer nozzles manually.
6] Run an automated ink cartridge cleaning tool (if applicable)
If your printer has an automated ink cartridge cleaning tool, run it. For example, the HP DeskJet, ENVY, OfficeJet 5000, and 5200 printers come with an automated cartridge cleaning tool. Refer to your printer user manual or visit the support website of your printer manufacturer to know whether this feature is included in your printer. If yes, run this tool and see if it helps.
7] Service your printer
If, after trying the fixes mentioned above, the problem is not fixed, you may need to take your printer for servicing. If your printer is under warranty, contact the customer support.
Why is my color printer printing the wrong colors?
There can be many reasons why your printer is printing the wrong colors. The ink cartridges may be old or low on ink due to this issue. Dirty printheads can also cause this issue. Also, check for the Cartridge or ink cross-contamination issue.
Why is my printer printing faded colors?
Low ink in the ink cartridges can cause the printer to print faded colors. However, if your ink cartridges are full and the printer still prints in faded colors, you need to check the printer software setting. You might have selected the wrong paper type. Sometimes the issue is associated with particular software. You can try to open the image in different software, like Word, Photoshop, etc., and then print the page.
Read next: How to Print a Test Page to Test your Printer in Windows.