Now more than ever that many people are working from home — Quick Assist in Windows 11/10 allows you to remotely access another user’s Windows 11/10 PC. This feature gives you full control, so you can remotely and quickly help someone with a PC problem. In this post, we look at what you can try if Quick Assist is not working and Stuck on Loading or Connecting when you open the app. At times you may see a Quick Assist service is not working right now message.

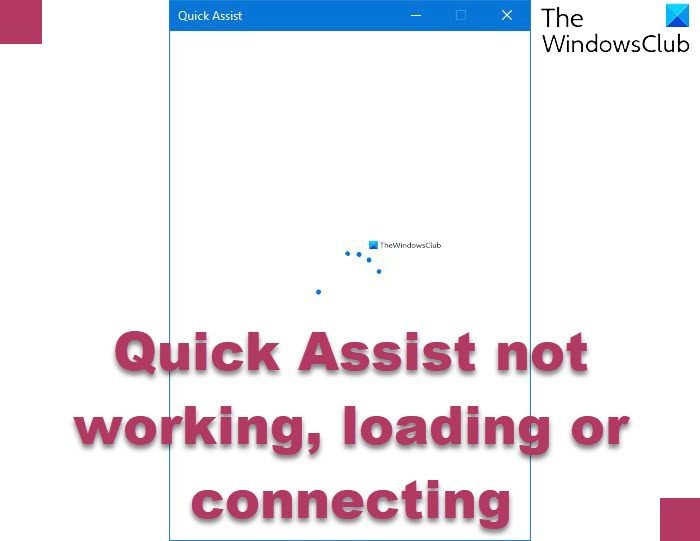
The screenshot above shows the issue. So basically, you’ll be unable to proceed further with the Quick Assist set up between the two computers.
Quick Assist not working, loading or connecting on Windows 11/10
If the Quick Assist tool is not installing, working, throws out an error or is stuck on Loading or Connecting, and you see Quick Assist service is not working right now message, you can try our recommended solutions below in no particular order to resolve the issue:
- Launch Quick Assist app as administrator
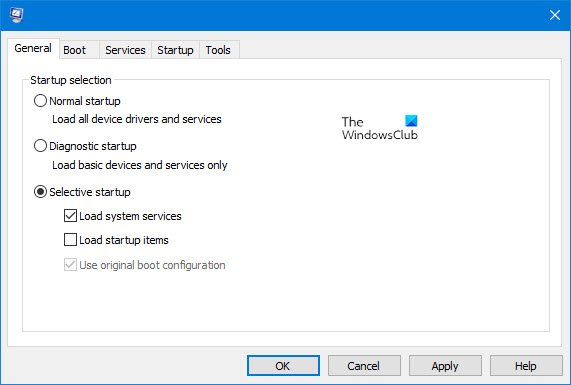
- Launch Quick Assist app in Clean Boot state
- Uninstall and Reinstall Quick Assist via Optional Features
- Create New User Account
- Perform System Restore
Let’s examine the process involved in each of the listed solutions. Before you begin, you should know that both parties need to run Windows 11/10 on their devices. WebView2, which is required, should already be installed if your device is running Windows 11 or has Microsoft Edge. You should also check your internet connection and ensure that it is adequate.
1] Launch Quick Assist app as administrator
Launch the Quick Assist app as administrator and see if that helps.
Right-click on its icon and select Run as administrator.
2] Launch Quick Assist app in Clean Boot state

Some programs can block the Quick Assist app from running properly. In which case, you can Clean Boot your PC and then try opening the Quick Assist app.
If it runs, manually identify the offender and disable the third-party process.
3] Uninstall & Reinstall Quick Assist via Optional Features

To repair or reset the Microsoft Quick Assist app, do the following.
- Press the Windows key + I to open Settings.
- Tap or click Apps.
- In the Apps and features window, on the right pane, click the Optional Features link.
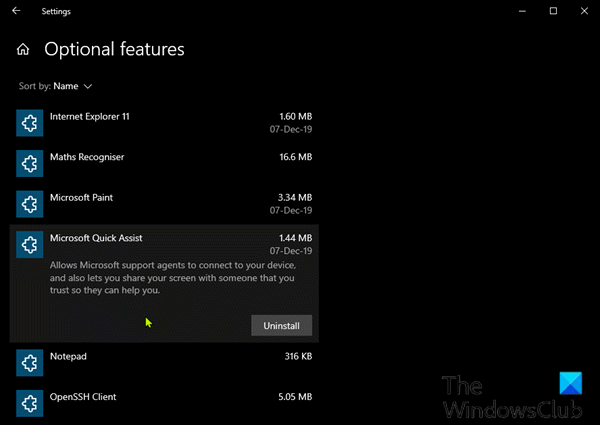
- In the Optional features window, scroll down, locate, then click Microsoft Quick Assist entry.
- Click the Uninstall button.
- Restart your computer.
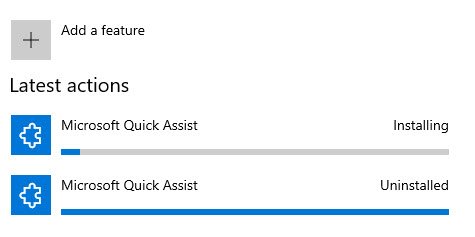
- On boot, repeat the steps above but at the Optional features window, click +Add a feature.
- In the window that opens, search or scroll and locate Microsoft Quick Assist, select it and click the Install button.
- Once the app is installed, launch it and see if the issue is resolved.

4] Create a new User Account
If you have a corrupted User Profile, you may experience this issue. In this case, simply create a new user account, log into the account, and launch Quick Assist app from there.
5] Perform System Restore
If you have been able to launch the Quick Assist app without issues up until now, you can try System Restore try System Restore and see if that helps.
I hope this helps!
Fix Quick Assist failed errors
Do you receive the following error code and message when launching Quick Assist:
- 1001, Quick Assist failed to initialize one of its internal components.
- 1002, Quick Assist failed to load WebView2.
- 1003, Quick Assist failed to install WebView2.
- 1004, Quick Assist failed to update WebView2 due to an Edge group policy setting.
If so, you must update Edge browser to its latest version and ensure that Microsoft Edge WebView2 is installed.
Can’t open Quick Assist, Software that’s required for Quick Assist couldn’t be installed
If you see Can’t open Quick Assist, Software that’s required for Quick Assist couldn’t be installed error while opening Quick Assist, you need to update Edge browser to its latest version and make sure that the latest version of WebView2 is installed.
How do I reinstall Quick Assist in Windows?
To reinstall Quick Assist, open Settings > Apps and features > Optional Features and click on the Microsoft Quick Assist entry. Select the Uninstall button. Then restart your computer and on boot, repeat the steps above but at the Optional features window, click +Add a feature. In the window that opens, search or scroll and locate Microsoft Quick Assist, select it and click the Install button.
How do I fix Quick Assist error?
If Quick Assists gives an error, you should launch the Quick Assist app as an administrator and see if that helps. If that does not help you need to uninstall and reinstall Quick Assist via Optional Features to reset it to default settings.
Leave a Reply