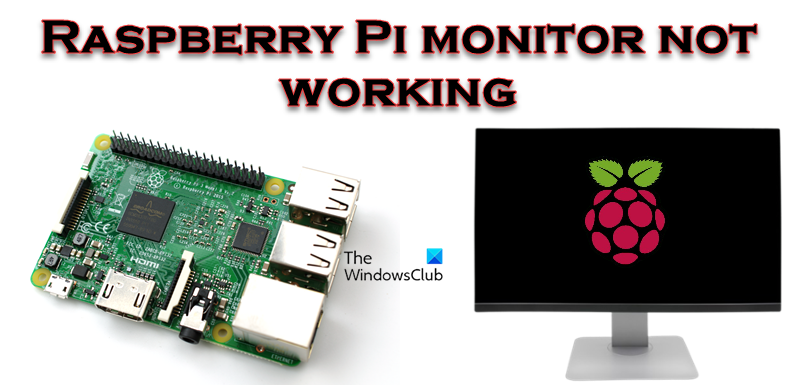
When we connected Raspberry Pi to a monitor and tried booting the device, there was no display. The monitor said there was no signal, and it went to the Standby Mode. In this post, we will talk about this issue and see what you can do if the Raspberry PI monitor is not working and there is no display after boot.

Why is my Raspberry Pi screen black when I boot?
Raspberry Pi doesn’t support HDMI hot-plugging. If you connect or power on the monitor after the Raspberry Pi has already been powered on, you’ll just see a black screen. Additionally, if you haven’t installed an operating system on the Raspberry Pi, it won’t boot up and you’ll also see a black screen.
Fix Raspberry PI Monitor not working
If the Raspberry PI Monitor is not working and there is no display after boot, follow the solutions mentioned below to resolve the issue.
- Make sure that you are using the correct PSU
- Check if the boot device is attached
- Analyze the LED and do a fresh installation
- Edit the config file
- Use the correct HDMI cable
- Force HDMI detection
- Contact your manufacturer
Let us talk about them in detail.
Raspberry Pi monitor No display after boot
1] Make sure that you are using the correct PSU

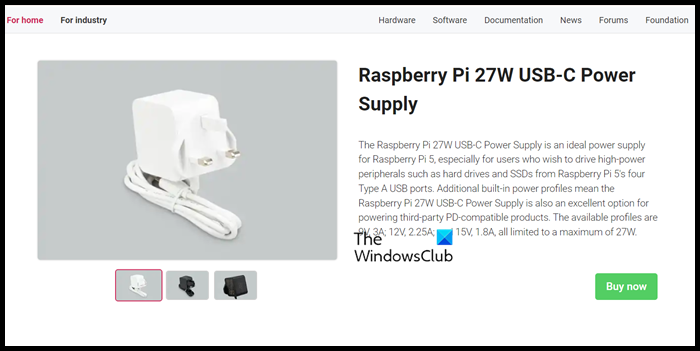
The newly released Raspberry Pi 5 requires a 27W USB-C power supply to function properly. While some users have reported that the power supply of the previous model, Raspberry Pi 4, is sufficient, this is not always the case when multiple peripherals are attached.
Even though purchasing the official Raspberry Pi 27W PSU is not easy in every region, we would not recommend getting a third-party alternative as that can be a waste of your money.
Like the Raspberry Pi 5, the Raspberry Pi 4 also requires a different power supply unit (PSU) than older models. It needs a USB Type C connector and preferably an official 5.1V 3A PSU to function properly. It’s important to note that using a mobile phone or tablet charger as a power supply is inadequate for any Raspberry Pi model. You can go to raspberrypi.com to get the official product.
2] Check if the boot device is attached
The Raspberry Pi 5 can boot from a USB or microSD card. Similar to the Raspberry Pi 4, it can boot over Ethernet. Not just that, it can also boot from an SSD connected via PCIe.
However, since the Raspberry Pi’s monitor is not booting, it is likely the device is not booting as the boot media is connected properly. So, check and make sure that the correct boot device is attached and connected properly.
3] Analyze the LEDs and do a fresh installation
Raspberry Pi’s LED is set up so that one can decipher what’s causing the problem by looking at it. The Red (PWR) light indicates Power and the Green (ACT) indicates activity. Even though there are other lights, we need to focus on these two.
If you notice that PWR blinks occasionally, your power keeps dropping below 4.65V. However, if there is no red light, we can assume there is no power. If the red PWR LED is only lit and there is no flashing, we can safely assume that there is no readable boot instruction on the SD card.
It’s worth noting that during the boot process of the Raspberry Pi, the green ACT light should blink irregularly. However, if there’s a problem with the system, it may blink in a more regulated pattern to indicate the issue. Here are some of the possible error indicators and their meanings:
- If the light flashes three times, it means that the start.elf file is not found.
- If the light flashes four times, it means that the start.elf file is corrupted or cannot be launched. This may also indicate that the SD card is not inserted correctly or the card slot is not working.
- If the light flashes seven times, it means that the kernel.img file is not found.
- If the light flashes eight times, the SDRAM is not recognized. This could be due to damaged SDRAM or unreadable bootcode.bin or start.elf files.
If you notice any of these error indicators, we recommend attaching a fresh SD card with a newly installed Raspberry Pi operating system.
4] Edit the config file
There is a workaround that has worked for most of the victims and can do the trick for you as well. We need to edit the configuration file and comment on the overlay string. So, to do the same, first SSH to your Raspberry PI, navigate to /boot/config.txt, and comment out dtoverlay=vc4-kms-v3d by adding a # to the string.
5] Use the correct HDMI cable

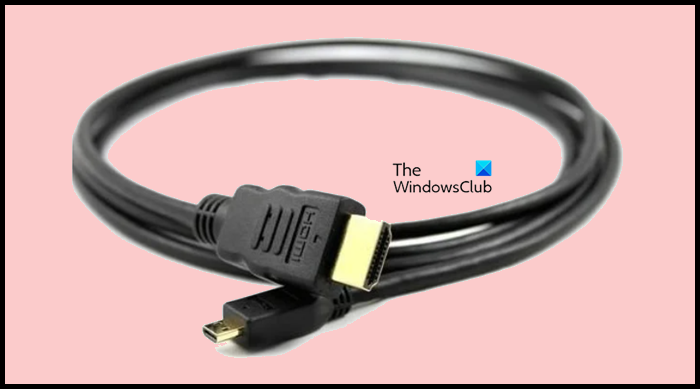
We need to use the correct HDMI cable that our monitor supports for Raspberry Pi 5 to work. If you use micro HDMI adapters, switch to a good quality micro HDMI to HDMI cable.
Read: How to install Windows 11 on Raspberry Pi4?
6] Force HDMI detection
For the display device to work with the Raspberry Pi, it must be able to detect its signal. If we encounter a situation where the Pi does not seem booting up and the screen remains blank, we can try propelling HDMI detection. Since the Raspberry Pi does not have a BIOS, it relies on configuration files on the SD card. To force HDMI detection, you need to insert the SD card into a desktop computer or laptop and navigate to the /boot/ partition. Open the config.txt file and add the following line at the end:
hdmi_force_hotplug=1
Finally, save the changes you have made, eject the SD card, and then check if the issue is resolved.
Read: How to create Raspberry Pi Virtual Machine
7] Contact your manufacturer
If all else fails, you must contact the manufacturer and ask them to look at the hardware. There is a possibility that your motherboard has some issue; in that case, consulting the manufacturer is your only option.
Hopefully, you will be able to resolve the issue using the solutions mentioned in this post.
Read: How to stress test Raspberry Pi 4 in Windows PC?
How do I get my Raspberry Pi to display?
To connect your Raspberry Pi 4 to a screen, you will require either a micro HDMI to HDMI cable or a standard HDMI to HDMI cable along with a micro HDMI to HDMI adapter. Alternatively, if you have Raspberry Pi 1, 2, or 3, you can easily connect them to a screen using a standard HDMI to HDMI cable, as they come with a single full-size HDMI port.
Also Read: Best Raspberry PI4 ideas for Science Project using Windows PC.