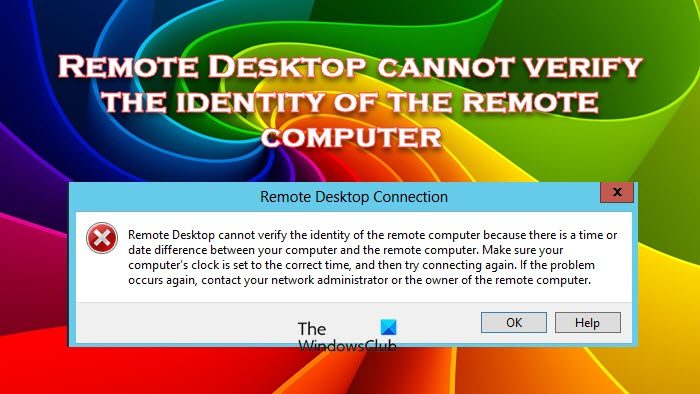
Windows Remote Desktop is a service that allows users to access a remote location computer, and if someone needs to work on that computer, this feature is very useful. However, the problem occurs when users cannot access a remote computer and the Remote Desktop cannot verify the identity of the remote computer.
Remote Desktop cannot verify the identity of the remote computer because there is a time or date difference between your computer and the remote computer. Make sure your computer’s clock is set to the correct time, and then try connecting again. If the problem occurs again, contact your network administrator or the owner of the remote computer.

What does Remote Desktop Cannot verify the identity of the computer because there is a time or date difference?
“Remote Desktop cannot verify the identity of the remote computer” message might appear while accessing a remote computer if the host and remote computers have different time zones. Ensure that both computers have the same date and time. Windows Defender Firewall can also prevent the connection from being established by incorrectly identifying the connection process as a threat.
Fix Remote Desktop cannot verify the identity of the remote computer error
If Remote Desktop cannot verify the identity of the remote computer, follow the solutions mentioned below.
- Make sure your time and date are set correctly
- Disable Real-time protection
- Make sure that the DNS server can be accessed from the remote server
- Configure RDP Security Layer settings
- Use the private network profile
Let’s get started.
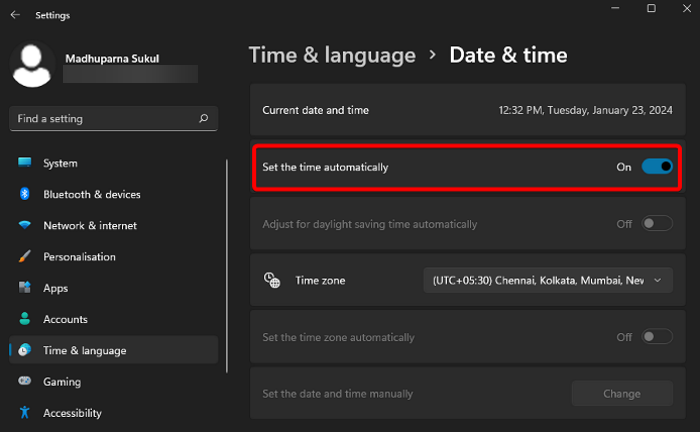
1] Make sure your time and date are set correctly

Occasionally, you are required to match the time zone of the server you are trying to connect to. This is not a small diaspora of servers that requires the host to match their timezone. So, if you get a message that states that the date and time are incorrect or something similar, change your timezone and retry.
However, in some cases, we have noticed that the host has not allowed their system to set the time automatically due to which, their timezone and configured time don’t match. In that case, one needs to right-click on the date and time section from the Taskbar and select Adjust date and time to open the Settings panel. Now, enable the toggle that says Set time zone automatically.
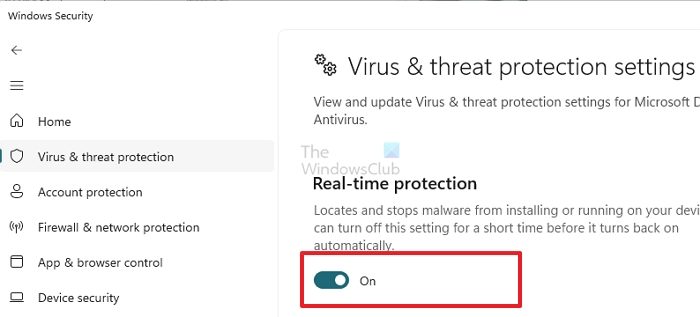
2] Disable Real-time Protection

Real-time Protection protects your computer against unauthorized access and malicious threats by controlling the inbound and outbound network traffic. But if this software can prevent you from accessing a remote computer, hence, you need to disable it.
Follow the prescribed steps to disable Windows Defender Firewall.
- Press the Windows key and type Windows Security in the search bar.
- Select Windows Security.
- Go to the right side of the screen, and click on the Virus & Threat Protection option.
- Now, click on Manage settings under Virus & Threat Protection settings.
- Disable Turn off Real-time protection.
Finally, restart your computer to see the effect. Hopefully, this solution can resolve your issue.
Read: Best free Remote Desktop software for Windows
3] Make sure that the DNS server can be accessed from the remote server
We need to ensure that the DNS settings are configured correctly on the Windows machine initiating the remote desktop connection. If you have physical access to the remote computer, check the DNS server specified in the network adapter settings. Also, ensure that the DNS server can be accessed from the remote server by using the following command:
nslookup some_server_name DNSServername
If the DNS server is not responding, you need to check and ensure it’s functioning correctly. If that’s not working, specify an alternate DNS server address.
If the DNS server is unresponsive, ensure that it is functioning correctly or consider specifying an alternative DNS server address.
Multiple network adapters on the remote computer can sometimes cause the computer to access the DNS server using a different adapter with a distinct IP subnet. By verifying and correcting these settings, you can prevent the error.
4] Configure RDP Security Layer settings

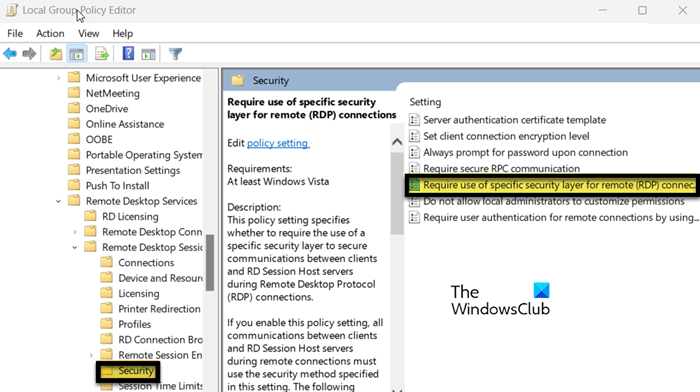
SecurityLayer specifies how servers and clients authenticate each other before a remote desktop connection is established. You need to configure the RDP Security Layer policy and make sure it’s selected on both the local and remote computers.
- Hit Win + R, ‘gpedit.msc’, and hit Enter.
- Navigate to Computer Configuration > Administrative Templates > Windows Components > Remote Desktop Services > Remote Desktop Session Host > Security.
- Look for Require use of specific security layer for remote connections.
- Double-click on it, select Enabled and set Security Layer to RDP.
Finally, reboot your computer and check if the issue is resolved.
Read: Remote Desktop Printer redirection not working in Windows
5] Use the private network profile
A private network profile in Windows is a trusted and secure network setting for home or office environments. It uses default security settings optimized for a trusted network and allows devices to connect freely while maintaining a high level of security.
- Press the Windows + I key to open the Settings app.
- Go to the left side of the screen, and click on the Network & Internet tab.
- Select Ethernet or Wi-Fi, depending on the internet connection type.
- Select the Private option under the Network profile type.
Hopefully, this will do the job for you.
You should be able to resolve the issue using the solutions mentioned earlier.
Read: Your Credentials did not work in Remote Desktop on Windows 11
Why am I not able to connect to Remote Desktop?
If you are experiencing issues with a remote desktop, it could be due to connection problems. Public networks, in particular, can sometimes cause problems. Windows may block these networks intermittently to enhance the security of your device. If this is the case, changing the network from public to private should resolve the issue.
Leave a Reply