While using a Remote Desktop session, if you are stuck on the Please wait screen in Windows 11/10 PC, here is how you can get rid of this problem. Whether you use the regular Windows 11/10 or the Server edition of Windows, you can follow the same steps to troubleshoot the issue.

Remote Desktop stuck on Please wait in Windows 11/10
If Remote Desktop is stuck on Please wait screen in Windows 11/10, follow these instructions:
- Terminate RDP client
- Reset RDP session
- Check Group Policy setting
- Verify Registry setting
To learn more about these tips and tricks, continue reading.
1] Terminate RDP client

If Remote Desktop is stuck on the “Please wait” screen, you have two main options: either wait for it to get the problem resolved automatically or terminate the RDP client. That is why it is the first thing you must do to get around this problem.
For that, you can use Command Prompt. Therefore, open the Command Prompt with administrator permission, and enter this command:
taskkill /f /im msrdc.exe
Once done, close the window and try again.
2] Reset RDP session

If you keep getting this problem continuously, we suggest you reset the RDP session. We have tested this solution and it worked like many other users who have encountered this problem so far.
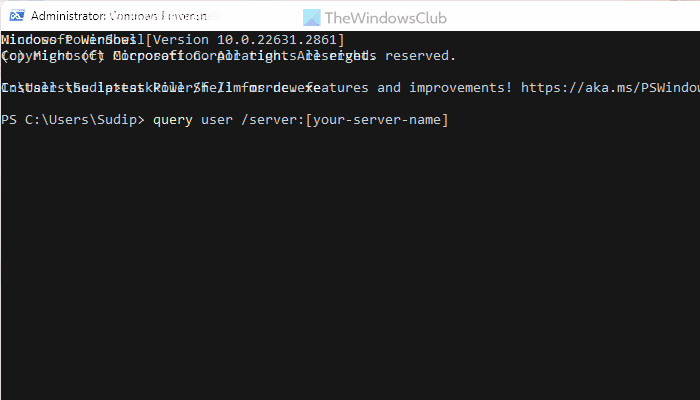
To reset the RDP session, you need to open the elevated Windows PowerShell window first. Then, you can enter this command:
query user /server:[your-server-name]
For your information, this query will display a session ID that you need to copy.
Following that, enter this command:
reset session [session-id] /server:[your-server-name]
Next, you need to close the window, restart your computer, and check the Remote Desktop session.
3] Check Group Policy setting

There is a Group Policy setting that prevents you from connecting to a second Remote Desktop session when the first one is still connected or even disconnected. In other words, if you enable this setting, you cannot connect to a second Remote Desktop session. That is why you need to check if you have enabled this setting earlier or not.
For that, do the following:
- Open Local Group Policy Editor.
- Navigate to this path: Computer Configuration > Administrative Templates > Windows Components > Remote Desktop Services > Remote Desktop Session Host > Connections.
- Double-click on the Restrict Remote Desktop Services users to a single Remote Desktop Services session setting.
- Choose the Not Configured option.
- Click the OK button.
Once done, restart your computer.
4] Verify Registry setting

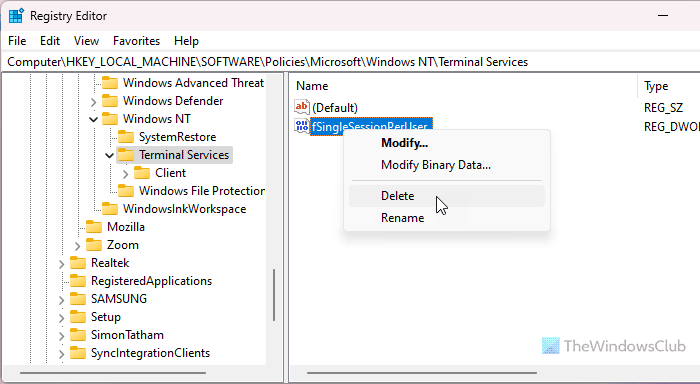
The same above-mentioned Group Policy setting can be configured using the Registry Editor as well. That is why it is suggested that the Registry setting be verified as well. To do that, follow these steps:
- Open Registry Editor on your PC.
- Navigate to this path:
HKEY_LOCAL_MACHINE\SOFTWARE\Policies\Microsoft\Windows NT\Terminal Services - Right-click on the fSingleSessionPerUser REG_DWORD value.
- Choose the Delete and OK buttons.
Finally, close all windows and restart your computer.
I hope these solutions worked for you.
Read: Remote Desktop can’t find the computer in Windows
Why Remote Desktop is not connecting in Windows 11?
There could be several reasons why Remote Desktop is not connecting in Windows 11. From a blocked port or an incorrect setting, there are many things you need to keep in mind while using RDP on a Windows PC.
What to do if Remote Desktop is stuck?
If Remote Desktop is stuck, the first thing you need to do is to terminate the process. However, if it is happening frequently, you should reset the Remote Desktop session. Finally, you should take a look at the Group Policy and Registry Editor settings.
Read: Troubleshoot general Remote Desktop connection issues.
Leave a Reply