Illustrator is one of the many software from Adobe. Illustrator has a lot of features that graphic artists would find interesting. Illustrator is best used for vector graphics and illustrations. Unlike Photoshop, Illustrator is not very good at photo manipulation and retouches. Illustrator is best for vector graphics and creating vector artwork. In this post, we will show you how to remove Image Background using Illustrator.

How to remove Background from Image in Illustrator
Illustrator may not be the best at photo manipulation, but it can do the job if you know how. There are two major ways that you can remove the image background in Illustrator. The method you will use will be dependent on the image. More complex images with lots of colors may be best with the Pen Tool. Simpler images with fewer colors may be best with Image Trace. Both the Pen Tool method and the Image Trace method can be used on any image; however, some images will make one method easier than the other.
Remove Background using Image Trace Method in Illustrator

Open Illustrator and go to File then Open or press Ctrl + O.
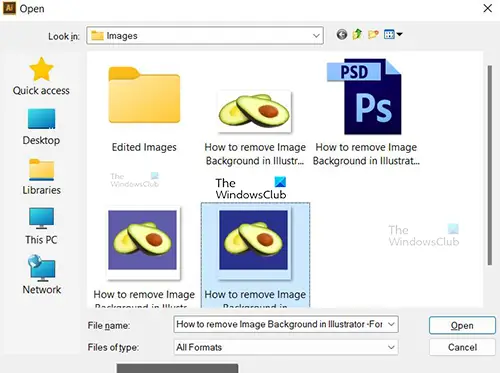
Navigate to the image that has the background that you want to remove. When you have found it, click on it and press Open, or just double-click it.
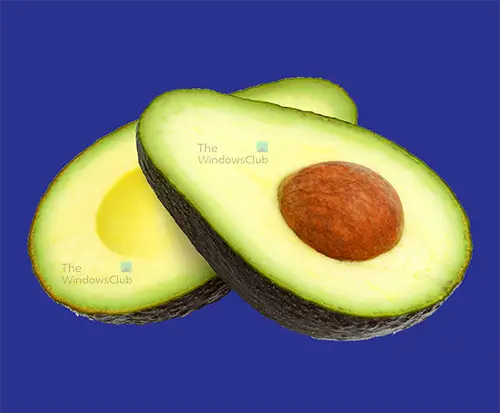
The image will open in illustrator. Inspect the image and see which method you will use to remove the background. Images with plain backgrounds are easier to have the background removed. For this first image, the Image Trace method will be used.
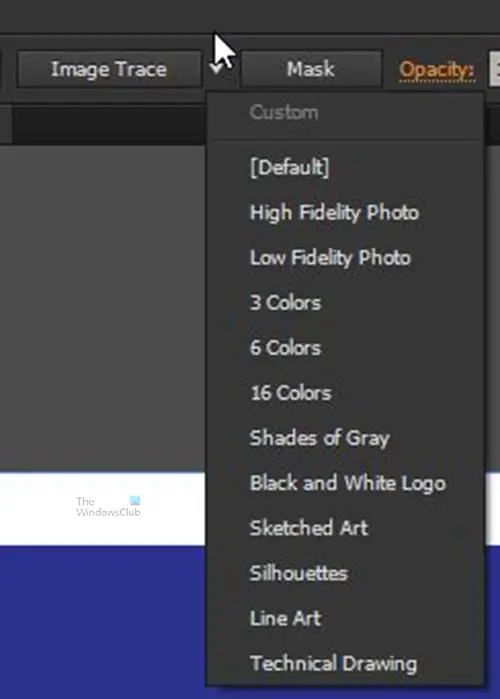
Click on the image then go to the top Menu bar and look for Image Trace. Click the drop-down arrow and choose High Fidelity Photo.
The illustrator Trace has different mode options, here are the options, how they can be used, and what to expect:
- High-Fidelity Photo and Low-Fidelity Photo – These options produce very detailed and slightly less detailed vector images respectively. They are ideal for photos or complex artwork.
- 3 colors, 6 colors and 16 colors – These presets output vector images with three, six, or sixteen colors. These presets are perfect for logos or artwork with lots of flat colors.
- Shades of Grey – This preset produces a detailed greyscale image.
- Black and White Logo – This preset creates a simple logo with two colors – Black and white.
- Sketched art, Silhouette, Line Art, and Technical Drawing – These presets are best used for specific types of images and create a black and white, mostly line-based drawing.
For this example, the High-Fidelity Photo will be used since this is an image with high colors.
Click on High-Fidelity Photo and Illustrator will process the image.

If the image is large, there will be a warning message. You can click ok to go ahead with the process or click Cancel to make the image smaller. After making the image smaller you can go back to Image Trace.
When the process is complete, go to the top Menu bar and click Expand. The image has now been grouped into color shapes close to the original raster image. To finish the process, you need to separate the colors so that you can edit and delete them. To do so, click on the image, and click on the Expand button beside the Traced Result button at the top of the window.
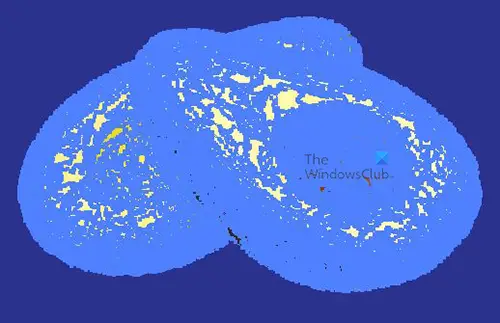
The image should look like the picture above showing the paths. Depending on the complexity of the colors, your image may look the same or less colorful. When the image is expanded it allows you to break up the color shapes into individual parts and paths. The good thing about this image is the fact that the background is one solid color, so it will be easy to remove.
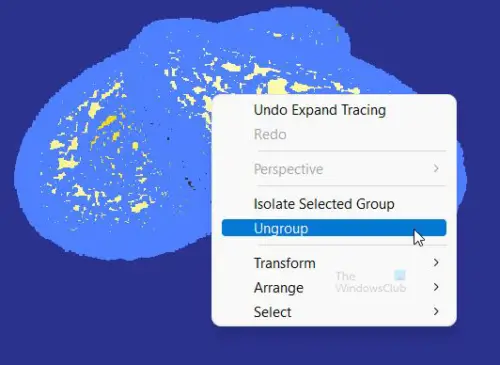
To be able to make changes to individual colors you need to ungroup. Expand breaks them up and marks them so they are visible and ungrouping them makes them individually editable. This will help when you go to delete the background as it will be a color or group of colors that you can delete.
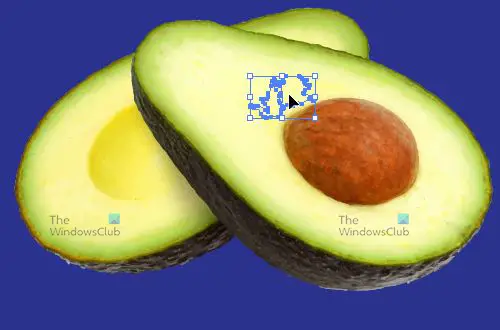
After you have ungrouped the colors, you can click anywhere, and you will see selections. If you click and press delete, you will see those colors disappear. Depending on the number of colors in your image, you will see small selections when you click. This is also a way that you can change the color of the image, click each color, and then change the color from the color pallet.
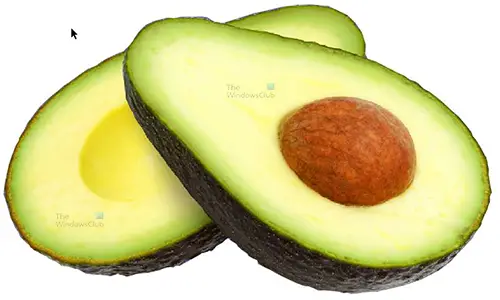
The background is one solid color so it will be easy to delete, just click it and then press delete. Just like that and the background is gone.
You can choose to save the file as a PNG so that it will not show a background. Read the rest of the post to see how to save it as a PNG.
Remove Image Background using the Pen Tool Method in Illustrator

Open Illustrator and go to File then Open or press Ctrl + O.

Navigate to the image that has the background that you want to remove. When you have found it, click on it, and press Open, or just double click it.
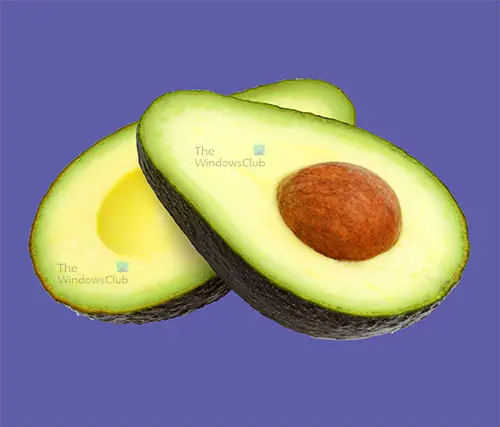
The image will open in illustrator. Inspect the image and see which method you will use to remove the background. Images with plain backgrounds are easier to have the background removed. For this second image the Pen Tool will be used to remove the background.
Go to the left tool panel and look for the Pen Tool, the Pen Tool looks like a fountain pen. You can also press P to bring up the Pen Tool as well.
Zoom in or zoom out of the artwork so that you can see it properly. You can go to View then Fit All In Window or press Ctrl + 0. you can press Ctrl + + zoom in or Ctrl + – to zoom out. Zoom so that you can see how to use the pen tool comfortably.
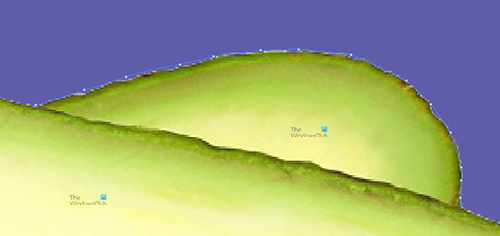
Use the Pen Tool to outline the image on the foreground. To use the Pen Tool, click on a point then move and click another point to create a connection. Make sure that the connection is closed at where you started out.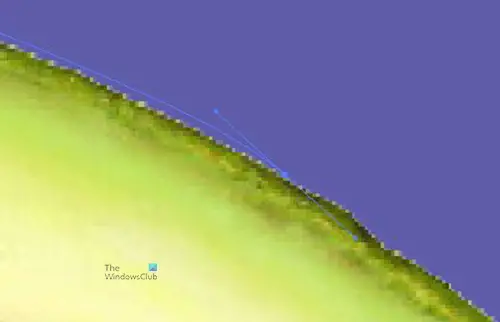
To make sharp corners or sharp turns click and drag to create handles so you can adjust to go around the sharp corners or sharp turns. These handles are also useful for making fewer connections by going longer and then using the handles to adjust to fit the curves. Don’t worry if the connections and curves are not perfect, you can adjust them by adding new Anchor points, removing anchor points, or even using the Pencil Tool or Smooth Pencil Tool to get them how you want them.
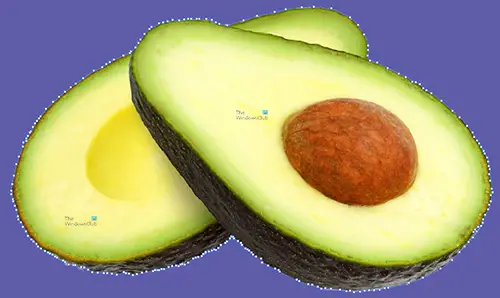
This is the image surrounded by the points of the pen tool. They look close because I was zoomed in so that I could catch all the details with the Pen Tool, and now it is zoomed out so I can take the screenshot.
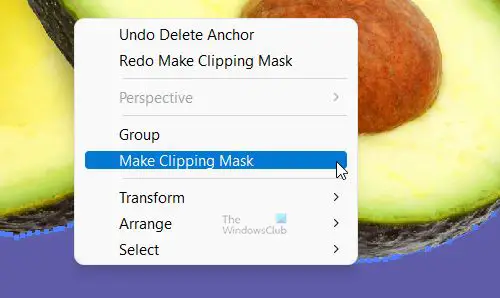
To remove the background from the image, select everything then right-click and select Make Clipping Mask. You can also select the background then hold Shift and select the Pen Tool Path then Right Click and select Make Clipping Mask. The neat thing about clipping mask is that if you want to get the background back you can right-click and choose Release Clipping Mask and the background will reappear.
This is the image with the background gone when the Clipping Mask is Created.
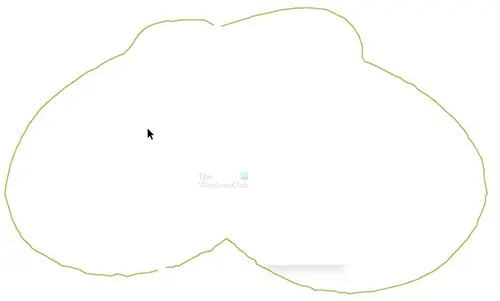
You can also delete the image but leave the outline and even add a strike so that you have the outline visible. Go to the tools panel and select the Direct Selection Tool then click on the Pen Tool handles until they all change to white, then press delete. Click on them and go to the left tools panel and enable stroke then go to the Color Pallet on the right and pick a color. When you click out you will see the color stroke in the shape of the image.

You can make the outline with the pen tool into a guide. This works similarly to adding a stroke. The guide can be used to keep an outline while you add anything you want into the outline of the image. This could also be used if you want to make an outline of the shape using the Pencil Tool.
3]Save as PNG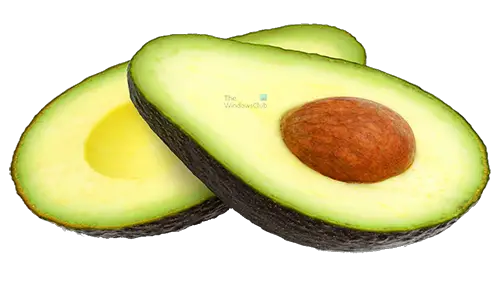 You can save the finished work as a PNG file. The PNG file is high quality and supports transparent background.
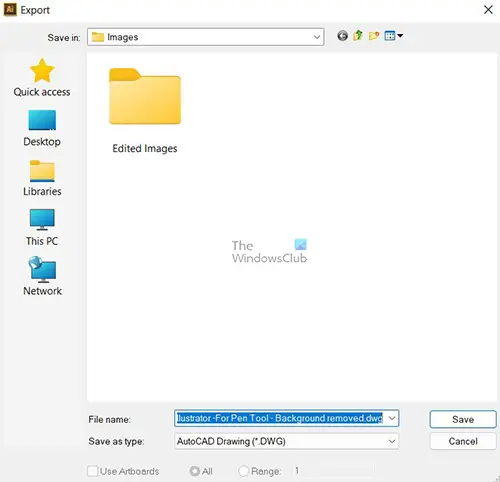
To save as a PNG go to File then Export. The Export Window will appear. Write the File Name if you want to change what is already there. From the Save As Type section click the down arrow and choose PNG then click Use Artboards then click Save.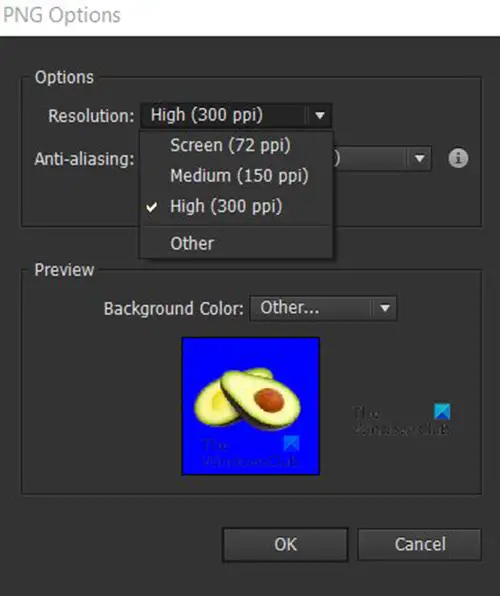
The PNG Option dialogue box will appear, make your choices. If you are saving for a screen on the web you can choose a Resolution of 72 ppi. For higher quality, you can choose Medium of 150 ppi or High of 300 ppi. You can click Other so that you can put in your custom resolution.
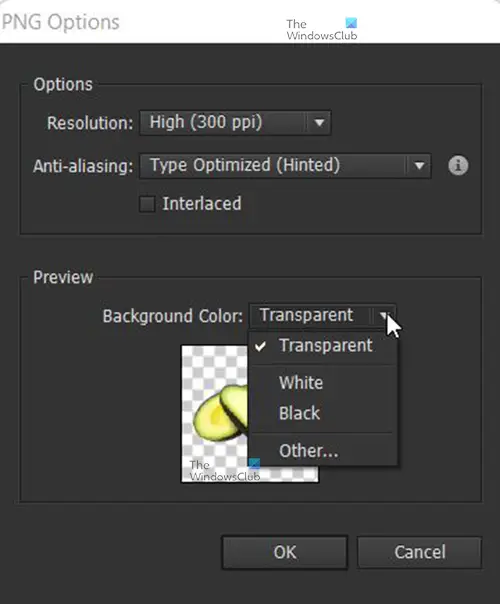
From the PNG Option, you can also choose Background Color. The Presets are Transparent, White, and Black. You can also click Other; a color picker will appear; you can choose the colors already there or use the slider to mix your custom color.
How important is it to be able to Remove the Image Background?
The background of an image can take away the focus from the image if the background is too crowded, colorful, or messy. Removing the background can make the image stand out more as you can place it on a plain background. Removing the background can also help in cases where an image needs to look professional, but the photographer had no choice but to take the image with the background. The photographer can then use Illustrator to remove the background and then place a more appropriate background.
Which method is Best for Removing Colorful Background?
The Pen Tool is best for removing very colorful backgrounds because it easily isolates the subject of the image. If the Image Trace option is used, then there will be a lot of work to select and delete the colors in the background.
What is the Advantage of the Image Trace Option?
The advantage of the image trace option is that you can choose to select the colors and then change them to different colors. If the color is one solid color, then you can select and delete it. You could also change the background to a solid color instead of deleting it.
Leave a Reply