Windows 10 on the desktop has a plethora of applications available. Almost every kind of software is available for Windows 11/10. Even if you want to make a shortcut to copy and paste, you have a freeware to do it automatically for you. This gives the users a variety of choices of programs to execute their different kinds of files.
Some people expect HTML or PHP files to open with Visual Studio Code, but not with Notepad – which is the default editor to open such files. Or, some people prefer VLC Media Player to open their MKV files and not the inbuilt Movies and TV app (in some regions Films and TV). Windows lets them make their own choices like this, but when the user performs a feature update, these settings often tend to be lost, and Windows resets everything to its defaults.
So, today we will try to create a backup of these configuration settings and learn how to restore it just to regain all your settings back as they were before the update.
Reset Default App Associations via Settings
Windows 11

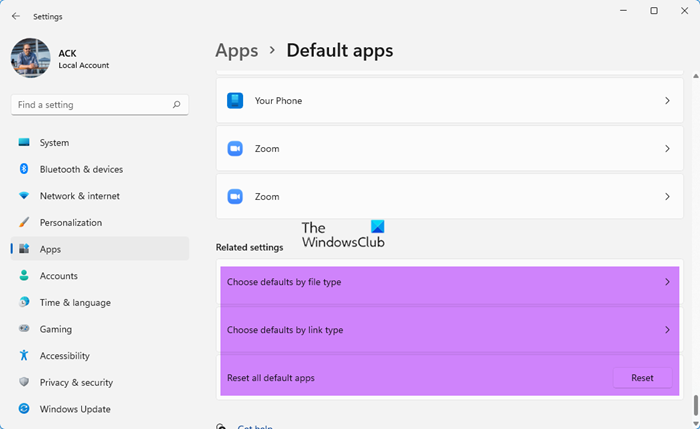
To Reset Default App Associations Windows 11, open Settings > Apps > Default apps and scroll down till you see the 3 settings where you can do the needful.
Windows 10

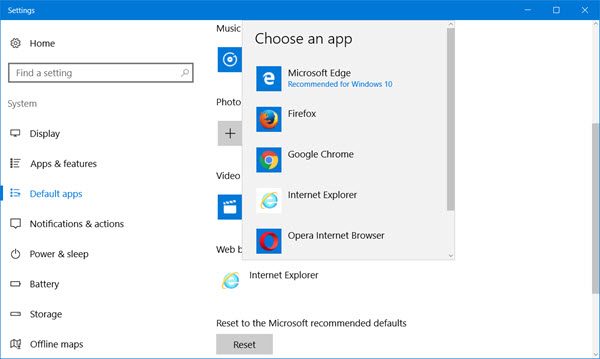
In Windows 10, open Settings > Default apps and you can make the changes there.
Export & Import Default App Associations on Windows 11/10
We always recommend creating a System Restore Point so that whenever such errors take place, you can just roll back to the previous known stable state of your computer.
Export the configuration with Command Prompt
First of all, start by opening a Command Prompt with Administrator level privileges. To do that, Press WINKEY + X button combo or right-click on the Start button and click on Command Prompt (Admin). Click on Yes for the UAC or User Account Control prompt that you get.

Now, type in the following command and hit Enter.
dism /online /Export-DefaultAppAssociations:"%UserProfile%\Desktop\DefaultApplicationAssociations.xml"
This will create a file named as DefaultApplicationAssociations.xml on your Desktop.
Upon opening it with Notepad or any similar editor like Visual Studio Code or Sublime Text, you will see alike to files types and their associations with the programs.
You can use this file to restore your configuration anytime. So taking a backup of this file is a smart thing to do.
Reboot your computer for the changes to take effect.
Related: How to Configure, Export, Import File Associations in Windows 11/10.
Import the configuration with Command Prompt
Again open a Command Prompt Window with Administrator level privileges.

Now, type in the following command and hit Enter.
dism /online /Import-DefaultAppAssociations:"%UserProfile%\Desktop\DefaultApplicationAssociations.xml"
Now, make sure that you enter the path of the backup application association file in the command.
Once completed successfully, it will give you a message saying, The operation completed successfully.
Reboot your computer for the changes to take effect.
Read: How to remove File Type Associations using Registry Editor
Reset the Application Association Configuration with Command Prompt

Again, in an elevated Command Prompt, type in the following command and hit Enter.
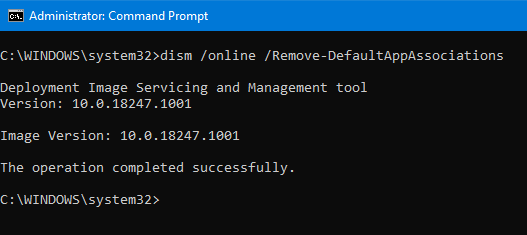
dism /online /Remove-DefaultAppAssociations
Once completed successfully, it will give you a message saying, The operation completed successfully.
Reboot your computer for the changes to take effect.
Hope this tip works for you.