If you have bought an OEM computer and you, for some reason, need to restore it back to factory settings, then this post will show you how to restore the factory image to your Windows 11/10 OEM PC via Recovery Option. You may need to carry out this step if you find that the PC operating system is totally messed up and the best option to reset all settings.
The first thing you want to try is the Reset This PC option. If this does not solve your problems, the way forward be would be to either clean install Windows or to restore the factory image.
You can restore the Factory Image via Advanced Recovery Options or use the command prompt to Factory Reset Windows 11/10.
Restore Factory Image in Windows 11/10
When you bought the new computer with Windows 11/10 pre-installed, it came with a Factory Image installed on a separate system recovery partition. A Factory Image is a ‘clean’ copy of your operating system with all the required drivers and programs pre-installed. I put the word clean in inverted commas since most of these images are crammed with Crapware. Nevertheless, if you need to fall back to Windows as it came installed, then the PC lets you restore your computer state to this image.
Before you begin, you should first copy all your data, files, personal folders, etc to an external hard drive or USB. Having done this, ensure you are connected to the Mains power.
Now to start the restoration of your PC to the factory image, from the WinX Menu, open Settings app > Update & Security.
In the left pane, you will see Recovery. Click on it.
Here you will see a Restart now button, under Advanced startup. Click on it.
Your PC will restart to Advanced Startup Options and you will be presented with a blue-colored screen asking you to choose an option.
Select Troubleshoot, and on an OEM computer, you will see the following three options, one of which will be Factory Image Restore.
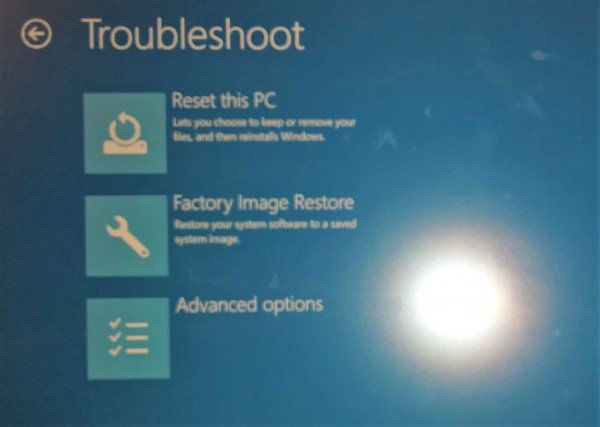
When you click on Factory Image Restore, your PC will restart and attempt to restore your system software to a saved system image.
Factory Reset Windows 11/10 using command line
You can also Factory Reset Windows 11/10 by following this procedure:
- Launch CMD as administrator
- Type
systemreset --factoryresetand hit Enter - Select Remove everything
- Select Only the drive where Windows is installed
- Select Remove files and clean the Drive
- Follow the on-screen instructions and wait for the job to complete.
So the first thing you need to do is backup your data and then launch the command prompt as administrator.
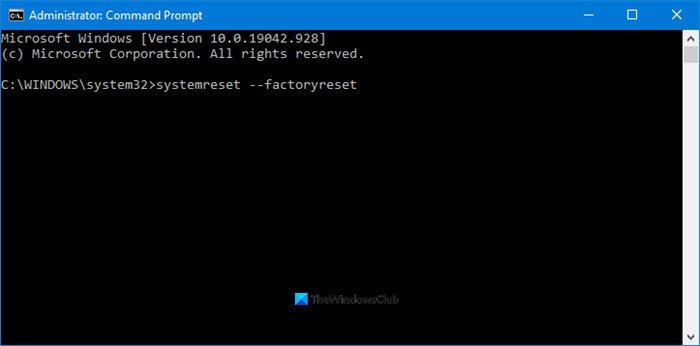
Now type the following and hit Enter:
systemreset --factoryreset
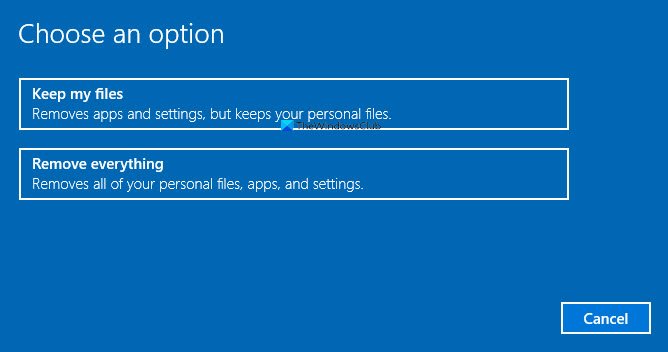
From the options you see, select Remove everything.
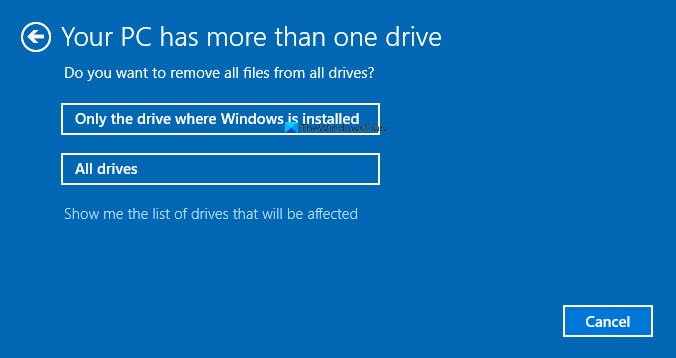
Next, select the System Drive or All Drives. Selecting Only the drive where Windows is installed should be good enough.
Finally, select Remove files and clean the Drive.
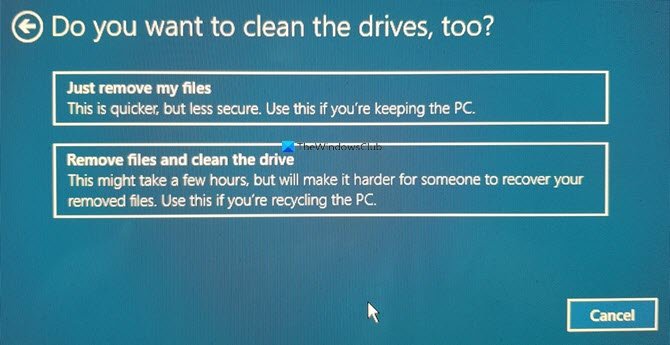
Now follow the on-screen instructions and wait for the job to complete.
Once the process is started, you will be unable to stop it.
You will have to be connected to the Power for this process to start. If you are in Battery mode, the restoration will be aborted on restart.
NOTE: If you cannot get to your Desktop, you can press Shift and then press Restart from the login screen itself to come to the Startup Setting screen on restart. Then clicking a few times, you will be able to come to the Troubleshoot screen. From then on, you can carry out the above process.
Read: How to Factory Reset Windows 11 without Password.
How to restore System image on Windows 11?
To restore a system image on Windows 11, go to Settings > System > Recovery. Click Restart now under Advanced startup. In the Choose an option menu, select Troubleshoot > Advanced Options > System Image Recovery. Follow the prompts to restore your system using the saved image.
How to restore Factory settings on Windows 11?
To restore factory settings on Windows 11, go to Settings > System > Recovery. Under ‘Recovery options’, click ‘Reset PC’. Choose ‘Remove everything‘ for a complete reset. Follow the on-screen instructions to finish the process. This will return your system to its original factory state, erasing all personal data and installed apps.