You may get the Resolution not supported error message on your monitor screen when you boot up your Windows 11 or Windows 10 computer. This post is intended to help you. In this post, we provide the most suitable solutions you can try to resolve this issue.

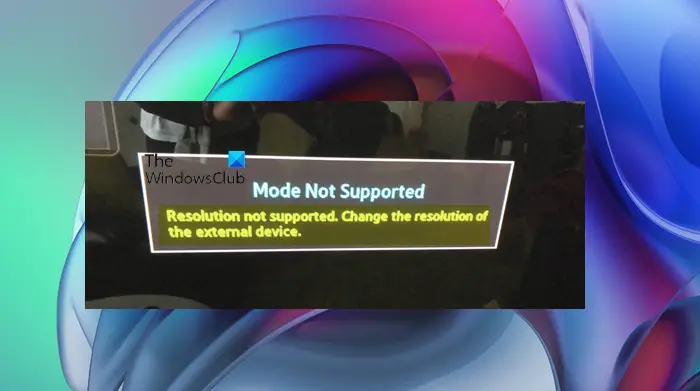
Mode Not Supported
Resolution not supported. Change the resolution of the external device.
This error usually occurs when your TV/monitor is not capable of rendering the video output resolution given by the PC. Essentially, the computer settings and monitor settings are misaligned, and the picture does not display.
Resolution not supported – Monitor error
If you’re getting the Monitor error message Resolution not supported on your Windows 11/10 PC, you can try our recommended solutions presented below in no particular order and see if that helps to fix the error on your system.
- Boot into Safe Mode and change Screen Resolution
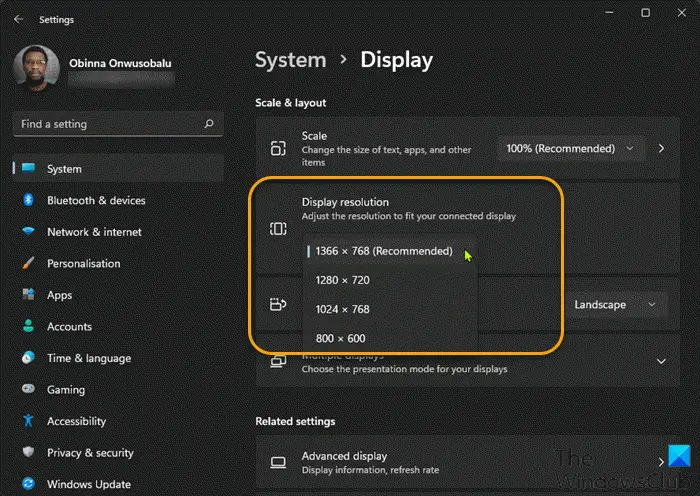
- Change the resolution on the Display/Monitor settings
- Change resolution in Intel HD Graphics Control Panel
Let’s take a look at the description of the process involved concerning each of the listed solutions.
Most affected PC users reported this issue after a recent Windows update installed on their device. If this scenario applies to you, before you try the solutions below, see if you can successfully boot into Safe Mode, and then perform System Restore or uninstall the update. Also, make sure the connections are correctly set up, making sure the end of the cable (HDMI or VGA) must be snug and secure in the correct port location. Keep in mind a bad cable can interfere with the connection, try a different HDMI or VGA cable as the case may be.
1] Boot into Safe Mode and change Screen Resolution

When you get the Monitor error message Resolution not supported on your Windows 11/10 PC, you can try to resolve the issue by directly rebooting into Safe Mode (if unable, see Cannot boot in Safe Mode).
Once you’re in Safe Mode, you can now change the display resolution (if unable, see Can’t change Screen Resolution) to the recommended option for your device.
Fix: NVIDIA custom resolution not supported by your display
2] Change the resolution on the Display/Monitor settings
This follows if changing the resolution on your Windows 11/10 PC – you can then try to change the resolution on the Display/Monitor settings itself and see if that helps.
As the cause of the issue at hand has to do with the image size you are trying to put on the monitor screen and your monitor’s ability to accept and display that picture. Most monitors are compatible with many different standard resolutions (or picture sizes). Each model may vary in its ability to display different image sizes. The most common resolutions will be 1920 x 1080 also known as 1080p. The second most common supported resolution would be 1280 x 720 or 720p. You can refer to your monitor user’s manual for your supported resolutions and adjust accordingly.
In addition, be sure to check that the monitor is compatible with the PC – an old PC may not have the video card quality to function across the connection, and an old monitor may not have the resolution capabilities to display media sent from a new computer.
Fix: Screen Resolution problems in Windows
3] Change resolution in Intel HD Graphics Control Panel

You may have to boot into Safe Mode to be able to change the screen resolution in Intel HD Graphics Control Panel.
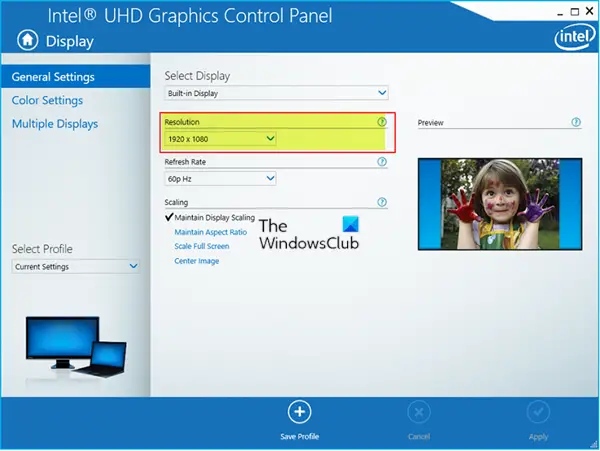
To change the screen resolution in Intel HD Graphics Control Panel on your Windows 11/10 PC, do the following:
- Press the Windows key on the keyboard.
- Search for Intel Graphics Control Panel.
- Click the Intel Graphics Control Panel icon.
- When the Intel Graphics Control Panel opens, go to the Resolution section.
Note: Older versions of Intel Graphics Drivers use the Intel Graphics Media Accelerator. Click Display Settings to see the Screen Resolution section.
- Click the dropdown menu and select a resolution size from the list. Set the resolution to 1600 x 900, 1366 x 768, 1280 x 720 or anything lower.
- Click Apply.
- Click OK or Yes to confirm your selection on the prompt that appears.
Hope this helps!
Related post: The current input timing is not supported by the monitor display
How do I fix the resolution on my TV HDMI?
To fix the resolution on computer to TV HDMI, do the following:
- Click on the Start button icon.
- Click on the Control Panel.
- Click on the Adjust Screen resolution on the Appearance and Personalization menu.
- Click on the drop-down list next to the resolution.
- Now, click on the resolution you want to apply.
- Click on the Apply button.
Can you lower the resolution of a 4K TV?
Yes, you can lower the resolution of a 4K TV. And no, it won’t improve the output quality because your screen was designed with only its highest resolution possible in mind, and it looks best at that resolution.
Fix: Input Not Supported Monitor error
Does 1080p look worse on 4K?
No,1080p actually looks OK on 4K, and there’s a good reason for that. 4K aka 2160p has exactly 4 times bigger pixel count than 1080p, so when upscaling, every pixel from the 1080p source is rendered by exactly 4 pixels on 4K screen.
Leave a Reply