In this article, I will show you some ways to install the previous version of the device driver if the Roll Back Driver option is greyed out in the Device Manager of Windows 11/10. A device driver helps the Windows operating system communicate with the device. When a driver gets corrupted, the respective device fails to operate properly. In such a case, we can either update the driver or roll back it to install its earlier version.
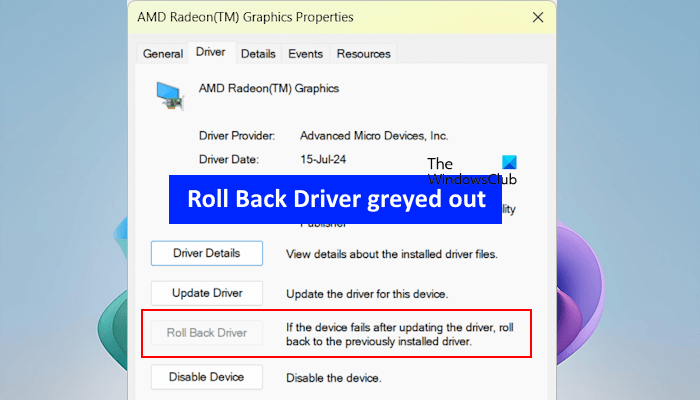
To roll back a driver, we can use a built-in tool in Windows computers, Device Manager. However, you may see the Roll Back Driver option unclickable while performing this action.
Why is the Roll Back Driver unclickable or greyed out in Windows?
The Roll Back Driver option is greyed out in Windows when one of the following conditions is true:
- Your computer does not have the previous driver version installed for that device.
- Your computer did not retain the previous versions of the device drivers.
Roll Back Driver is greyed out in Windows 11
These are the alternate ways to install the previous version of the device driver if the Roll Back Driver option is greyed out in Windows 11/10.
- Boot in Safe Mode
- Browse your computer for drivers
- Check the previous version of the driver on the manufacturer’s website
- Uninstall the Windows Update
- Restore your system
All these alternate methods are explained below. If the Roll Back Driver option is greyed out on your system, it is also possible that the driver has not been updated yet. However, you can try the following methods and see if any of these help.
How to restore Previous Version of a Driver in Windows
1] Boot in Safe Mode
If the Roll Back Driver option is unavailable in the Device Manager, your computer may not have its previous version(s). However, sometimes, the Roll Back driver option for some hardware devices works in Safe Mode. You can try this and see if it helps.
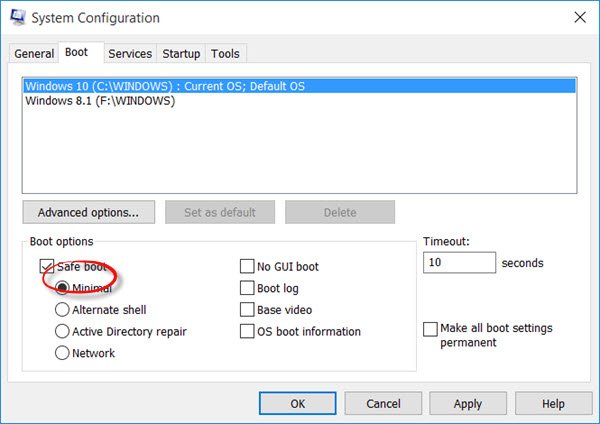
Boot in Safe Mode and open the Device Manager. Expand the required device driver tab and open its properties.
Now, see if the Roll Back Driver option is available. If yes, you can use it to install its previous version in Safe Mode. When the installation process is complete, exit Safe Mode.
If you cannot open the Device Manager in Safe Mode, follow these steps:
- Press the Ctrl + Shift + Esc keys to open the Task Manager.
- Click on the Run new task option and type devmgmt.msc. Click OK.
2] Browse your computer for drivers
If previous versions of the required device driver exist on your computer’s hard disk but the Roll Back Driver option is still disabled in the Device Manager, you can manually browse to and install them.
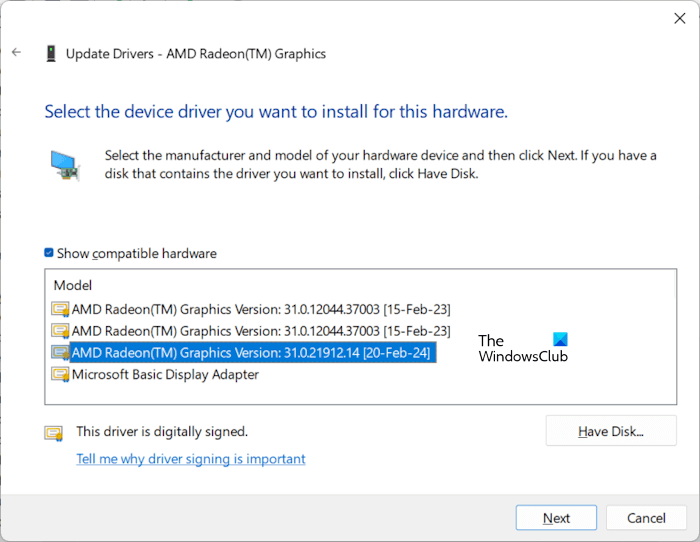
Go through the following instructions:
- Open the Device Manager.
- Expand the device driver branch.
- Right-click on the required driver and select Update driver.
- Click on the Browser my computer for drivers option.
- Now, click on the Let me pick from a list of available drivers on my computer option.
- Select the Show compatible hardware checkbox.
- Now, Windows will show you all the compatible versions of the driver stored on your hard disk.
- Select any of them and click Next.
Follow the on-screen instructions to install the previous version of the driver.
3] Check the previous version of the driver on the manufacturer’s website
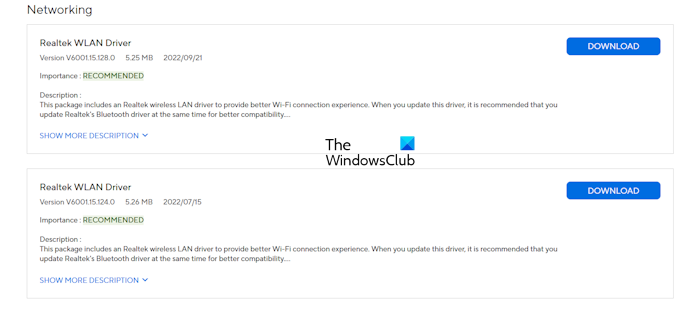
You can also download the previous version of the device driver from the official website of your computer manufacturer. Visit the website and search for your PC or laptop by typing its model number or serial number. Now, browse to the drivers section and expand the required driver tab. If the previous version of that driver is available, download and install it.
4] Uninstall the Windows Update
Windows Update can also install the latest drivers (if the driver update is available). If you start experiencing issues with some of your hardware devices connected to your computer after the Windows Update, Windows Update has probably updated that device driver.
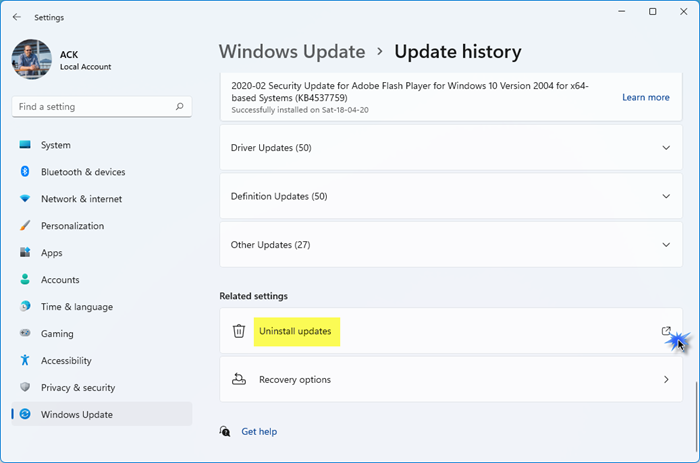
In such a case, you can install that driver’s previous version. If you can’t do it, you can uninstall that particular Windows Update.
5] Restore your system
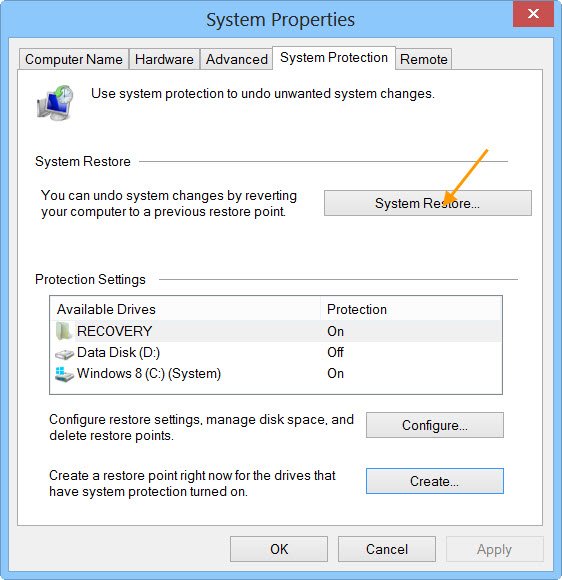
System Restore takes your system to it’s previous working state. It is a useful built-in tool that you can use to fix errors and other issues on your computer. While restoring your system to the previous state, you have to select a restore point created on a particular date. This action uninstalls all the programs and driver updates installed after the selected date.
You can also use the System Restore as an alternate way to uninstall the driver update.
That’s it. I hope this helps.
How to enable Roll back driver?
You cannot enable the Roll Back Driver option if it is disabled. If the driver has updated recently, this option automatically gets enabled. If you experience issues with a particular device, you can update or reinstall its driver.
What is Device driver rollback?
The device driver rollback option is a feature in Windows 11/10 that uninstalls the currently installed version of a device driver and installs its previous version. This feature is helpful when encountering issues with a device on your system.
Read next: A driver (service) for this device has been disabled (Code 32).
Leave a Reply