The Device Health Attestation service is a feature that enhances devices’ security by verifying the integrity of a system during startup. Using the service as a server enables the organizations to manage and monitor device health across their network, and ensures compliance with security policies. In this article, we will walk through how to run Device Health Attestation service as a Server in Windows 11/10.
How to run Device Health Attestation as a Server in Windows 11/10
If you want to install and run Device Health Attestation as a server in Windows 11/10, follow the steps mentioned below.
- Verify the prerequisites
- Install DHA Role
- Add the SSL certificate to the certificate store
- Extract the TPM Roots certificate and Install the Trusted certificate package
- Configure DHA service
- Check the configuration
Let us get started with the guide.
1] Verify the prerequisites
First, ensure that the system meets the requirements for using the health attestation feature. The prerequisites emphasize using Windows Server Technical Previews 5 or later version with Desktop Experience, along with client devices equipped with TPM version 1.2 or 2.0. Furthermore, the setup requires specific certificates, including SSL, signing, and encryption, and supports certificate validation modes such as EKcert and AIKcert. Next, we are going to install the DHA role.
2] Install DHA Role

Since the DHA Role is not pre-installed on the server, we will install and add it to the Windows server using the Server Manager. Follow the steps mentioned below to do the same.
- Open Server Manager, select Manage, and click Add Roles and Features.
- Hit the next button, and in the next window, select Role-based or feature-based installation in the Installation Type tab and press Next.
- In the Server selection tab, select the server from the server pool, hit Next, and move to the Select Server Roles page.
- Check the Device Health Attestation box, hit the Next button until you reach the Installation Confirmation page, and then click the Install button.
Complete the installation process, and hit the Close button when done.
3] Add the SSL certificate to the certificate store
After installing the DHA role to the Windows Server, the next step is to import the SSL certificate. To do so, follow the steps mentioned below.
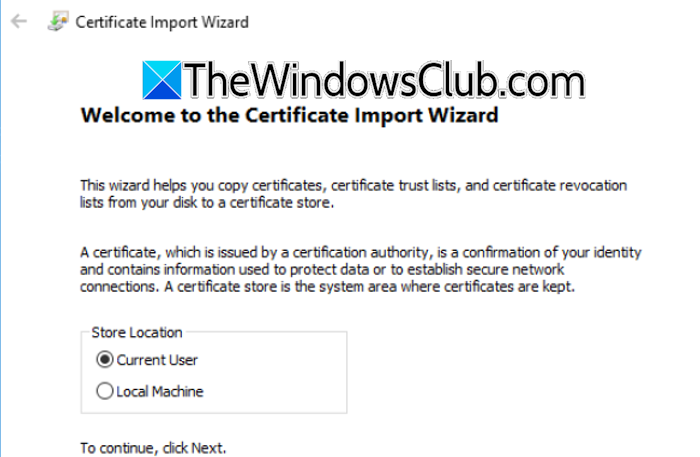
- Navigate to the location where the SSL certificate file is located, open it, and select Current User in the Store Location option.
- Click on the Next button, enter a password, tick the Include all extended properties box, click Next, and hit the Yes button when prompted.
- Once done, launch the Run dialog box, type mmc, and hit Enter.
- Click the File Menu, select Add/ Remove snap-in, and click the Add option.
- Hit Next, and then either select My User account or Service account and hit the Next button.
- Next, go to the Server Manager, click on IIS, and click on Server Certificates.
- Select the Import option from the action menu, browse the SSL certificate file, enter the private key password, and complete the import process.
- Once again, launch the Run dialog box, type, and open MMC, and click on the File option.
- Click the Add/Remove Snap-in option, select the certificate from the Available Snap-ins section, and add it to the Selected Snap-ins option.
- Tick the My User Account option, select the Certificate, and press OK.
- Double-click on the certificate, go to the Details tab, and scroll down to find the Thumbprint certificate.
Now, copy the Thumbprint certificate, and paste it to a file.
The next step is to install the signing and encryption certificates. To do so, execute the following command.
Note: Make sure to replace ‘Replacewiththumprint’ with the thumbprint we save earlier.
$key = Get-ChildItem Cert:\LocalMachine\My | Where-Object {$_.Thumbprint -like "ReplaceWithThumbprint"}
$keyname = $key.PrivateKey.CspKeyContainerInfo.UniqueKeyContainerName
$keypath = $env:ProgramData + "\Microsoft\Crypto\RSA\MachineKeys\" + $keyname icacls $keypath /grant IIS_IUSRS`:R
4] Extract the TPM Roots certificate and Install the Trsuted certificate package
Once you have completed the SSL certificate, you will download the TPM certificate packages. To do so, run the following command in the command-line interface of your Windows server.
mkdir .\TrustedTpm
expand -F:\* .\TrustedTpm.cab .\TrustedTpm
cd .\TrustedTpm
.\setup.cmd
5] Configure DHA service
Lastly, we are going to configure the DHA service, set up the Authentication modes, and configure certificate chain policies. Make sure to run the commands given in below the elevated mode of the Command Prompt.
To configure the DHA service, execute the following command in the Windows server to do the same.
Install-DeviceHealthAttestation -EncryptionCertificateThumbprint ReplaceWithThumbprint
-SigningCertificateThumbprint ReplaceWithThumbprint `
-SslCertificateStoreName My -SslCertificateThumbprint ReplaceWithThumbprint `
-SupportedAuthenticationSchema "AikCertificate"
To set up the certificate chain policy, execute the command mentioned below:
$policy = Get-DHASCertificateChainPolicy $policy.RevocationMode = "NoCheck"Set-DHASCertificateChainPolicy -CertificateChainPolicy $policy
Select either Yes or Yes All to the prompts during configuration.
6] Check the configuration
Finally, we will run some commands to verify that the DHA service is functioning as intended.
For verifying the active signing certificate: Get-DHASActiveSigningCertificate
If it is correctly configured, the command will display the active signing certificate, its type (signing), and its thumbprint.
To activate the encryption certificate: Set-DHASActiveEncryptionCertificate -Thumbprint "ReplaceWithThumbprint" -Force
Note: Replace ‘Replacewiththumprint’ with the thumbprint of the encryption certificate.
To verify if the Encryption certificate is active: Get-DHASActiveEncryptionCertificate
If the certificate is activated, users will see the thumbprint.
To test the DHA service, navigate to the following URL:
https://<dha.myserver.com>/DeviceHeathAttestation/ValidateHealthCertificate/v1
If the service is running correctly, users will see the message ‘Method not allowed.’ That’s it. This ensures the DHA service is ready for production use.
Read: Enable or disable Windows Search service in Windows Server
Device Health Attestation isn’t available, clear your TPM
As mentioned in the error message, the error “Device Health isn’t available” can occur due to issues with the Trusted Platform Module (TPM). Clearing the TPM can resolve the issue. To delete it, open the Run dialog box, type tpm.msc, and click the OK button to open up the TPM Management window. In the console, navigate to the Actions section, select the Clear TPM… option, and then click the Restart button. This will reset the TPM to its default phase. Hopefully, this will resolve the issue.
Read: How to configure Host Guardian Service on Windows Server
Device Health Attestation isn’t supported on this device
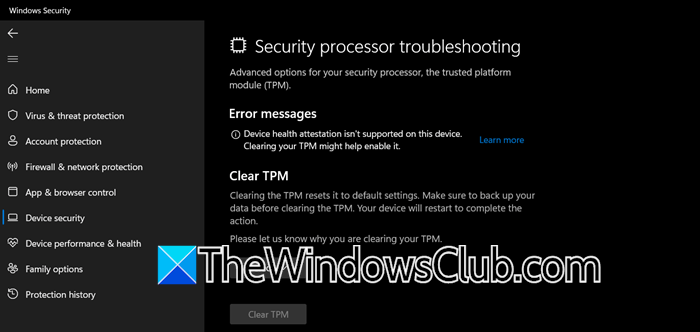
If you see the error message ‘Device Health Attestation isn’t supported on this device‘, it indicates that your system does not meet the requirements to function the DHA service properly. To avoid such situations, check out the prerequisite mentioned earlier in the post.
Also Read: Install and configure MultiPoint Service on Windows Server.