In this post, we will see how to run System File Checker in Safe Mode, Offline, or at Boot-Time in Windows 11/10. This is useful if SFC will not run or start. One of the useful tools Microsoft introduced on Windows is the ability to run the system file checker to check the stability of core system files.

We have discussed the System File Checker earlier. One of the most effective ways to run this tool or SFC is to run in Safe Mode or at boot-time. This may be an option you may want to consider if you find that your system file checker run does not complete successfully. At boot time, system files won’t be connected to any other Windows services so it could be easier for them to complete its run successfully and replace the files.
Run System File Checker in Safe Mode
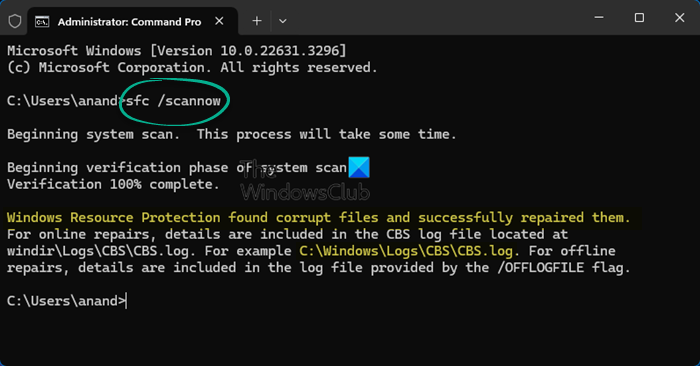
Simply boot Windows in Safe Mode, open an elevated command prompt, type sfc/scannow, and hit Enter. System File Checker will run in Safe Mode too.
Run System File Checker at Boot
On Windows XP we have a command called sfc /scanboot. It scans all protected system files every time the computer is booted. Running sfc /scanonce would run it once only at the next reboot.
Unfortunately, these commands have been removed on later versions of Windows.
So in order to run this command, we have to go to Windows RE and run it from here. We can also call it Run Offline System File Checker.
Run Offline System File Checker
To execute this run, do the following:
Insert the Windows installation disc or USB flash drive, or a system repair disc, and then shut down your computer. Then restart your Computer When prompted, press any key, and then follow the instructions that appear.
On the Install Windows page, or the System Recovery Options page, choose your language and other preferences, and then click Next.
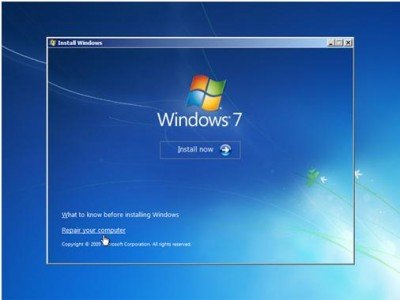
Click Repair your computer.
Select the Windows installation you want to repair, and then click Next.
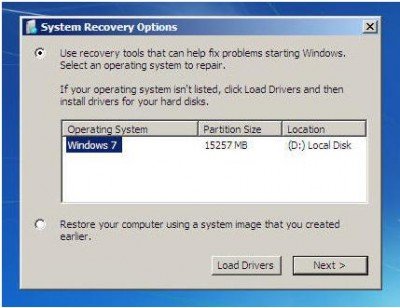
On the System Recovery Options menu

Click on Command prompt, then type in the following command and hit Enter:
sfc /scannow /offbootdir=d:\ /offwindir=d:\windows
Refer to the image above. I have used D, since the Windows drive is D.
Once it has completed the repair, type Exit and then reboot the system. In case the command does work or if the Windows failed to repair, then you need to run a Repair Windows 7 or Refresh Windows 8 or Reset Windows 11/10 to fix those corrupted files.
I hope you found this article helpful. In the case of any issues, please feel free to drop a message in our commands section.
TIP: This post will show you how to how to Run sfc /scannow System File Checker on External Drives.
Great tips. Was wondering if it could be done in Win 7
Hi…..
Thanks for the tip and, yes, the sfc/scannow did the trick and my PC is okay now…..
And what about when the offline method from the DVD
sfc /scannow /offbootdir=d: /offwindir=d:windows
reports Windows Resource Protection could not start the repair service.
https://www.thewindowsclub.com/windows-resource-protection-could-not-start-the-repair-service
Great tip! Did the trick for me! I like this COMMANDS section also.
What is the comand that make a computer turn into tablet mode and how do you get there? I think I am stuck in tablet mode I I do not know how to get out. I have lost my start menu, my task bar and my desktop. I have a Lenovo T400 and I have windows 10. Of course bear in mind, I have no access to a start menu, task bar , desktop or much of any thing but a browser window.
Check https://www.thewindowsclub.com/how-to-activate-and-use-tablet-mode-in-windows-10
Please define Drive lettering and its relation for less tech savy users. define “offbootdir” and “offwindir” (this repair mechanism seems good, but how it works to repair the problem from the disc sucks as well as any documentation. [I have a issue with a vmdk disc 2, and windows is incapable of making a simple file repair because the repair tools are in that 2GB block… the disc repair tool is further unable to do anythign useful without accessing the os’s repair tools it seems..]
Very useful * thanks *