Although the ForFiles command runs locally, you can use it on a shared network or mapped drive on Windows 11/10. If you want to schedule ForFiles command on a shared network in Windows, you can take the help of Task Scheduler. As you cannot run the command independently, it is required to create it separately before creating a task in Task Scheduler.
We have shown the steps to create a .bat script to delete certain files older than six months for your information. However, you can customize it as per your requirements.
To get started, open the Notepad or any other text editor you have on your computer and paste the following text:
net use G: \\network-folder-path

ForFiles /p "G:" /s /d -180 /c "cmd /c del /q @file"

net use G: /delete
Before saving, you have to make a few changes in the aforementioned lines. For example, in the first line, you have to enter the drive letter or network drive and the exact folder path you want to delete by replacing the network-folder-path text.
In the second line, replace G with the original drive letter and 180 with the time you want. It is being calculated in day format.
In the third line, replace the drive letter with your original drive letter. Once done, click on the File > Save As button.
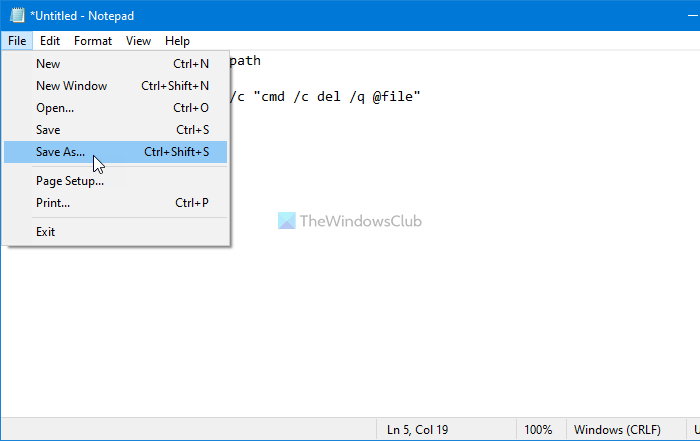
Then, choose a file with .bat extension, select All Files from the Save as type drop-down list, and click the Save button. After that, you can move the .bat file to a place and keep it there.
Once you are done with these aforementioned steps, you can create the task using Task Scheduler.
How to schedule ForFiles command on Shared Network drive
To schedule ForFiles command on a shared network in Windows 11/10, follow these steps:
- Search for task scheduler and click on the individual result.
- Click on the Create Task button.
- Enter a name > choose Windows 10 from Configure for list.
- Switch to the Triggers tab > click the New button.
- Choose On a schedule from Begin the task drop-down list.
- Choose Monthly option > set date > click OK.
- Switch to the Actions tab > click the New button.
- Click the Browse button > select the .bat script.
- Click the OK buttons repeatedly to save the change.
To get started, search for task scheduler and click on the individual result to open the Task Scheduler app on your computer. Select the Task Scheduler Library on the left side and click on the Create Task option on the right side.
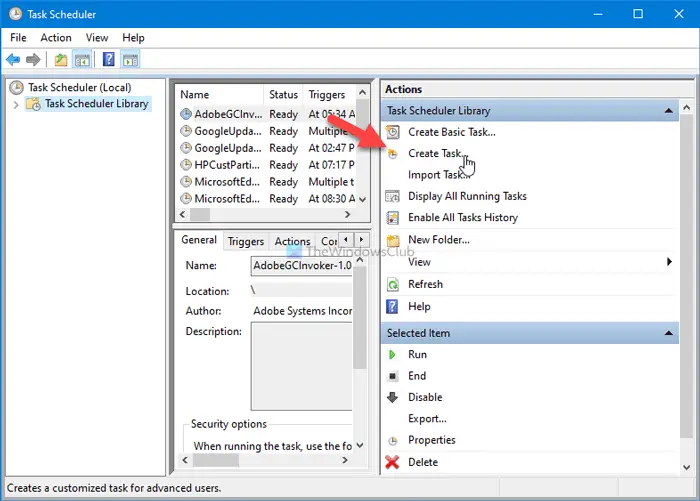
Enter a name for your task and make sure that the Windows 10 option is selected in the Configure for drop-down list.
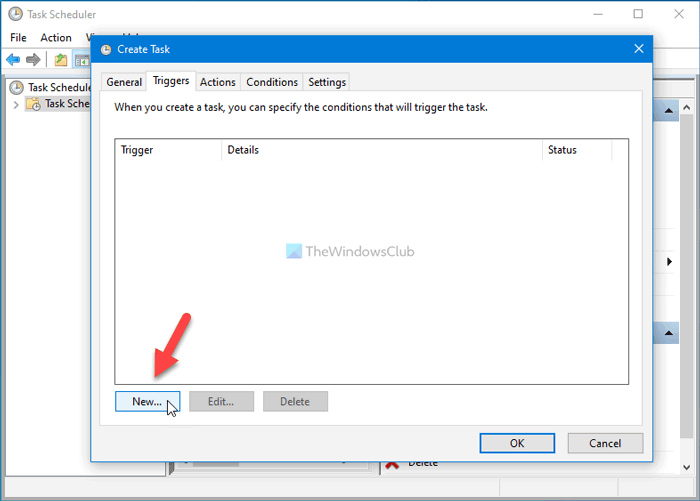
Switch to the Triggers tab, and click on the New button to create a new trigger for your task.
Now, choose On a schedule from the Begin the task drop-down list, select Monthly, and choose a date and month.
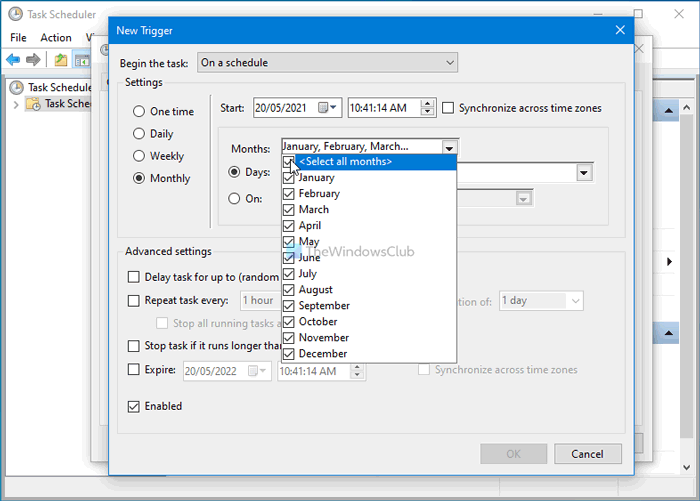
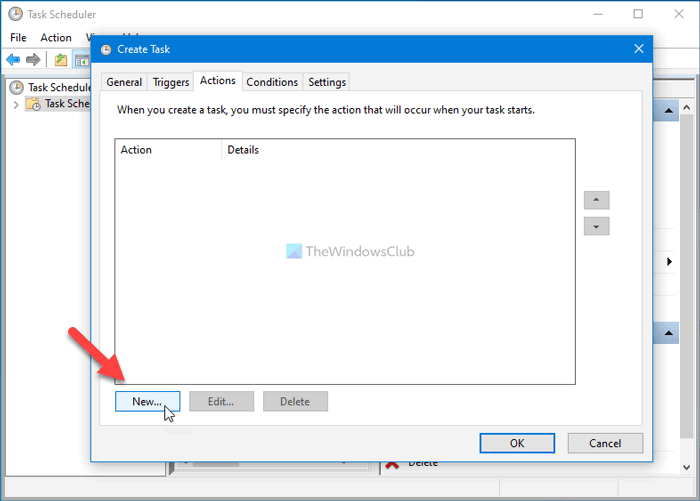
Click the OK button, switch to the Actions tab, and click on the New button to create the action for your task.
Make sure the Start a program option is selected in the Action drop-down list. Then, click on the Browse button, and choose the .bat script you created earlier.
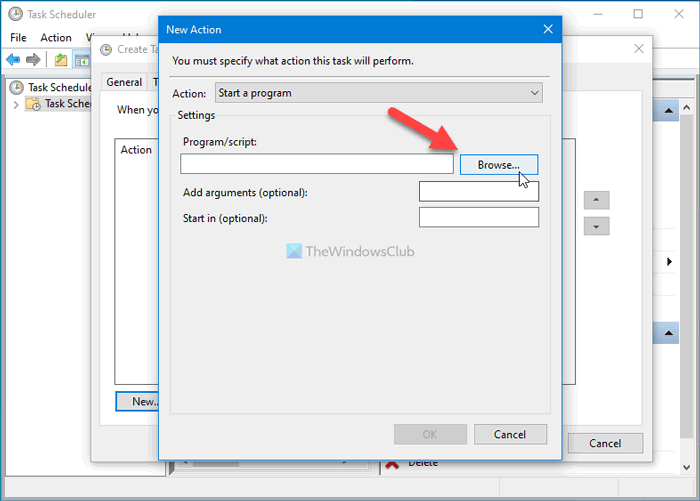
Click on the OK button to save the change.
There is one important setting you should turn on. It is called Run task as soon as possible after a scheduled start is missed. Let’s assume that your computer fails to run a scheduled task at a particular time on a specific date. If you enable this setting, it will run the task whenever it gets time, followed by the missed schedule.
You can find this option in the Settings tab. All you need to is to make a tick in a checkbox and click the OK button.
As long as you do not delete the script or change the network drive letter, you can use this method to schedule the ForFiles command on a shared network folder on Windows.
Leave a Reply