While running a program or starting a Troubleshooter, if you see an error message saying Scripted Diagnostics Native Host has stopped working, here is how you can fix the issue on Windows 11/10 PC. Although the solutions might vary from computer to computer, we have listed some of the most common causes and solutions so that you can troubleshoot the issue.
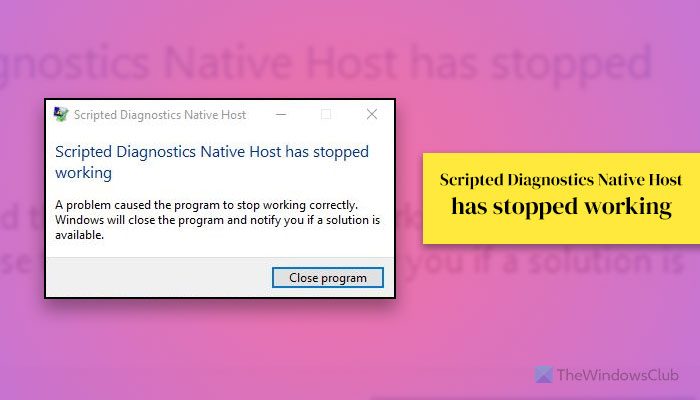
The entire error message says:
Scripted Diagnostics Native Host has stopped working
A problem caused the program to stop working correctly. Windows will close the program and notify you if a solution is available.
If this error occurs while running an app or game, that program will be closed when you click on the Close program button. However, if this error appears while running a Troubleshooter, it will continue even after clicking the same button. That is why you need a permanent solution to make this error disappear.
Scripted Diagnostics Native Host has stopped working
To fix the Scripted Diagnostics Native Host has stopped working error in Windows 11/10, follow these solutions:
- Use Reliability Monitor
- Uninstall or Update drivers
- Update the program
- Uninstall recently installed updates
- Use CHKDSK utility
- Run SFC and DISM tools
Before proceeding, we suggest you restart your computer once. At times, a simple restart solves problems.
1] Use Reliability Monitor
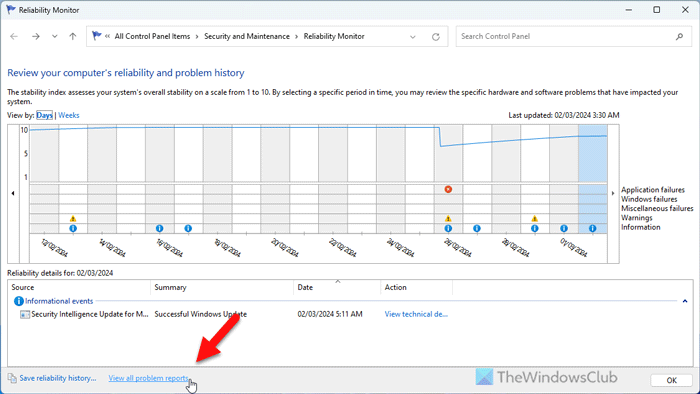
Reliability Monitor doesn’t fix the problem directly but helps you see the issues with apps and other programs. For example, you can see what has stopped working recently, which app has crashed, etc. Following that, you can work on that program directly. You can use the View all problem reports option. It displays everything mentioned above.
2] Uninstall or Update drivers
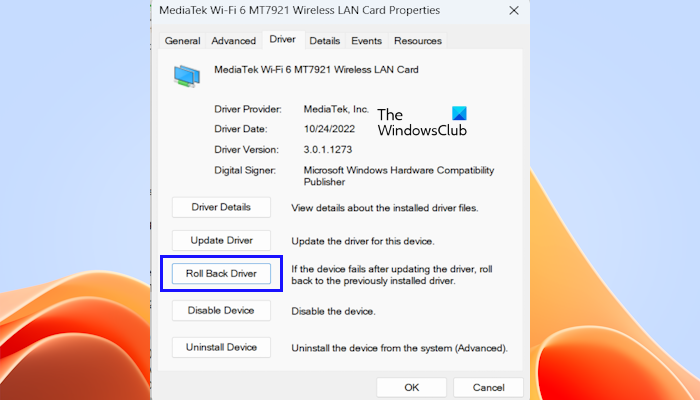
As this problem sometimes occurs due to a faulty driver, we suggest you reinstall the respective driver. If you recently installed any Driver update, try to uninstall it and see. When you roll back the driver, it will uninstall the most recently updated driver and roll back your configuration to the earlier version. You may need to roll back a driver if your device fails after updating the driver.
Alternatively, update all your drivers and see if it helps. You may head to the hardware manufacturer’s official website to download the driver’s latest version and install it.
Read: How to download and reinstall Realtek HD Audio Manager in Windows
3] Update the program
At times, this error might appear due to some compatibility issues. If you recently updated Windows from one version to another, this error could occur, and you need to update the program to make it compatible with the latest version of Windows.
4] Uninstall recently installed updates
There could be times when you might encounter this problem when installing a faulty update. We have faced this problem many times recently, which is why we know how a simple Windows Update could break your application. That is why we recommend you find and uninstall recently installed updates.
Read: How to check Windows Update History using PowerShell or Command Prompt
5] Use CHKDSK utility
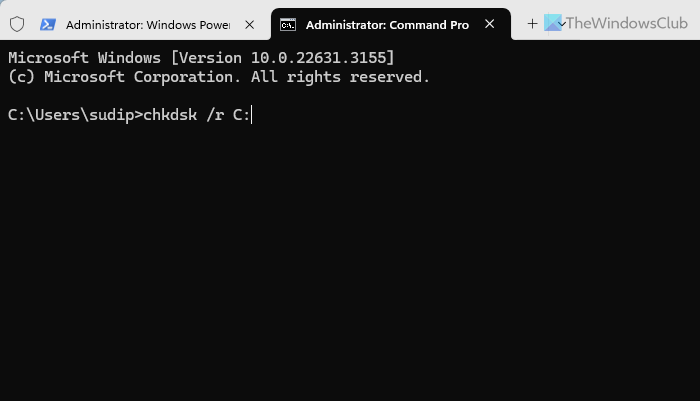
One common reason behind this error is the disk error. You can use the in-built CHKDSK utility to solve the problem. It would be best if you tried different parameters to find and rectify the disk error.
6] Run SFC and DISM tools
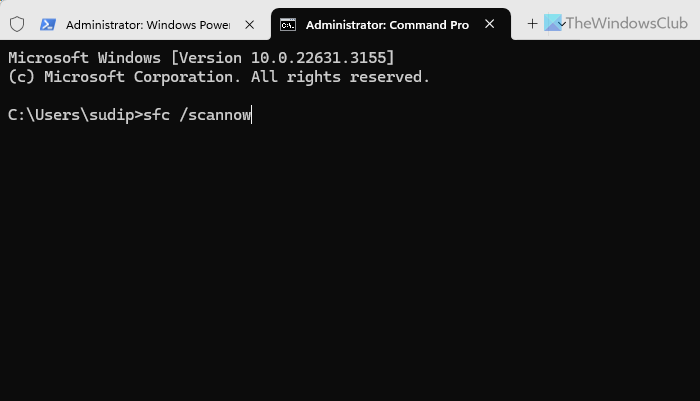
Sometimes, this error can appear due to corrupt system files, and there is nothing better than the System File Checker at such times. We would suggest you use the SFC scan first. However, if it doesn’t fix the problem, you can opt for the DISM tool to repair the Windows system image.
I hope it helps you.
Read: Faulty Module Name Kernelbase.dll causing application crashes
How do I turn on Diagnostic Data in Windows 11?
To turn on Diagnostic data in Windows 11, press Win+I to open the Windows Settings panel first. Then, you need to navigate to Privacy & security > Diagnostics & feedback. Next, expand the Diagnostic data section. Finally, you can toggle the Send optional data button to turn it on. For your information, Windows 11 sends only the required data, and it is mentioned in the Diagnostic data section.
How do I fix Windows Network Diagnostics in Windows 11?
To fix the Windows Network Diagnostics in Windows 11, you need to use the Get Help app. Open the app and search for network diagnostics. This functionality works with almost any network, including Wi-Fi, Ethernet, mobile hotspot, etc. Alternatively, you can also use the Network and Internet Troubleshooter that can be found when you go to System > Troubleshoot > Other troubleshooters.
Read: View application crashes .wer files using AppCrashView.