Microsoft Sway is similar to PowerPoint that creates visually striking newsletters, presentations, and documentation in minutes. What makes it different from the Office’s presentation software is its integration with your device, social networks, and the web. Here’s how to get started with Microsoft Sway.

Search & add Content to Microsoft Sway
This post gives you a basic overview of how to search and add content to Microsoft Sway. Unlike, PowerPoint, Sway does all the formatting, adds themes, fonts, and more with its built-in design engine. So, you don’t need to be an expert to use it. All you must do is put in your content and sit back and let Sway take care of the rest. There’s even a Remix! button that you can use to see automated looks in a snap. The process involves the following steps:
- Launch Microsoft Sway
- Select Insert from the menu bar
- Search content from the desired service
- Add the content
- Insert more content
The process is simple.
Insert the desired content
Start from a blank Sway. So, login to your account and hit the ‘Create New’ button.
To search for the content you are interested in, go to the ‘Menu’ bar.
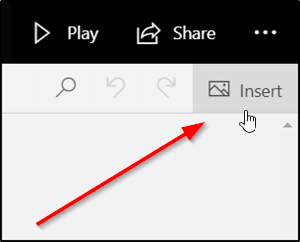
Select ‘Insert’ option.
Based on your Storyline, sway makes some recommendations. So, switch to ‘Suggested’ menu that appears and browse through the content.
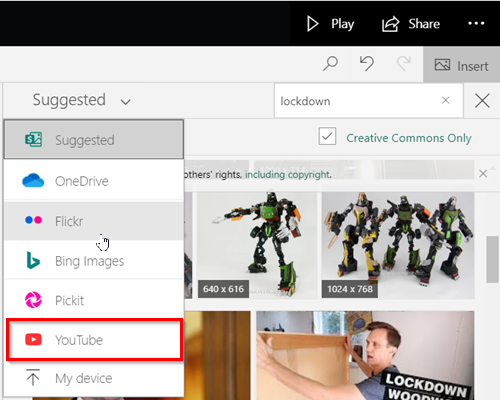
Alternatively, you can choose the specific content source you want to use. For example, there are options like,
- OneDrive
- Flickr
- Bing Images
- Pickit
- YouTube
Please note that content visible to you is available in few selected languages only.
Add the content to Sway
When the content source is selected, type a keyword or phrase into the Search box, and then press Enter to find the content you want.
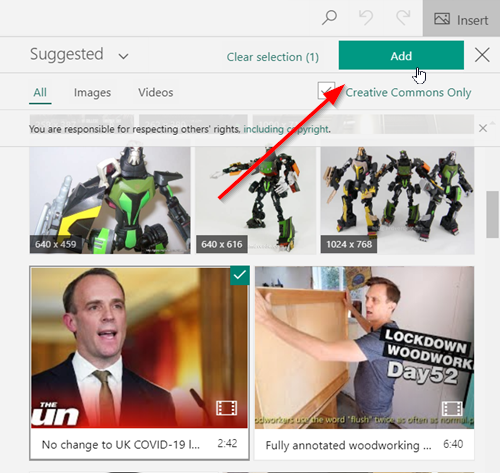
Thereafter, from the Search results that are displayed, click to select the item (or items) you want, and then click ‘Add’.
If required, you can also drag and drop the selected item (or items) onto your Storyline.
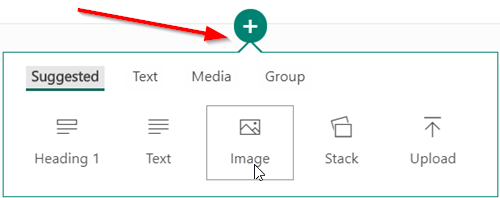
You can search for and insert additional content at any time by pressing the ‘Add’ icon, which is displayed as a + sign at the bottom of the card.
Then, select text, image, video, or other content types.
That’s all!
Read next: Microsoft Office Sway Online tutorial to help you create reports & presentations.
Leave a Reply