Secret Disk is a free tool for Windows PCs that lets you create secret, hidden virtual drives to hide your data. You can even password-protect these virtual drives. Secret Disk is available in two variants: Free and PRO. In this article, we may only discuss the free version. Overall, it is an excellent and handy tool. One can easily store data in an encrypted and hidden manner on a Windows computer.
Create secret hidden virtual drives with Secret Disk

The free version has some limitations, so before proceeding, let me tell you all of them. First, the maximum allowed space on the disk is 5GB. Second, you can’t create more than 1 disk, and lastly, you can’t choose the drive letter. All these limitations are removed in the PRO version, which is not free. But for most users, these limitations may not matter much.
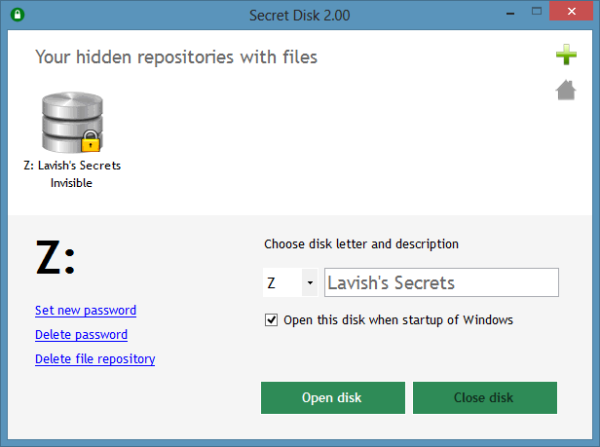
To create a secret hidden drive, click the plus icon on the main window. Name your secret drive. I’ve named my drive ‘Lavish’s Secrets”.
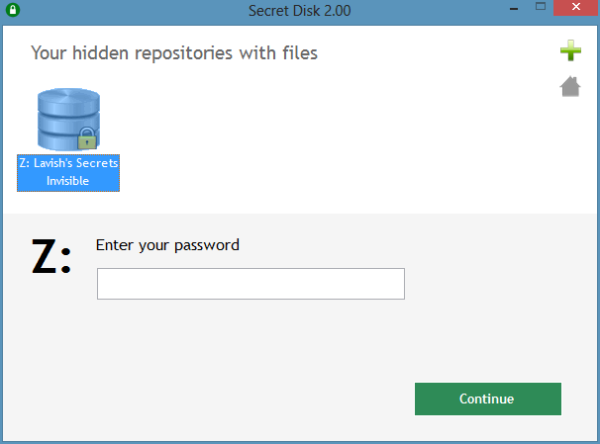
Once you’ve created the drive, you can add a password to make it more secure. Whenever you want to browse and edit the contents of the secret drive, you can make it visible from the program and open it using File Explorer.
You will notice that the new drive created will show its size more than the actual space you will be allowed to use. The secret disk can be closed and opened quickly without fuss or difficulty. The default alphabet for the drive is ‘Z’; you can’t change it, as it is one of the limitations of the free version.
Secret Disk does not encrypt any files – it only limits access to your files; in case of a power outage, your secret disk will be locked and become invisible automatically for that duration.
The Secret Disk software can be handy. This is a perfect solution if you want to secretly store your private tools and files and maintain their invisibility and privacy by hiding your personal files in a secret virtual disk.
Click here to download the Secret Disk free version.
Go here to look at some Free File Encryption Software for Windows.
How do I hide drives in Windows?
- Press the Windows key + R to open the Run dialog box.
- Type gpedit.msc and press Enter to open the Local Group Policy Editor.
- Navigate to User Configuration > Administrative Templates > Windows Components > File Explorer.
- Double-click on Hide these specified drives in My Computer.
- Select Enabled and choose which drives you want to hide.
- Click OK and close the Local Group Policy Editor.
- The selected drives should now be hidden from view in File Explorer.
How to hide the network drive?
You can follow the same steps as hiding a regular drive using the Local Group Policy Editor to hide the network drive. Once you’re in the editor, navigate to User Configuration > Administrative Templates > Windows Components > File Explorer, and then double-click on Hide these specified drives in My Computer. From there, you can hide the network drive letter you just mapped.
Once selected, click OK and close the Local Group Policy Editor. The network drive should now be hidden from view in File Explorer.
Read: Wipe Privacy Cleaner cleans tracks & delete junk files from PC.

“Secret Disk does not encrypt any files – it only limits access to
your files, In case of power outage your secret disk will be locked
and become invisible automatically, for that duration.” Somehow that statement doesn’t make sense. If there is a power outage, you cannot power on the computer anyway. Your not accessing any hard drive. IDK, what am I missing?
TrueCrypt is the best for encrypting files and it’s free.
TrueCrypt provides more options, better security, no limitation and above all, it’s free.
Ash
Black_Ps`
Yes, TruCryp is good. It has been covered here:https://www.thewindowsclub.com/free-file-encryption-software-windows
This has what been mentioned on their home page here:http://privacyroot.com/software/www/en/sede.php
I remember that I chose TrueCrypt over other similar programs after reading that article. Thanks for mentioning it here again.