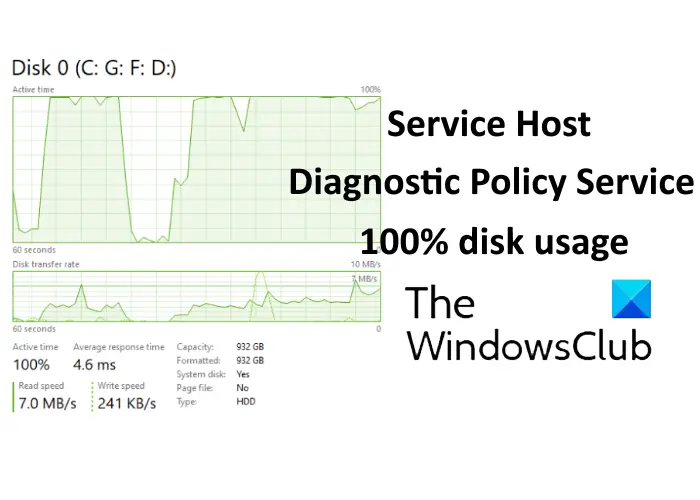
Service Host Diagnostic Policy Service is a crucial service policy that is installed by default in all Windows 11/10 systems. The function of this service is to detect and troubleshoot the issues on Windows 11/10 system components. It initiates the corrective action automatically and notifies the user about the potential issue. It also creates a log for appropriate diagnostic information for the cause of the issues.
The Diagnostic Policy Service runs automatically in all Windows 11/10 PCs under the shared Service Host process (svchost.exe). If this process does not run, you will not be able to know the cause of your system errors. You can find this process running in the Task Manager, which you can launch by right-clicking on the Taskbar. Now, scroll down in the “Processes” tab to view the process running in the background.
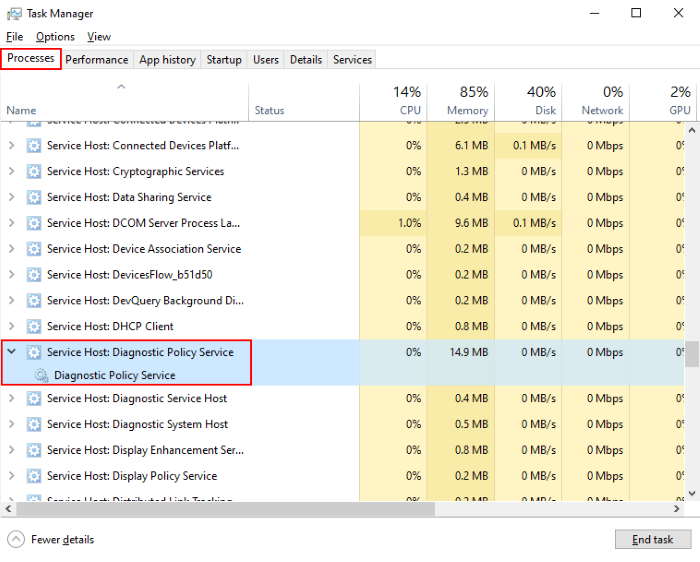
Diagnostic Policy Service (DPS) shows 100% disk usage
Many people encounter high disk usage due to Diagnostic Policy Service on their Windows 10 PC. If the service consumes disk space abnormally, it affects the entire system’s performance, and the user experiences lagging issues on his/her system. In some cases, rebooting the system in safe mode may help. Restarting the computer in safe mode troubleshoots most of the issues. If this does not work, try the below-listed method.
Delete the SRUDB.dat file
The Diagnostic Policy Service continuously creates logs in the SRUDB.dat file. This makes its size large. This is one of the reasons for consuming high disk space by the DPS service. Hence, deleting this file may fix the problem. Follow the below-listed steps to delete the SRUDB.dat file.
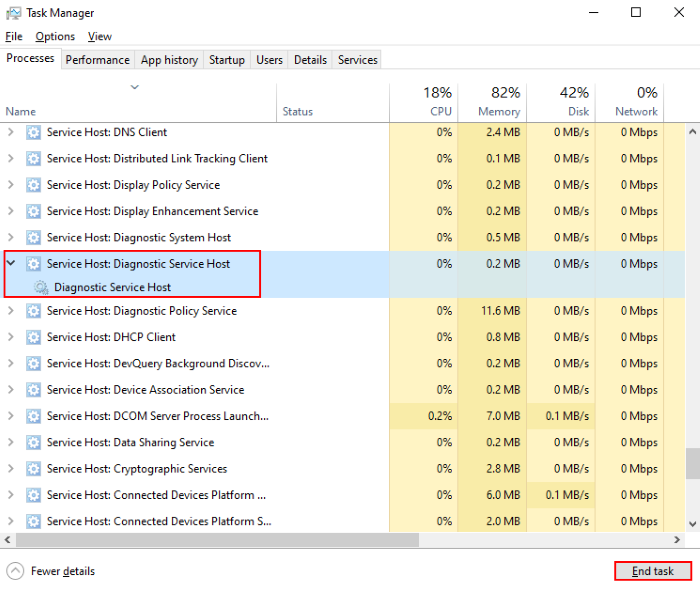
1] First, you have to stop the DPS service. Locate the service in the Task Manager as described earlier in the article. Select it and click on the “End task” button at the bottom of the Task Manager.
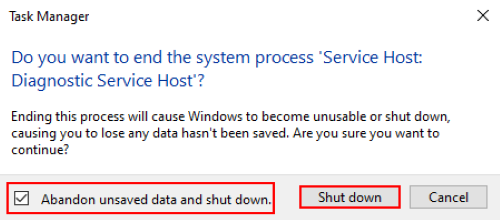
2] A popup window will appear on the screen. Check the “Abandon unsaved data and shut down” box and click “Shut down.”
3] Now, press “Ctrl + R” on your keyboard and type “services.msc” and click OK. It will open the Services Manager.
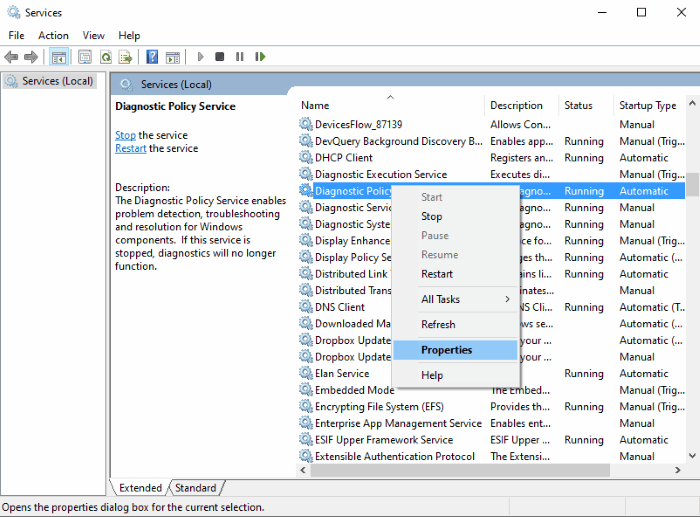
4] In the Services window, scroll down to search for “Diagnostic Policy Service.” Right-click on it and select “Properties.”
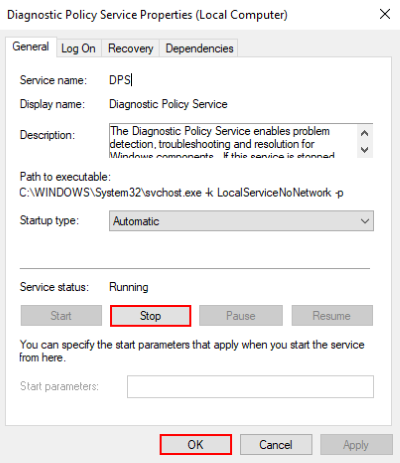
5] In the “General” tab, click “Stop” and then OK.
6] Now, again launch the Run window and type “%WinDir%\System32\sru” and click OK.
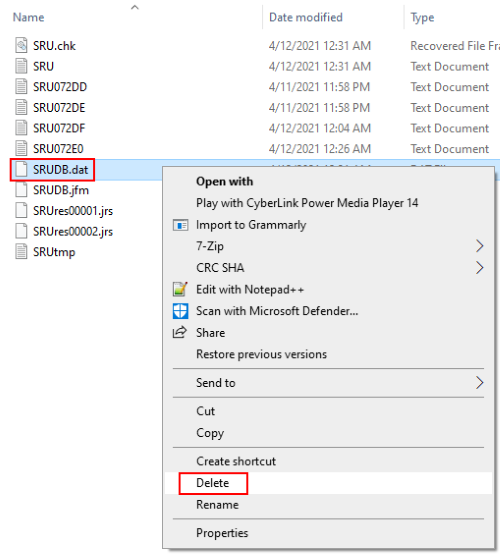
7] In the Explorer windows, delete SRUDB.dat file.
Restart your system.
Some important points that you should take care of
There are some points that are necessary to follow for optimum computer performance and normal disk usage. We are listing these points here.
- Run disk cleanup
- Preferably, you should have at least 30% or 30 GB of free space on your system’s hard drive to get optimum results.
- Unplug the external devices that are not currently in use.
- Reduce startup programs – Make sure that there is no useless process running in the background.
- Keep your BIOS up to date. You can download it from your computer manufacturer’s website.
Hope this article will help you solve the issue of 100% disk usage by Diagnostic Policy Service.
Can I end Service Host Diagnostic Policy?
Yes, you can end the Service Host: Diagnostic Policy Service by accessing the Task Manager. Right-click on the taskbar, select Task Manager, find the service under Processes, right-click it, and choose End Task. This may impact certain diagnostic functions and system troubleshooting capabilities.
Related links that may help you:
Leave a Reply