If you want to set an expiration date and password when sharing Excel files online, here is how you can do that. It is possible to do both of them when using Excel Online. That said, you do not need to rely on other third-party services to set the expiry date and password to an Excel file before sending it to someone.
Let’s assume that you are making an annual performance report for your business. For obvious reasons, you want to show it to only top management or those who have the clearance. At such a moment, it is recommended to use a password so that others cannot view it even if they get access to the file. On the other hand, let’s say that you want to send a file that should not be visible after a particular time. To specify that date, you can set an expiration date.
How to set Expiration Date when sharing Excel files online
To set an expiration date when sharing Excel files online, follow these steps:
- Open Excel Online on your computer.
- Open a file you want to share.
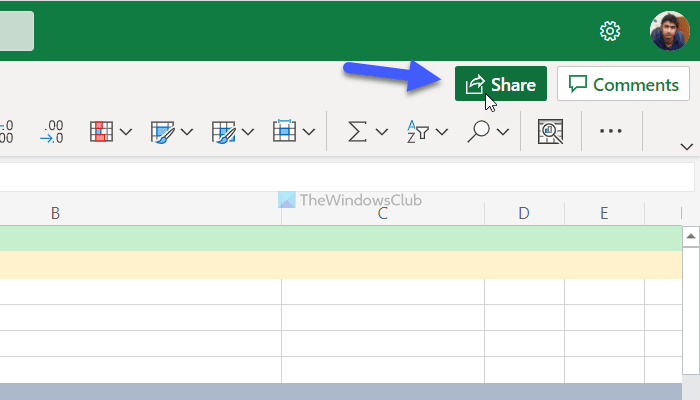
- Click on the Share button.
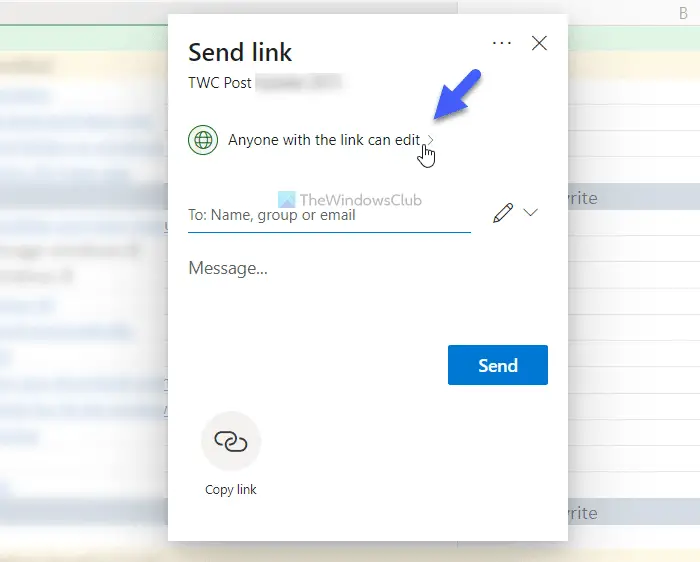
- Click on Anyone with the link can edit option.
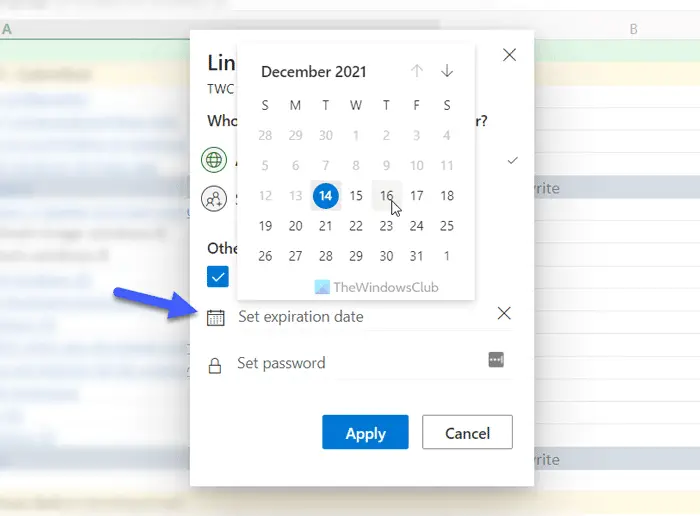
- Click the Set expiration date option.
- Set a date according to your requirements.
- Click the Apply button.
To learn more about these steps, continue reading.
To get started, you need to open Excel Online on your browser and open the file you want to share with others. After opening the file, you can find a Share button on the top-right corner. You need to click on this button.

Then, you can find a pop-up window on your screen. Here you need to click on the Anyone with the link can edit option.

After that, click on the Set expiration date option and set a date as per your requirements.

At last, click the Apply button.
After that, whenever you share the file with others, it will expire after the specified date. The only disadvantage of this functionality is that you cannot set a time. In other words, your file will get expired at 11:59 PM on the specified date.
How to set Password when sharing Excel files online
To set a password when sharing Excel files online, follow these steps:
- Open the spreadsheet in Excel Online.
- Click on the Share option.
- Click the Anyone with the link can edit button.
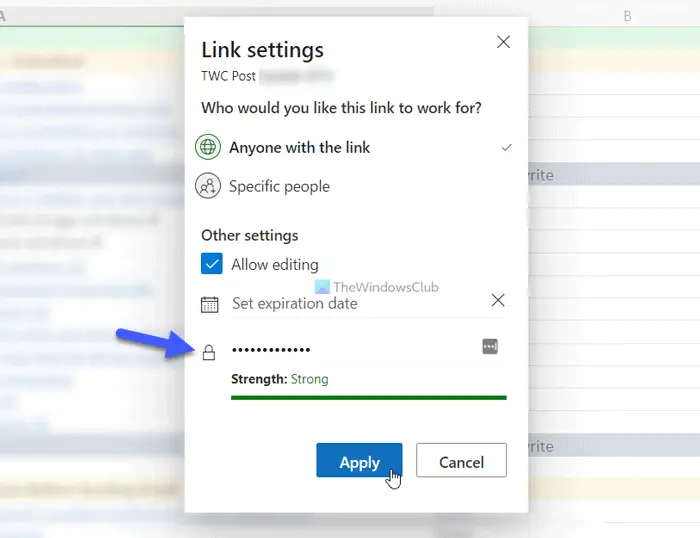
- Click on the Set password option.
- Enter the desired password.
- Click the Apply button.
Let’s delve into these steps in detail.
At first, you need to open the spreadsheet in Excel Online and click on the Share button visible on the top-right corner. Following that, click on the Anyone with the link can edit option visible on the popup menu.
Following that, click the Set password option and enter a password you like. It is always recommended to set a strong password.

Once done, click the Apply button to save the change.
After that, whenever you will share the spreadsheet with anybody, he/she will require a password to open the file.
How do I password-protect an Excel file on desktop?
To password-protect an Excel file or Excel Workbook on your Windows 11/10 desktop, follow these steps:
- Open the Excel Workbook in the Excel desktop app
- Click on the File menu and select the Info option
- Click on Protect Workbook drop-down menu
- Select Encrypt with Password option and an Encrypt Document box will pop up
- Enter a desired password and press OK
- Re-enter password and press OK button.
Can you lock a shared Excel file?
If you want to lock or protect an Excel sheet shared by you with others using Microsoft Excel Online, then it can be done easily. Open your Excel file and access the Review menu. Click on the Manage Protection option and a sidebar will open. Turn on the Protect sheet option. You can also set a Sheet protection password and choose options that users can access. For example, you can allow users to select locked cells, format rows, insert columns, insert rows, etc.
That’s all! I hope, this guide helped you.
Read: Microsoft Excel Online tips and tricks to help you get started.
Leave a Reply