If you have been using Windows for some time, we all have a common craving to make and receive calls from Windows computers. I remember software rolled out by OEMs, which partially allowed it along with access to photos, contacts, backup, and so on. Microsoft has made this dream come true with an inbuilt solution—Phone Link App. In this post, we will share how you can set up and use calls in the Phone Link app. In case you missed this, the Your Phone app is now called the Phone Link App in Windows 11 and Windows 10.

How to set up and use Calls in Phone Link app on Windows PC
We will talk about setting up the call, making a call, and also troubleshooting in case the calling feature is not working using the Phone Link app.
- Setting up Phone Link App
- Making a call from a Windows computer
- Troubleshooting Calls with Your Phone App.
Before you go ahead, make sure of these:
- Make sure the Phone Link app, both on Windows 11/10, and your Android smartphone, is on the latest version. Microsoft removed the call feature last month, and it only appeared after a recent update. If you still don’t see it, then go to Settings > Apps & features > Phone Link > Advanced Options > Reset / & > Terminate.
- You need Bluetooth on your Windows 10 for this to work. If you have a traditional Windows 11/10 Desktop, add an external Bluetooth adapter.
- Windows 10 May 2019 Update or above on your PC with Bluetooth and Android 7.0 and above.
While the images may say Your Phone app, the procedure is the same in the Phone Link app.
1] Setting up Phone Link App
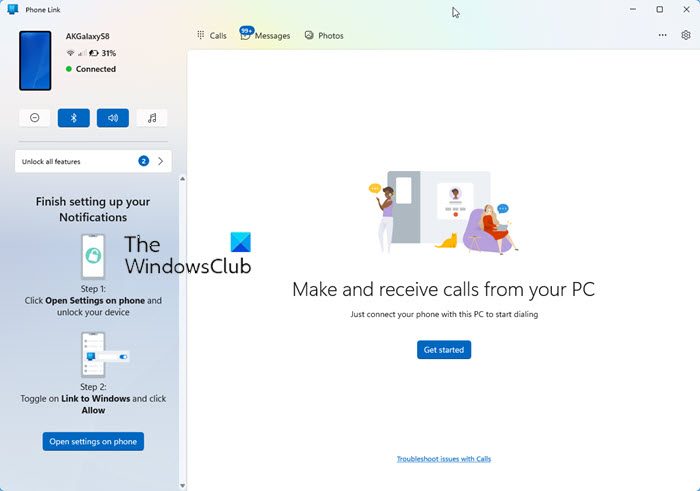
- Launch the app on the computer. If you have multiple phones connected to your PC, it will prompt you to set a default one.
- Done that, click on calls or dial-pad icon on the left side of the app.
- It will then prompt you to set up a connection with your phone.
- Click on the Get Started button, and allow the app to make phone calls. Click on the Yes button.
- The next screen will ask you to send permission to your Android Phone. It will require access to contacts and recent call logs to display on the app.
- You should receive a permission prompt for call logs. Allow it.
Having done that, you should now see the recently made calls (last 90 days) and a dial pad in the call section.
Read: How to set or change Default Device in Phone Link
2] Make a Call from Phone Link App in Windows 11/10

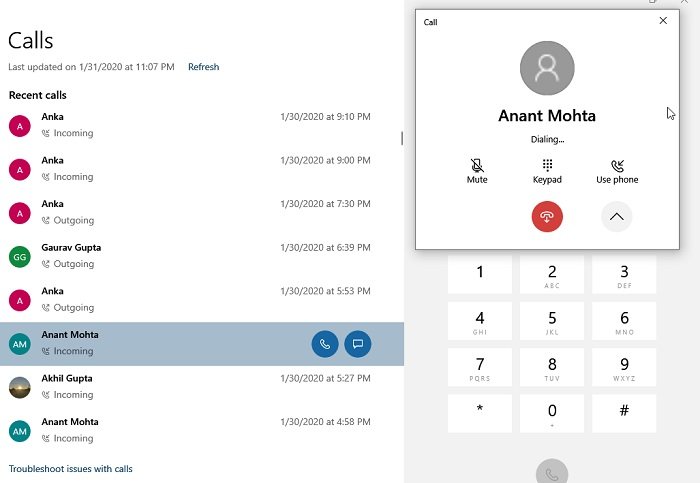
- Click on the dial pad icon or call icon
- Then you can either use the dial pad to type a number or click on the contact to make a call.
- When you click on the recently dialed contact, you will have the option to make a call or send a text message
- Click on the call icon, and it will instantly make a call.
- Your phone will light up, and if it is unlocked, it will look similar to a call made via Bluetooth headset.
- You will be able to hear audio on your PC, and if you have a microphone, you can talk to the person on the other side or mute him.

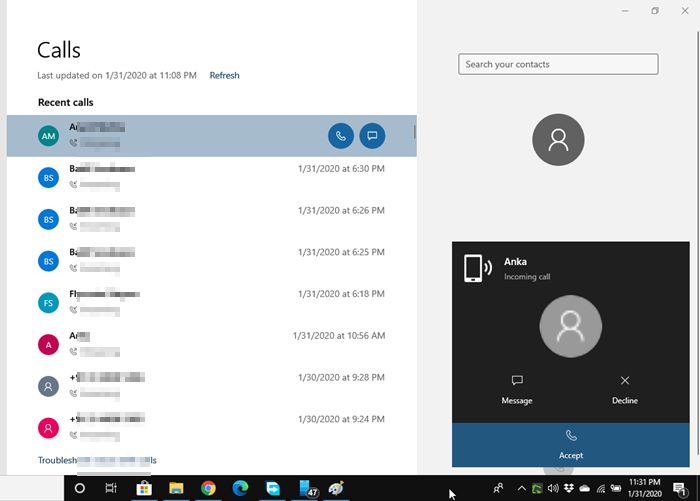
For incoming calls, you will get a notification near the focus assist. You can choose to decline, message, or answer the call. When you receive it, you can seamlessly switch between PC and Phone or use the onscreen option to do that.
Read: How to send Text Message or SMS using Phone Link
As of now, there is no way to delete call logs from the app, no conference calls, put a call on hold, and so on. Lastly, you can make an emergency call, but remember this works over Bluetooth, and if there is a disconnection, there is a chance of miscommunication. So make sure to use the actual phone instead of this.
Read: How to send Links from Android phone to PC
If you face issues, you can use this post to Troubleshoot Phone Link app problems.
I hope this exhaustive guide helped you to set up and use calls in the Phone Link app in Windows 11/10. Make sure to follow the troubleshooting tips in case you have a problem in receiving or making calls.