If your child isn’t worried about you prying into his browsing affairs, and you think you can get away with it, you can set up Family Accounts on Windows 11/10. This serves a dual purpose:
- Keep kids safer
- Allows parents to connect their kids’ Microsoft accounts in the same family.
How to set up Family Accounts on Windows 11
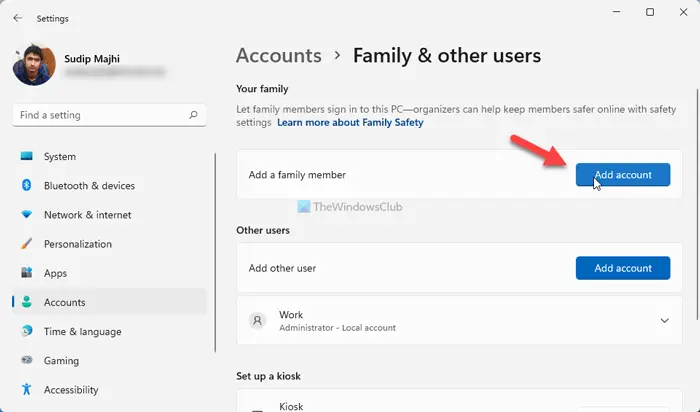
To set up Family Accounts on Windows 11, follow these steps:
- Press Win+I to open Windows Settings.
- Go to Accounts and click on the Family & other users
- Click on the Add account button of Add a family member.
- Enter the email address of your family member and click the Next
- Choose a role (Organizer or Member) for your family member.
- Click the Invite
There are a few things you need to know about the Family Accounts set up on Windows 11:
-
- Your family member must have a Microsoft account. You cannot use Gmail or any other email service for this purpose.
- You can check your child’s account from Windows Settings. For that, you need to open Windows Settings, go to Accounts > Family and other users. Here you can find the account. Click on the name or email address of your family member to find the account details. Alternatively, can visit this page on microsoft.com to find the same.
- It is possible to delete a family account. For that, you need to go to Accounts > Family and other users in Windows Settings. Click on the account you want to delete and click on the Remove However, you can do all these only when you are the Organizer. If you have a Member account, you cannot delete others’ accounts.
Set Up Family Accounts on Windows 10
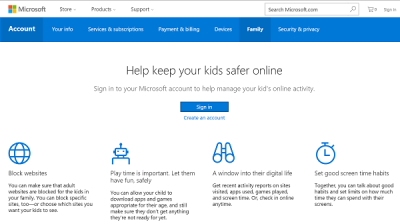
Prior to this, there are certain steps required to configure the settings. For adding adults or kids to your family, you need to go to account.microsoft.com/family and select Sign in.
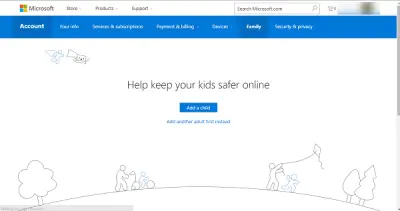
Then, click on Add a user. If you don’t have a Microsoft account, you may want to create one.
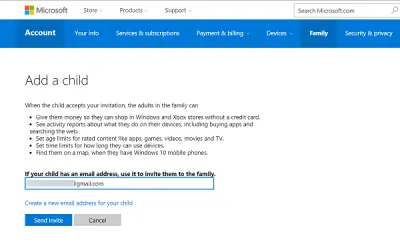
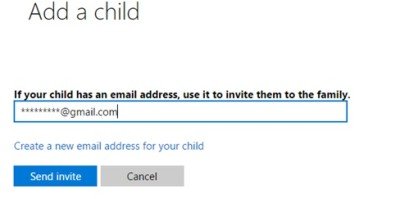
You can then invite your child if he has an email account to join the Family.
Once you have the accounts set up, you can block inappropriate websites, apps, and games, limit overall screen time, see reports of kids’ activity, and add money to kids’ accounts.
Related: How to create a Guest Account in Windows 11/10
Add your child’s Microsoft account to your family
Your child needs to accept the invitation to join to the family account.
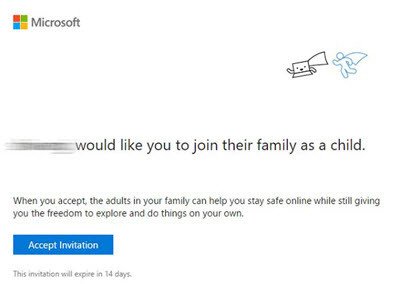
When he or she accepts your invitation, the adults in the family can give them access to:
- Money so they can shop in Windows and Xbox stores without a credit card.
- See activity reports about what they do on their devices, including buying apps and searching the web.
- see their online activity like which websites they visit and what all they do online.
- Set age limits for rated content like apps, games, videos, movies and TV.
- Set time limits for how long they can use devices.
The best part is that you can track them on a map when they are out with their Windows 10 mobile phones!
If your child demands more time to be spent on the screen and seeks your permission, you are at the discretion to deny or allow an extension of 15 minutes, 1 hour, 2 hours, or 8 hours extension via email.
How to check your child’s account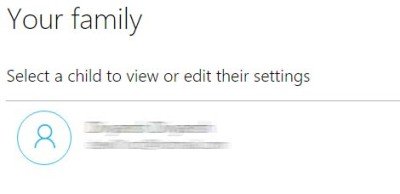
Make your child sign into the PC.
Go to Settings and select Account.
Make sure that the child is signed in using Microsoft account. If not, sign out and sign in with his/her Microsoft account to check the account activities.
How do I set up family control on Windows 11/10?
To set up Family control on Windows 11 or Windows 10, you need to use the Windows Settings panel. For that, go to Accounts > Family & other users. Click on the Add account option and enter the email address of your family member. On the other hand, you can add a child account in Windows 11. For that, you need to select the Create one for a child option before entering the email address.
Next, we will see the new updates and features in Family Safety for Windows.
