Microsoft rolled out an integrated OneDrive functionality called Personal Vault to add an extra layer of security to your confidential files. In this post, we will show you how to set up and use OneDrive Personal Vault to protect your sensitive data from accidental access.
Read first: How to set up OneDrive on Windows PC.
What is OneDrive Personal Vault
OneDrive Personal Vault is a ‘secure’ folder inside your existing OneDrive storage where you can upload or move files and lock them down with 2-factor authentication. Whether if you are free or paid OneDrive storage user, you can make use of this feature without any problem. This security functionality is available on the web version as well as on the OneDrive mobile app.
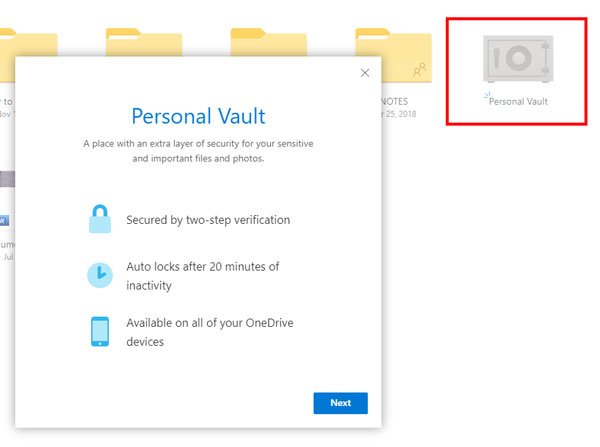
If you have already uploaded a file, it is possible to move it to OneDrive Personal Vault. You can also directly upload a file to this folder. If you have the OneDrive mobile app, you can scan and upload a document directly to the Personal Vault. OneDrive locks down your vault after twenty minutes of inactivity. Following that, you need to verify yourself with an OTP which would be sent to your registered mobile number or email ID.
What can you upload to the Personal Vault?
You can upload anything if it is essential for you. The setup page has given an idea of what you can store in the vault. Some of the suggested file are a passport, driver’s license, birth certificate, financial plan, home insurance, work identification, immigration documents, power of attorney, and so on.
Is OneDrive Personal Vault available to the free users? What is the limitation?
Yes, you can use the Personal Vault facility even if you are a free OneDrive storage user. The only limitation is that you can store up to three files without a paid Office 365 subscription.
How to set up and use OneDrive Personal Vault
To set up OneDrive Personal Vault, carry out the following steps:
- Open OneDrive and click the Personal Vault option
- Verify yourself with an OTP
- Start moving important files.
Let us see the procedure in a bit more detail.
Log into your OneDrive account. After that, you should find the Personal Vault icon among other folders. You need to click the Personal Vault button.

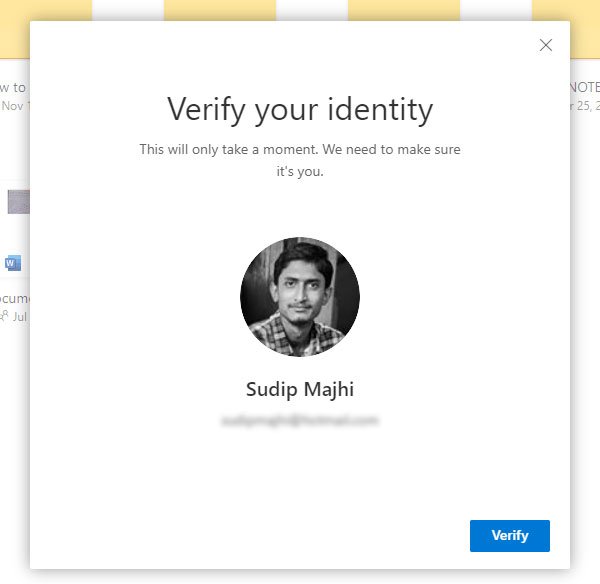
After clicking the Next button, you need to verify yourself. Click the Verify button, and follow the screen instructions to complete the process.

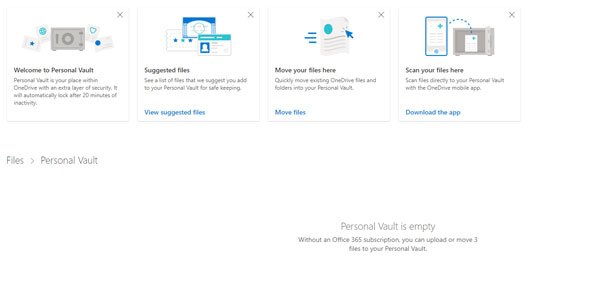
Following that, you will see this window-

It indicates that you have successfully set up the Personal Vault in your OneDrive account.
Now you can move your uploaded files, or you can upload to it directly.

By default, your Personal Vault locks down automatically after twenty minutes of inactivity. However, if you want to lock it manually due to any security purpose, find the Personal Vault options icon on your right-hand side, and select Lock.
How to disable OneDrive Personal Vault

If you do not need this security box and you want to disable OneDrive Personal Vault, follow these steps:
- Click the settings gear button and go to Options > Personal Vault.
- Click the Disable button that comes next to Disable Personal Vault.
Why is there no Personal Vault in OneDrive?
In order to use the Personal Vault in OneDrive, you need to enable it manually. Although some users get this option automatically, you may need to turn it on manually in some situations. Following that, you can use the Personal Value on mobile as well as website without any problem. For your information, you need to open the Settings panel and switch to the Personal Vault menu to find the option to enable or disable it.
I hope this extra layer of security will be helpful for you.
Leave a Reply