Microsoft Excel application allows you to share your Excel workbook with multiple users across the web. That said, only the users having access to your workbook can open and modify it. This feature is good from a security viewpoint. Moreover, you can restrict access to your workbook by setting the passwords. Setting a password for an Excel workbook is simple. When done, users wanting to access the protected workbook have to enter the password in a dialog box that pops up when they try to open the file.
Share Excel workbook with multiple users
Sharing your Excel Workbook across the web can be a smooth exercise if you follow the steps outlined in the post. When you decide to share your workbook, you can share it via cloud services such as OneDrive, OneDrive for Business, or SharePoint without leaving the application.
You will first need to create a workbook. For this, open Excel by clicking on Start menu, choosing ‘All apps’ and select ‘Excel’. Alternatively, you can type excel in the empty search field adjacent to Start menu button and select ‘Excel’.
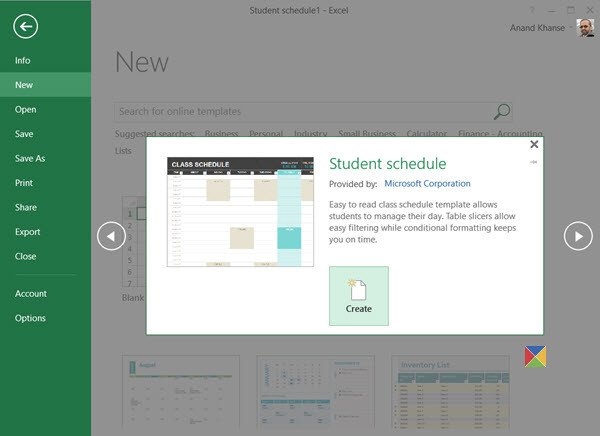
When done, choose File from the left-side menu. From the list of options displayed, select the New option. Then, select the desired template, and choose Create to create your workbook.

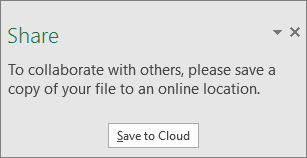
Later, select Save to Cloud and choose a location to save your workbook.

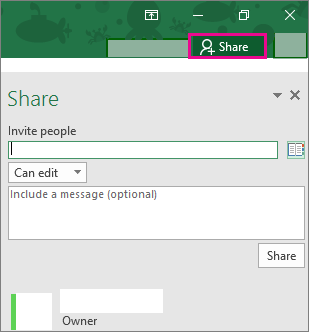
Once your workbook is saved to a shared location, you can invite others to join and make changes if necessary. In the text field under Invite people, enter the email address of the person you’d like to share with. If you already have the person’s contact info stored, you can just enter their name.

This is how you can easily share your Excel Workbook with multiple users.
Now read how to easily export Excel Charts as Images.